
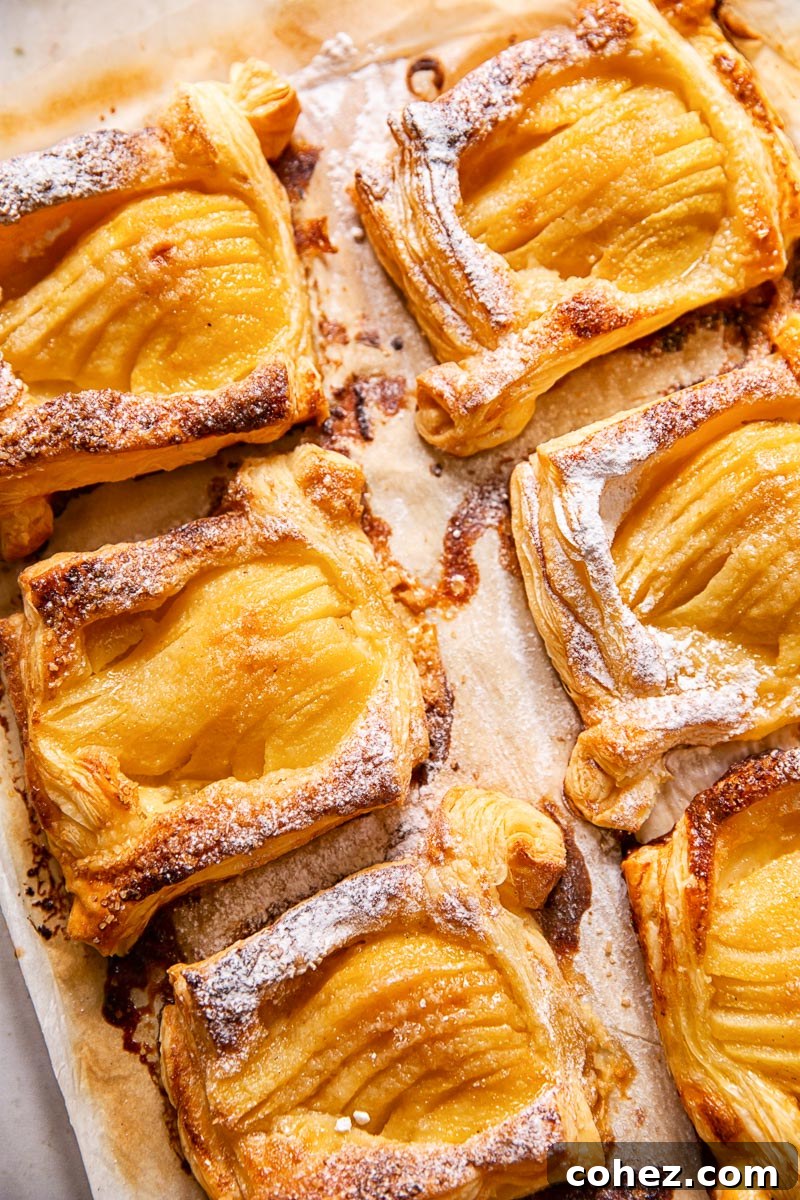
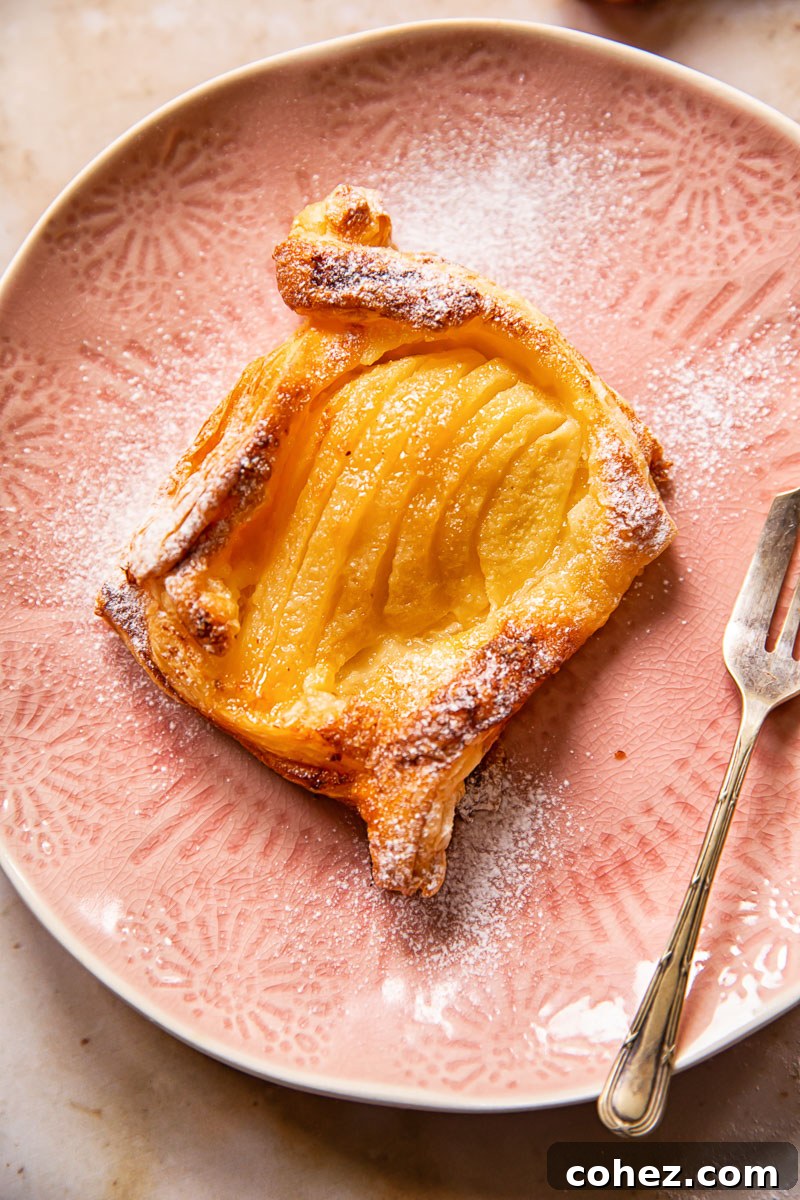
Welcome to a world where gourmet bakery elegance meets effortless home baking! These incredible **Puff Pastry Pear Tarts with Salted Caramel** are a testament to that philosophy. Imagine golden, flaky pastry cradling tender, sweet pears, all generously coated in a rich, homemade salted caramel glaze. The best part? This show-stopping dessert takes less than an hour to create, with minimal hands-on time, making you look like a pastry chef without the early morning wake-up call or advanced techniques. They are truly the perfect autumnal treat, guaranteed to impress friends and family at any gathering, from a casual brunch to a festive holiday feast.
If you’re a fan of the delightful combination of fruit baked into light, airy pastry, you’ll also adore our classic Apple Turnovers, another seasonal favorite that brings warmth and comfort to any occasion.
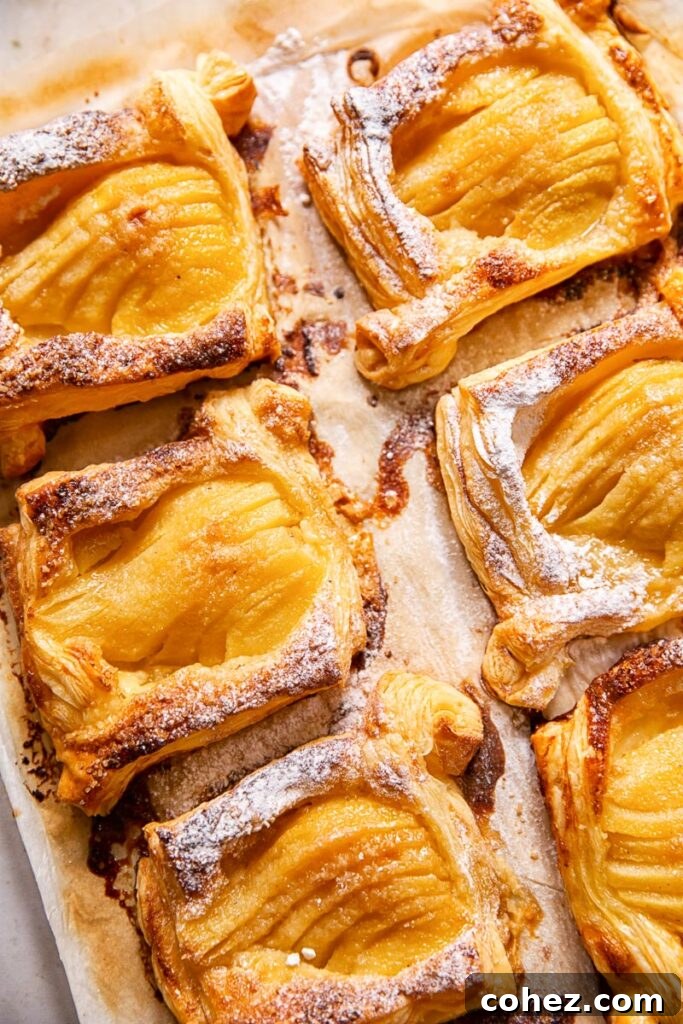
There’s an undeniable charm to European bakeries – the glistening pastries, the perfectly crafted tarts, and the indulgent cakes. I’m always in awe of the sheer skill and creativity involved in producing such beautiful and delicious works of art. It’s a dream for many home bakers to recreate that sophisticated patisserie experience right in their own kitchens. These elegant Salted Caramel Pear Tarts capture that very essence. With their delicate flaky pastry and beautifully presented sweet pears, they would effortlessly blend in among the finest bakery offerings.
Despite their sophisticated appearance and exquisite taste, the true magic of these tarts lies in their incredible simplicity. No one will ever guess how easy they are to make, allowing you to whip up a batch quickly and impress your guests without spending hours in the kitchen. This recipe is designed to deliver maximum impact with minimum effort, proving that stunning desserts don’t have to be complicated.
Effortless Pear Tart Recipe: Patisserie Quality in Minutes
Creating these delectable pear tarts from start to finish took me a mere 40 minutes, with only about 10 minutes of active preparation time. Imagine the possibilities! You can easily prepare these beauties for a special brunch, a cozy afternoon tea, or as a show-stopping dessert for your Thanksgiving feast or any holiday gathering. The simplicity of the preparation belies the stunning beauty and incredible flavor of this puff pastry dessert.
What I particularly love about this recipe is how it transforms a humble, everyday fruit like the pear into an absolute star. Pears, especially when they are in season, are a favorite in my kitchen and feature prominently in many of my baked goods. For instance, my Spiced Pear Baked Oatmeal offers a wonderfully comforting and healthy way to kickstart your day.
The secret to the speed and ease of this recipe lies in using prepared, store-bought puff pastry that’s already rolled out. This clever shortcut turns the entire process into pure joy, eliminating the most time-consuming step of traditional pastry making. All you need to do is assemble the tarts, which honestly feels more like a fun crafting project than actual baking. It’s a truly gratifying experience to see such elegant results come together so quickly and easily.
Simple Steps to Gourmet Tarts: How to Make Them
This pear tart recipe is undeniably one of the least fussy desserts you’ll ever encounter, yet it delivers a truly divine taste experience. Once you master the simple folding technique, the rest is largely up to the quality ingredients to create these irresistible tarts. The key to their consistent flakiness and golden-brown perfection is indeed store-bought puff pastry. Not only does this save a significant amount of time and effort, but it also ensures an even thickness throughout the pastry, leading to uniformly baked tarts every time.
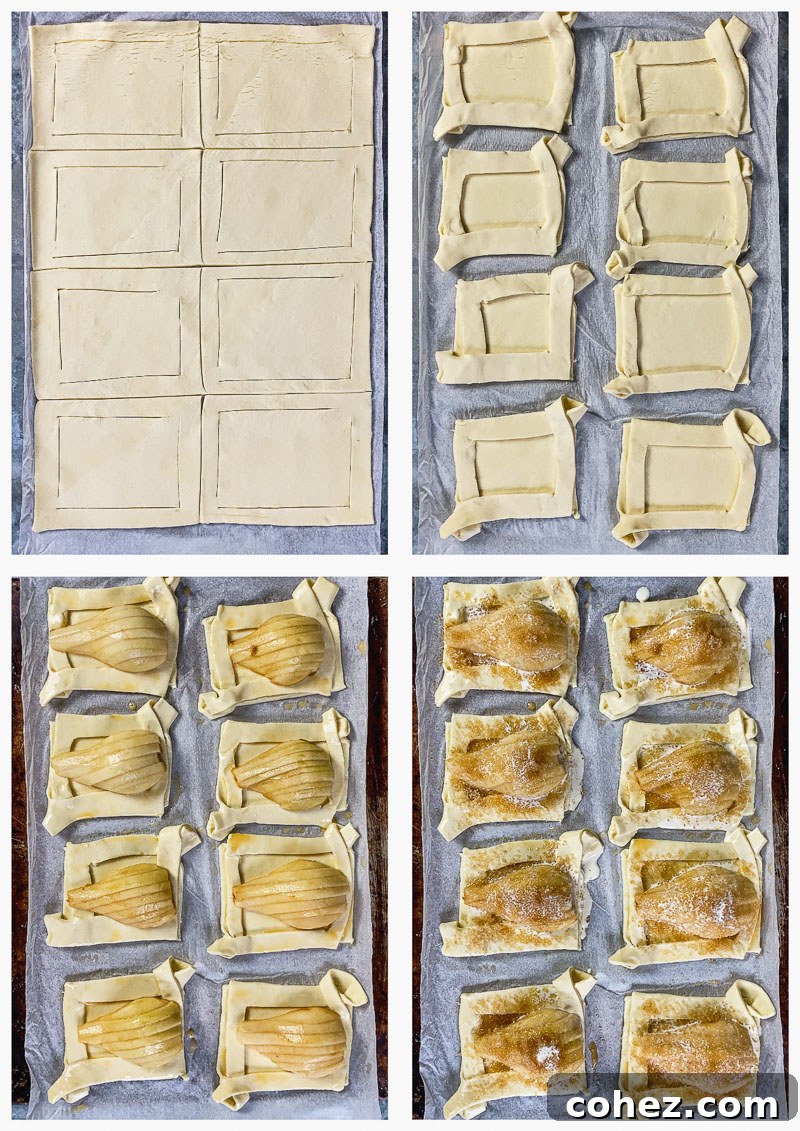
Achieving the elegant, bakery-worthy look of these tarts requires no advanced culinary skills. You start by making two simple L-shaped slits on opposite corners of your pastry square. Then, gently fold these cut corners over each other, one going under and one over, to create a beautifully framed edge. If you’re unsure, consulting the process photos or a quick video tutorial will make it perfectly clear. Once the pastry is shaped, a brush of egg wash will give it that desirable golden, crisp finish during baking. After this, simply add your sliced pears, a sprinkle of sugar, a dollop of cream, and a touch of sea salt, and your tarts are ready for the oven.
Choosing the Perfect Pears for Your Tarts
When it comes to selecting pears for these tarts, there’s no need to be overly particular about the variety. Most common pear types you find in your local supermarket or fruit basket will work beautifully. I often use Conference pears because they are typically smaller and readily available in my area, offering a lovely balance of sweetness and texture. Other excellent choices include Bartlett, Anjou, or Bosc pears, all of which hold their shape well during baking and offer distinct, delightful flavors.
However, one crucial detail to remember is to ensure your pears are ripe. The tarts bake for only about 30 minutes, which isn’t sufficient time for hard, underripe pears to soften properly. Ripe pears will yield a tender, succulent filling that melts in your mouth. Additionally, choosing small to medium-sized pears is beneficial as they fit better within the individual pastry shells and cook more evenly. If you only have larger pears, simply slice them thinner or consider using half a pear per tart, arranging the slices attractively.
The Magic of Sea Salt Caramel Made Easy
Now, let’s talk about that irresistible salted caramel topping. The phrase “salted caramel” often sounds like something reserved for advanced pastry chefs, but for this particular recipe, it’s incredibly straightforward to achieve. There’s no need for complex candy-making techniques or constant stirring over a hot stove. The genius of this recipe is that the salted caramel virtually makes itself in the oven!
All you need to do is sprinkle brown sugar, a touch of heavy cream, and a pinch of coarse sea salt over the sliced pears just before baking. As the tarts bake, the sugar caramelizes, the cream melds with it, and the salt infuses its magic, transforming into a rich, gooey, and perfectly balanced salted caramel right there on your pears. It’s truly brilliant!
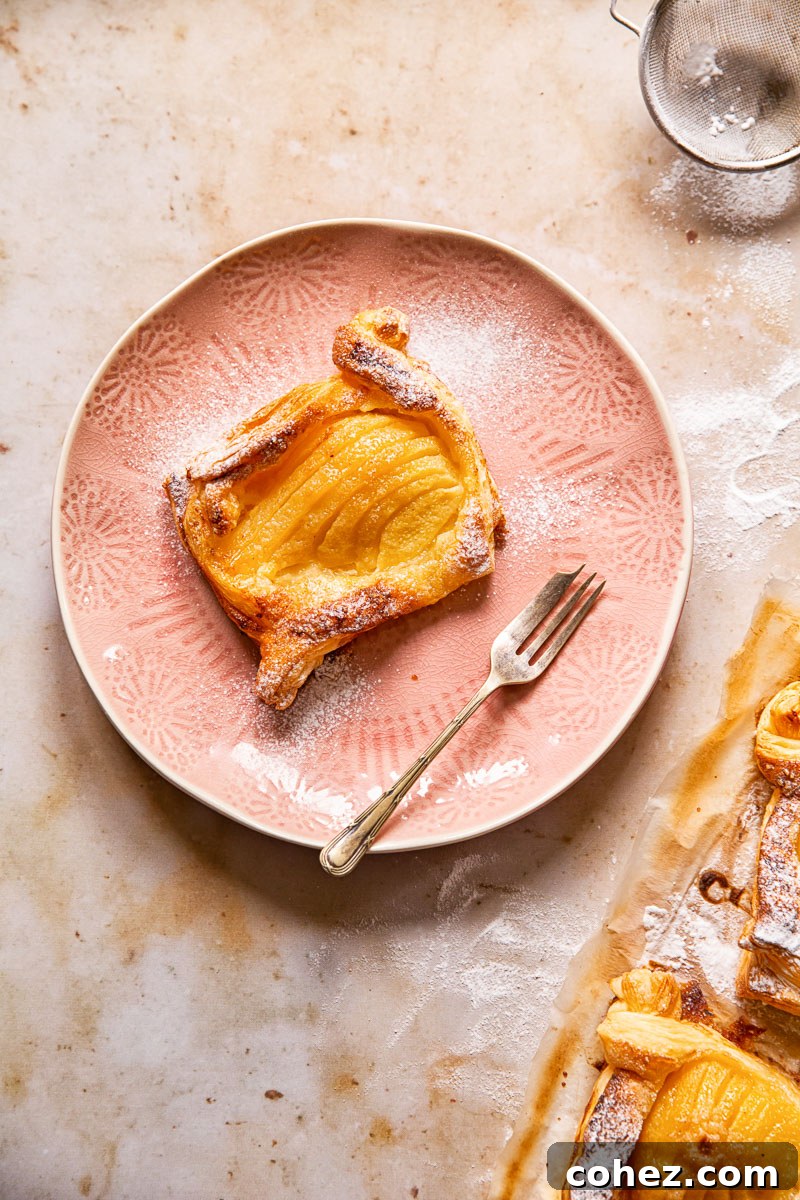
The role of salt in caramel is similar to its function in many other dishes – it’s there to elevate and enhance the flavor. It cuts through the sweetness, prevents it from being cloying, and brings out deeper, more nuanced notes that might otherwise go unnoticed. This addition creates an extra dimension to the caramel, making the entire tart “pop” with a sophisticated blend of sweet and savory. This recipe yields a pear tart with a delicate, refined taste that isn’t overly sweet, allowing the natural flavors of the pear and the rich caramel to shine. I love to serve mine simply dusted with a light layer of powdered sugar for an extra touch of elegance.
Essential Recipe Tips and Notes for Perfect Pear Tarts
- **Puff Pastry Quality:** For the flakiest texture and richest flavor, always opt for all-butter puff pastry. The difference in taste and quality is noticeable and elevates your tarts from good to exceptional.
- **Pear Selection is Key:** Since these tarts bake relatively quickly, it’s crucial to use ripe pears. Hard, unripe pears won’t soften sufficiently in the oven, resulting in an unpleasant crunchy texture. Choose pears that yield slightly to gentle pressure at the neck.
- **Handling Puff Pastry Temperature:** Timing is everything when working with puff pastry. Take it out of the refrigerator about 15-20 minutes before you plan to use it. If it’s too cold, it will crack as you unroll it. However, leaving it out for too long will cause the butter layers to melt into each other, preventing that desirable flaky separation and making the pastry difficult to handle. If you find it’s becoming too soft, simply pop it back into the fridge for 20-30 minutes to firm up.
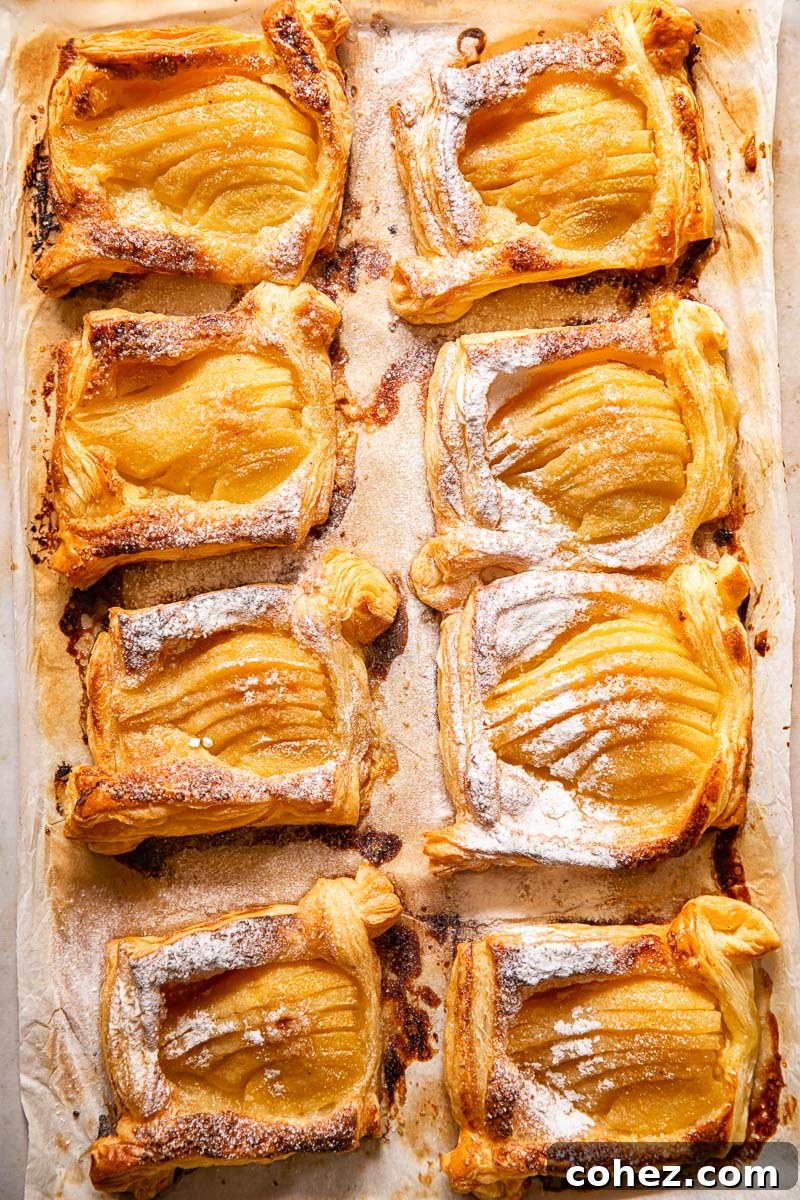
- **Even Baking:** Avoid overcrowding your baking sheet. Give each tart enough space to allow for proper air circulation, ensuring they bake evenly and achieve that beautiful golden-brown color and crispiness on all sides.
- **Parchment Paper is Your Friend:** Always line your baking sheet with parchment paper. This prevents sticking, makes cleanup a breeze, and helps the bottoms of the tarts to cook without becoming overly dark.
- **Slicing Pears for Presentation:** After halving and coring your pears, slice them into even, thin pieces (about 1/4-inch thick). Arrange these slices fanned out in the center of each pastry square for a stunning, professional presentation.
Storage and Leftovers: Enjoying Your Pear Tarts
Like most puff pastry desserts, these pear tarts are undoubtedly at their absolute best when enjoyed fresh, straight from the oven, or at least shortly after cooling to a warm temperature. The puff pastry will be at its peak flakiness and crispness during this time. The delicate texture of puff pastry means it will naturally lose some of its crispness when stored.
That being said, these tarts will still be perfectly delicious the next day. If you wish to prepare them a day in advance for an event, they will hold up wonderfully. However, it’s generally best to consume them within 2-3 days, as beyond this point, the puff pastry will start to become noticeably soggy, diminishing the overall experience. To revive their crispness, you can gently reheat them in a preheated oven at 300°F (150°C) for about 5-10 minutes, or until warmed through and the pastry firms up slightly.
When storing, avoid wrapping the tarts tightly in plastic wrap, as this will trap moisture and accelerate the softening of the pastry. A much better storage solution is to keep them in an airtight container at room temperature for up to a day, or in the refrigerator for up to three days. For best results, place a piece of parchment paper loosely between layers of tarts to prevent them from sticking together and to help absorb any excess moisture.
More Easy Puff Pastry Dessert Recipes to Love
If you enjoyed the simplicity and deliciousness of these pear tarts, you’ll love exploring other quick and easy dessert recipes featuring versatile puff pastry. It’s a true hero in the kitchen for creating impressive treats with minimal fuss:
- Puff Pastry Cinnamon Rolls: Flaky, spiced, and drizzled with caramel – a breakfast or dessert dream.
- Plum Tarte Tatin: An elegant inverted tart with caramelized plums and a hint of lavender.
- Apple Turnovers: A timeless classic, perfect for a comforting snack or dessert.
Salted Caramel Pear Tarts
Print Recipe
Equipment
-
Knife
-
Baking sheet
Ingredients
- 375g / 13oz all butter puff pastry
- 1 egg, beaten
- 4 ripe pears, small or medium
- 8 tsp Demerara (brown) sugar
- 8 tsp double/heavy cream, no half and half
- 1 tsp coarse sea salt
Instructions
-
Preheat your oven to 375F/190C. Line a baking sheet with parchment paper. Roll out your puff pastry. If you are using a block, dust your work surface with some flour and roll out a rectangle 1/4″ thick. Divide your rectangular shaped puff pastry into 8 small rectangles. With a sharp knife, cut an “L” into 2 opposing corners, don’t cut all the way but leave a ½-inch in two corners. Brush with the beaten egg. Pick up the cut corners of the pastry, cross them over each other (one over, one under) and lay them flat (now on opposite sides). Brush the tops of the pastry with the egg wash and put the prepared pastries in the refrigerator to chill.
-
While the pastry is chilling, prepare the pear filling. Peel the pears and split them in half lengthwise, core them, and slice in 1/4″ slices.
-
Take the pastry shells out of the fridge and set them on your work surface, place one pear half in the centre of each tart. Then sprinkle with a teaspoon of brown sugar and a teaspoon/5ml of double cream per tart, then add a pinch sea salt on top. Bake in the preheated oven for 30 minutes or until pears are soft and pastry is golden.
Video
Watch Salted Caramel Pear Tarts Video Tutorial
Nutrition
Nutrition information is automatically calculated, so should only be used as an approximation.
Tried this recipe?Let us know how it was!