
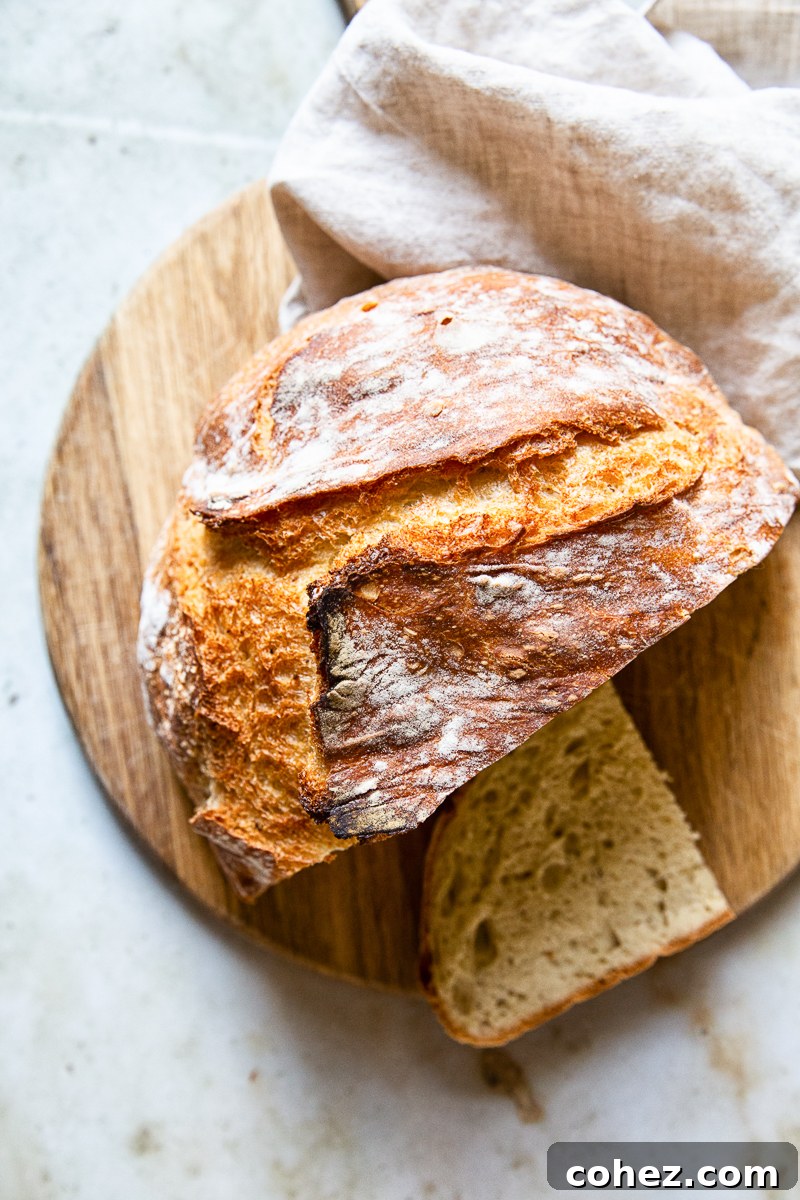
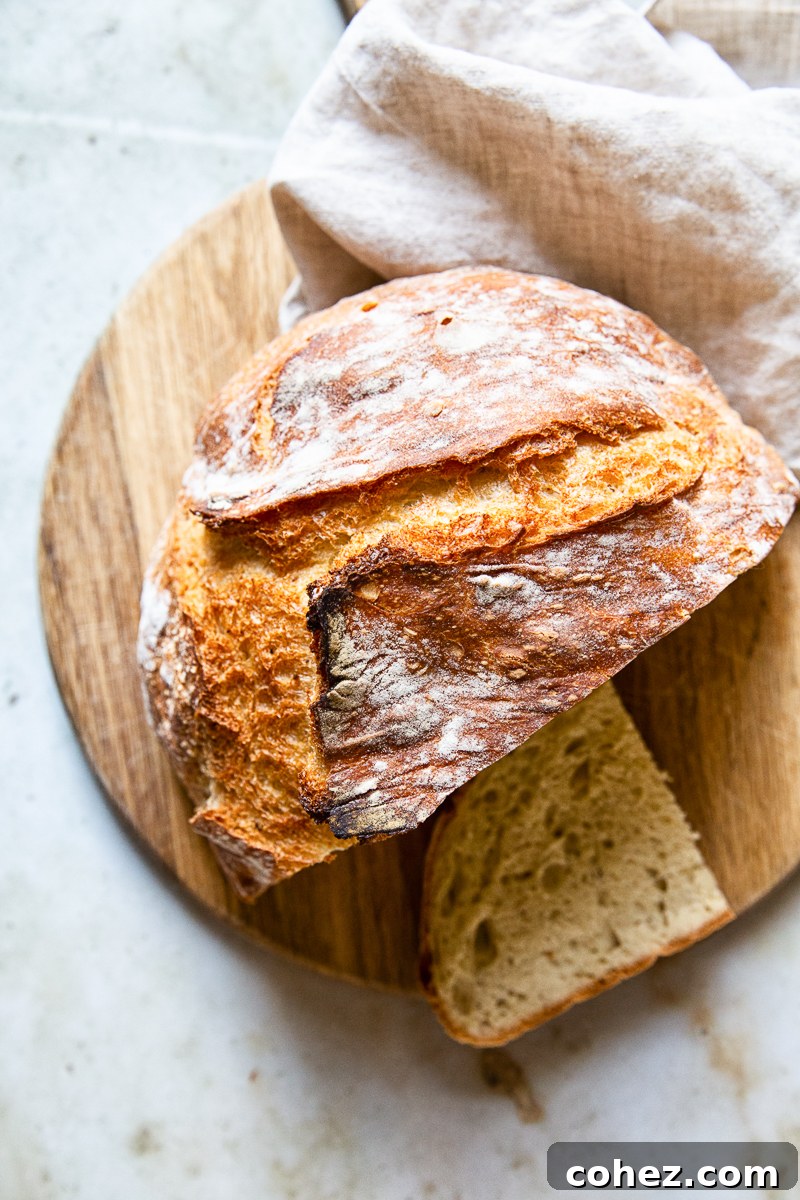
Discover the incredible ease and pure delight of baking your own Dutch oven bread. Believe the hype – it’s absolutely real and surprisingly simple! Forget laborious kneading and complicated techniques; just a few basic ingredients like flour, yeast, and water come together to create culinary magic. This no-knead method allows time and nature to do the heavy lifting, yielding a loaf that will rival any artisan bakery.
If you’re looking for more effortless baking adventures, don’t miss my No-Knead Farmhouse Bread recipe for another stress-free approach to homemade deliciousness. These recipes prove that exceptional bread doesn’t require a master baker’s skill, just a little patience and the right tools.
There’s an undeniable truth universally acknowledged by anyone who has experienced it: nothing transforms a home quite like the intoxicating aroma of freshly baked bread wafting through the air. It’s more than just a smell; it’s a feeling, a comforting embrace that instantly melts away the stresses of a long day or a challenging week. This simple act of baking can be the perfect antidote, a moment of warmth and a delicious reward for yourself and your loved ones.
For too long, bread baking carried a reputation for being an arduous, time-consuming task, seemingly not worth the effort for the average home cook. However, anyone who has sunk their teeth into a warm, crusty slice of homemade bread knows this couldn’t be further from the truth. The rich flavor, the satisfying chew, the pillowy interior – these are unparalleled. Fortunately, with revolutionary methods like this Dutch oven bread recipe, achieving such perfection has become incredibly easy and accessible to everyone, turning the perceived chore into a joyful, rewarding experience.
This particular recipe holds a special place in my heart, not just for the consistently delicious loaves it produces, but because it served as my gateway into the wonderful world of bread making. It completely shattered my preconceived notions, convincing me that the time invested in crafting a loaf was time incredibly well spent. That initial success ignited a passion, leading me to explore a multitude of other bread recipes over the years, each adding to my understanding and enjoyment of this ancient craft.
My journey began with a simple craving: I yearned for the quality of bakery-fresh bread without ever having to leave the comfort of my own kitchen. I dreamt of a loaf with a perfectly chewy, golden crust that crackled with every slice, and an interior that was light yet substantial, springing back when gently pressed, bursting with complex flavor. This quest led me to the no-knead method, and ultimately, to perfecting my own version of Dutch oven bread that consistently delivers on all these promises.
Crafting the Perfect Dutch Oven Bread: A Detailed Guide
My exploration into no-knead baking involved testing several popular methods, including the widely acclaimed original Dutch oven bread recipe and various skillet bread recipes. Each offered unique insights, but I was determined to refine a version that would consistently produce a crust I could truly be proud of – a hallmark of truly exceptional bread.
For my ultimate no-knead Dutch oven bread, I meticulously combined the best elements from various techniques, resulting in a unique method that has become a staple in our household. This optimized approach consistently delivers outstanding results in minimal active time, making it the perfect go-to recipe for busy weeknights or lazy weekends.
In refining the classic no-knead recipe, I made a few key adjustments. I increased the amount of salt to enhance the flavor profile and slightly reduced the flour quantity to achieve a more hydrated, pliable dough. Perhaps the most significant change was dramatically increasing the oven temperature from a conventional 350°F to a searing 500°F (260°C). This high heat is crucial for creating the signature crispy crust and airy interior that defines artisan-quality Dutch oven bread.
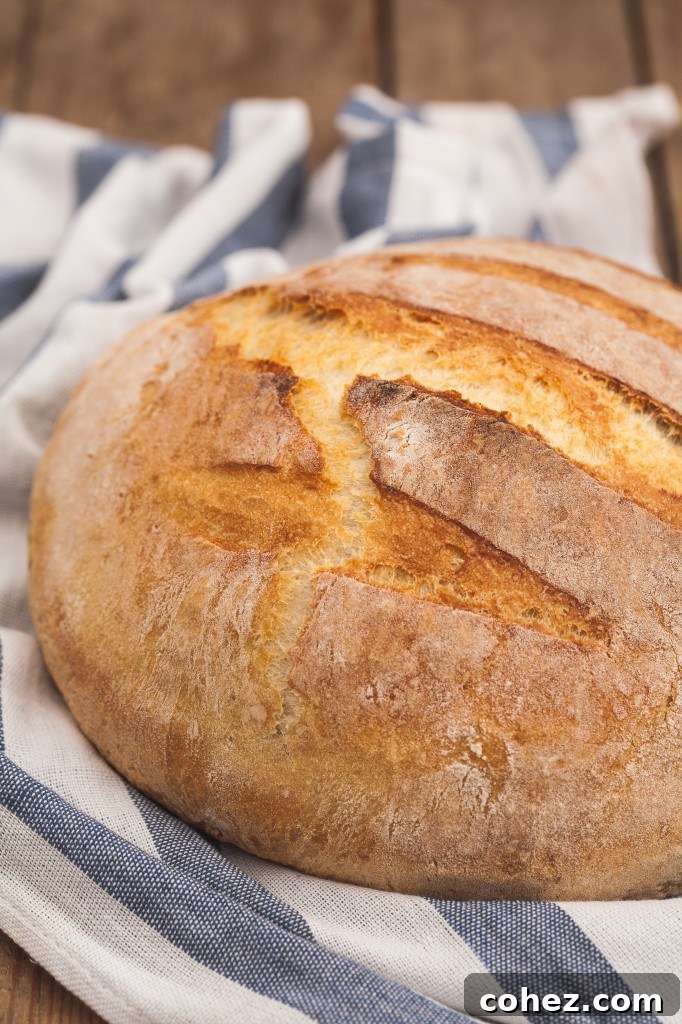
The outcome of these careful adjustments was truly astonishing. The bread that emerged from the Dutch oven was mind-blowing – a revelation in texture and taste. I’ll never forget overhearing my children later, their chatter filled with genuine enthusiasm: “That’s the best bread she’s ever made!” That simple comment brought the biggest smile to my face, confirming that the effort was more than worth it.
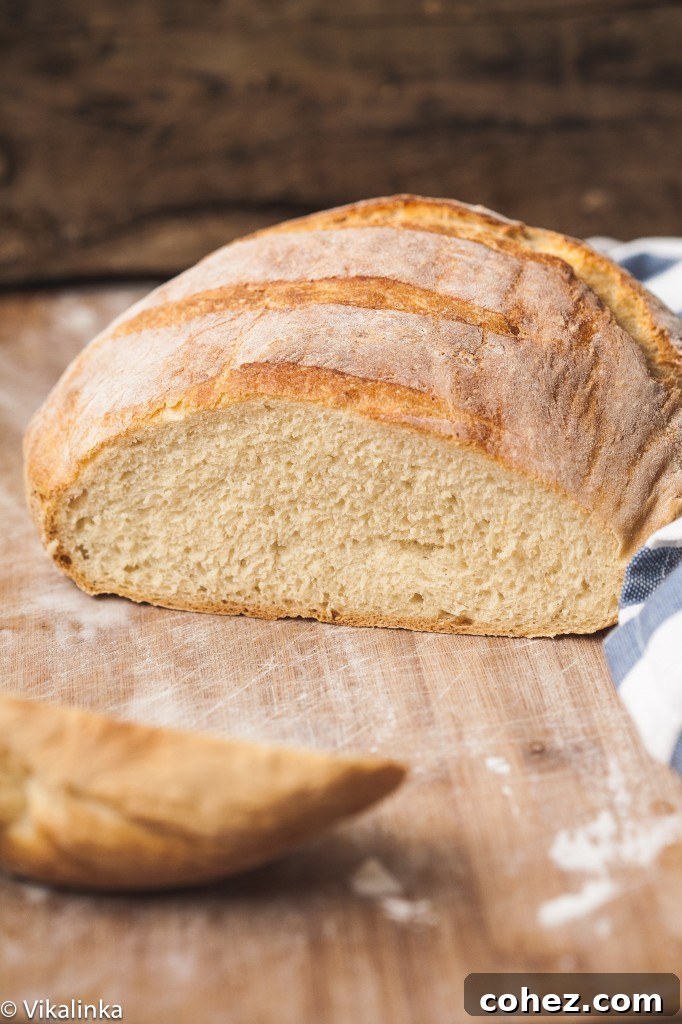
This bread boasts a wonderfully pillowy, tender crumb that still feels substantial, encased in a thick, perfectly crisp crust – exactly the way I love it! It’s so utterly delicious that I could happily make a meal out of it alone, requiring nothing else. However, for those who enjoy enhancing their culinary experience, a good dipping accompaniment can elevate it even further.
Elevating Your Bread: The Aromatic Dukkah Spice Mix
While the bread itself is a complete triumph, a thoughtfully paired dip can certainly enhance the experience. My children, with their classic tastes, are perfectly content with simple bread and butter. I, however, prefer to indulge in my warm, crusty slices dipped in rich extra virgin olive oil, perhaps with a splash of tangy balsamic vinegar for added complexity.
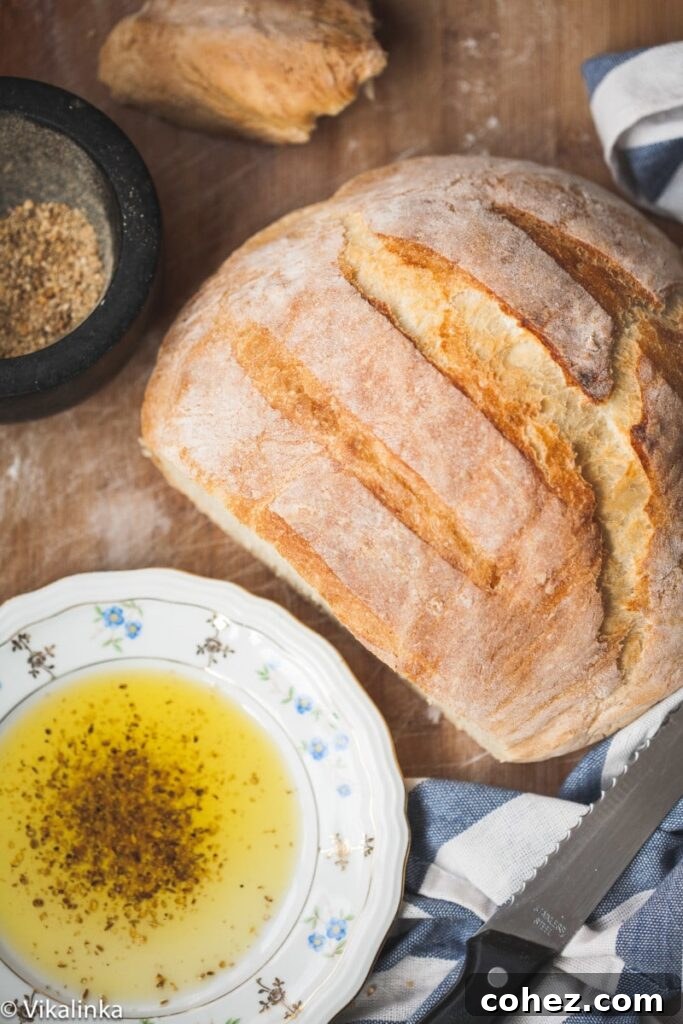
Even more captivating is dukkah spice, an exquisite aromatic Egyptian condiment. This traditional side dish is a captivating blend of roasted nuts, seeds, and fragrant spices, creating a unique texture and flavor profile that pairs exceptionally well with fresh bread and olive oil.
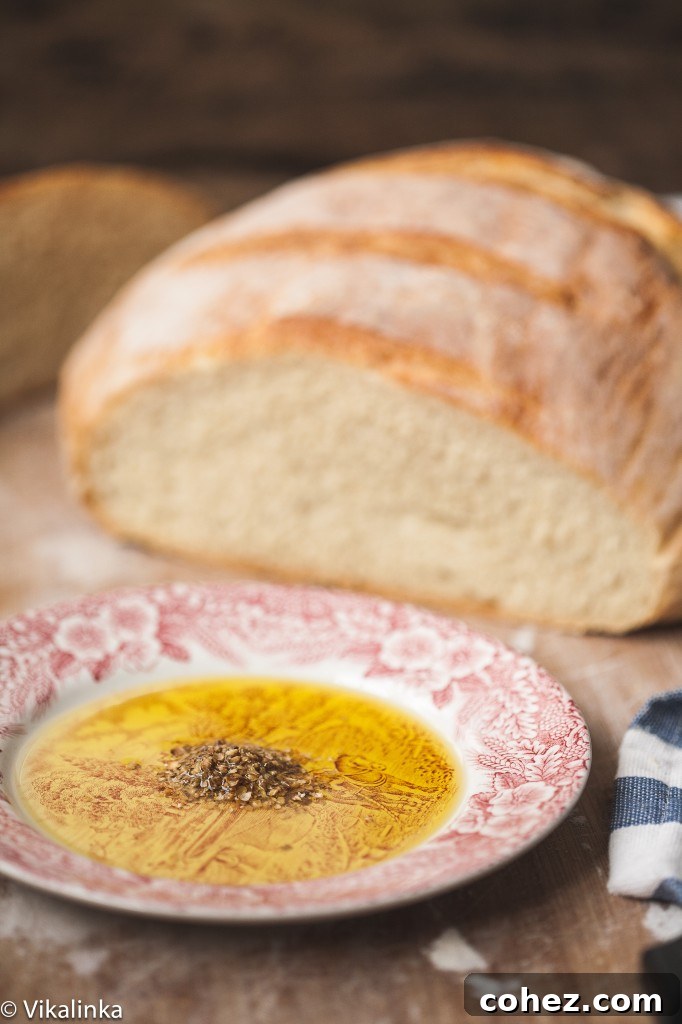
You can readily find pre-made dukkah spice mixes in many specialty grocery stores, which is a convenient option. However, for an unparalleled depth of flavor and aroma, making your own dukkah is truly a game-changer. Even with a store-bought mix, I often take a moment to enhance its vibrancy. I’ll place a handful into my mortar and gently work it with a pestle, just enough to slightly crush the ingredients and release their essential oils. Soon, the warm, nutty, and intensely aromatic mixture fills the entire room, signaling that it’s ready to be enjoyed.
Preparing the dukkah dip couldn’t be simpler. Pour a generous amount of high-quality extra virgin olive oil into a shallow dish. Sprinkle it liberally with a pinch of flaky sea salt and a good dusting of your freshly prepared (or enhanced) dukkah spice. Then, tear off a piece of your warm, crusty Dutch oven bread, dip it into the fragrant oil and spice mixture, and savor every exquisite bite. It’s an experience that transforms a simple loaf of bread into a gourmet treat.
Tips for Baking the Best Dutch Oven Bread
- High Heat is Key: Don’t be shy with the oven temperature. Preheating your Dutch oven to 500°F (260°C) is essential. The intense heat creates a burst of steam when the dough is added, leading to that coveted crispy crust and beautifully open crumb.
- Don’t Skip the Preheating: Ensure your Dutch oven, including its lid, is piping hot before you carefully transfer the dough. This is crucial for achieving an even bake and a superior crust.
- The Role of the Lid: Baking with the lid on for the initial phase traps steam released from the dough, mimicking a professional bakery oven. This steam prevents the crust from forming too quickly, allowing the bread to fully expand and creating a tender interior.
- Uncovered Finish: Removing the lid for the final baking stage allows the crust to crisp up and develop its deep golden-brown color.
- Patience with Cooling: Resist the urge to slice into your warm loaf immediately. Allowing the bread to cool completely on a wire rack is vital. This process allows the internal starches to set, prevents a gummy texture, and further develops the crust’s incredible crunch.
- Using Parchment Paper: While not strictly necessary (many bakers, myself included, don’t use it and find their bread never sticks), placing your shaped dough on a piece of parchment paper before lowering it into the hot Dutch oven can make transferring it much easier and safer, especially for beginners. Simply lift the parchment by its edges and gently lower the dough.
- Flour Quality Matters: Using bread flour, with its higher protein content, will typically yield a chewier crumb and better structure than all-purpose flour. Experiment with different types to find your preferred texture.
- Listen to Your Dough: The exact rise times can vary based on ambient temperature and humidity. Look for visual cues – the dough should be visibly puffy and doubled in size, and shaping it should feel airy and light.
Explore More Homemade Bread Recipes
Once you’ve mastered this incredibly satisfying Dutch oven bread, you might find yourself eager to explore other delicious bread-making adventures. Here are some more fantastic recipes to expand your baking repertoire and fill your home with the irresistible scent of fresh bread:
- Sourdough Bread: Dive into the rewarding world of sourdough with a beginner-friendly guide.
- Rye Bread: Discover the robust flavors and dense texture of homemade rye bread.
- No-Knead Farmhouse Bread: Another exceptionally easy recipe for a rustic, satisfying loaf.
- Rosemary Spelt Bread: A flavorful bloomer loaf infused with aromatic rosemary and nutritious spelt flour.
Dutch Oven Bread
Equipment
-
Cast iron Dutch oven
Ingredients
- 1 package/ 7 gr- active dry yeast
- 2 cups/500ml lukewarm water
- 3/4 tbsp sea salt
- 4 cups/480g bread flour (I used Canadian flour)
For the dip
- olive oil
- sea salt
- dukkah spice
Instructions
-
Combine warm water and yeast in a small bowl, stirring gently. In the bowl of a stand mixer (or a large mixing bowl for hand mixing), combine the flour and salt. Add the yeast mixture to the flour and mix until a shaggy dough forms. Cover the bowl with a tea towel and let it rise in a warm place for one hour.
-
After the first hour of rising, preheat your oven to 500°F (260°C). Place your Dutch oven, including its lid, into the oven as it preheats to ensure it gets blazing hot.
-
Gently remove the dough onto a lightly floured surface. Shape it into a neat ball by tucking the edges underneath, like folding an envelope. Place the shaped dough, seam-side down, on a clean tea towel (or a piece of parchment paper – see notes). Sprinkle the top with a little more flour and cover with another tea towel. Let it rise for a second, shorter period of 30 minutes.
-
Carefully take the blazing hot Dutch oven out of the oven. It will have been warming for 30 minutes. With extreme caution, lift your dough (using the tea towel/parchment if desired) and place it gently into the hot Dutch oven. Cover with the preheated lid and bake for 20 minutes. After 20 minutes, remove the lid and continue baking for an additional 10 minutes, or until the crust is deeply golden brown and crispy.
-
Remove the bread from the Dutch oven and transfer it to a wire rack to cool completely. This cooling process is crucial for the crust to develop its full crispness and for the interior texture to set properly. Before serving, pour some good quality olive oil into a shallow plate and sprinkle with a pinch of sea salt and your preferred amount of dukkah spice for dipping.
Notes
- Parchment Paper Tip: For easier handling, you can place your shaped dough on a piece of parchment paper during the second rise. Then, simply lift the parchment paper by its opposite corners to gently lower the dough into the hot Dutch oven.
- My Experience with Sticking: Full disclosure, I personally rarely use parchment paper, and my bread has never stuck to my seasoned cast iron Dutch oven. However, if you’re concerned or new to baking in a Dutch oven, parchment can provide extra peace of mind.
- Adjusting Servings: This recipe yields a substantial loaf. If you wish to make smaller loaves or adjust quantities, ensure you maintain the hydration ratio of water to flour for best results.
Nutrition Information (per serving)
Nutrition information is automatically calculated, so should only be used as an approximation.