
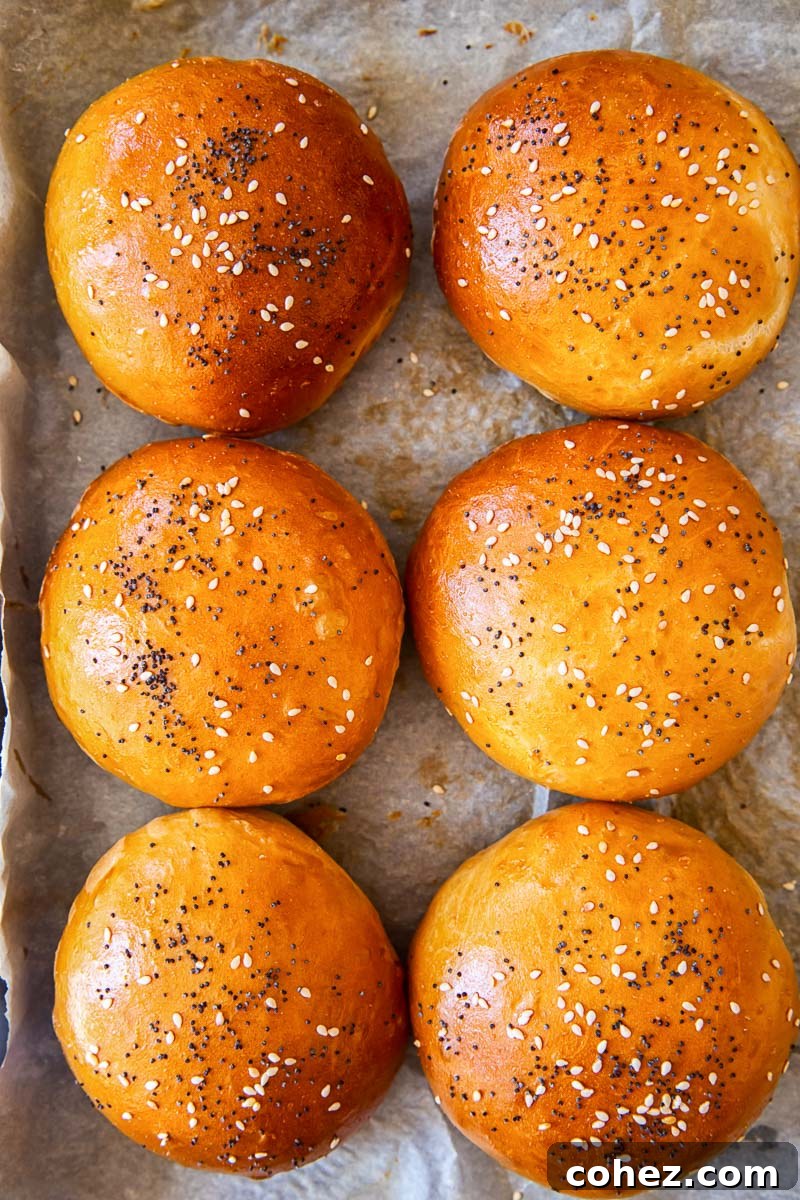
Elevate your burger experience with these incredible homemade hamburger buns! Boasting a soft, fluffy, brioche-like interior and a perfectly tender crust, these buns are designed to take your burger game to an entirely new level. Best of all, they can be ready in just 2 hours from start to finish!
Craving a rich, buttery roll with your meal? You’ll also love our Garlic Butter Dinner Rolls for another delightful bread experience.
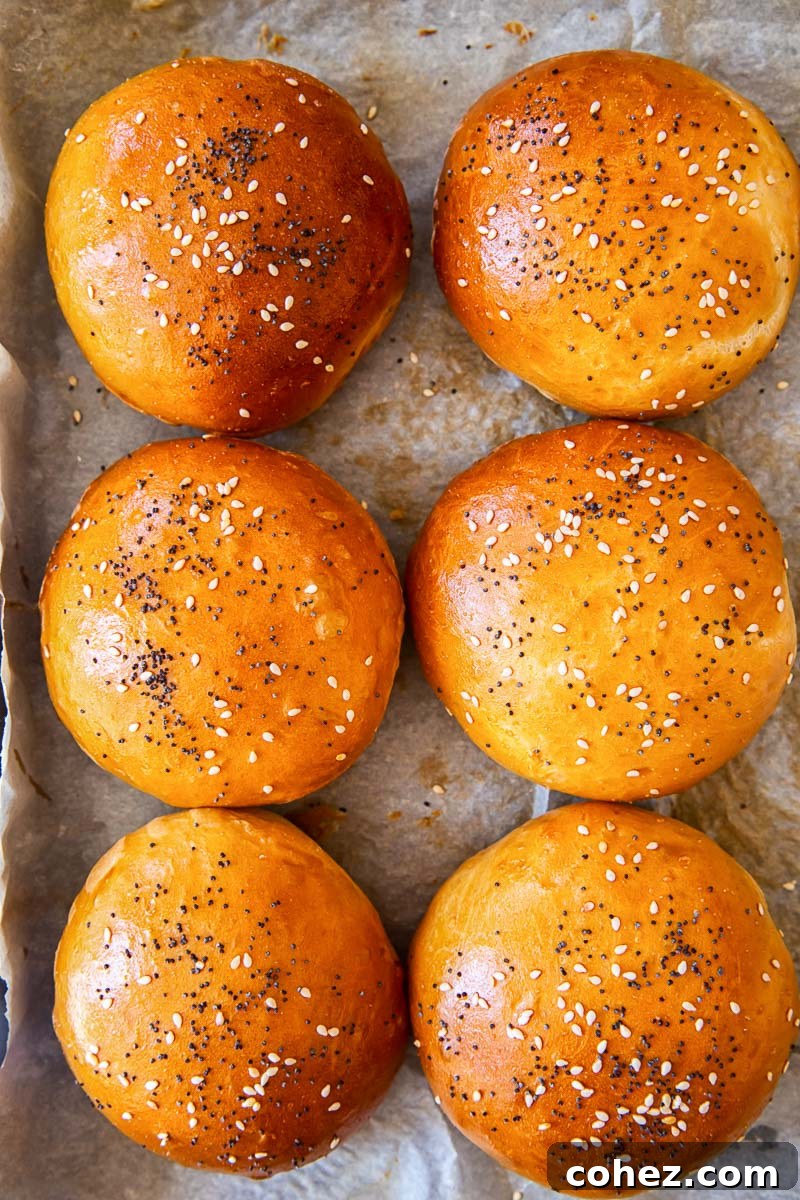
For many home cooks, baking homemade hamburger buns might seem like an unnecessary endeavor when grocery store shelves are stocked with readily available options. However, for those of us who patiently await barbecue season and cherish the ritual of grilling, a truly exceptional burger demands an equally exceptional bun. Generic, mass-produced buns often fall short, struggling to contain the juiciness and robust flavors of a perfectly cooked, generously sized burger. This is precisely where homemade burger buns shine, offering an unparalleled foundation that transforms a good burger into a truly memorable culinary event. Forget flimsy, easily crumbling store-bought varieties; these handcrafted buns are robust enough to hold up to even the most decadent toppings and succulent patties, providing the perfect balance of structure and softness.
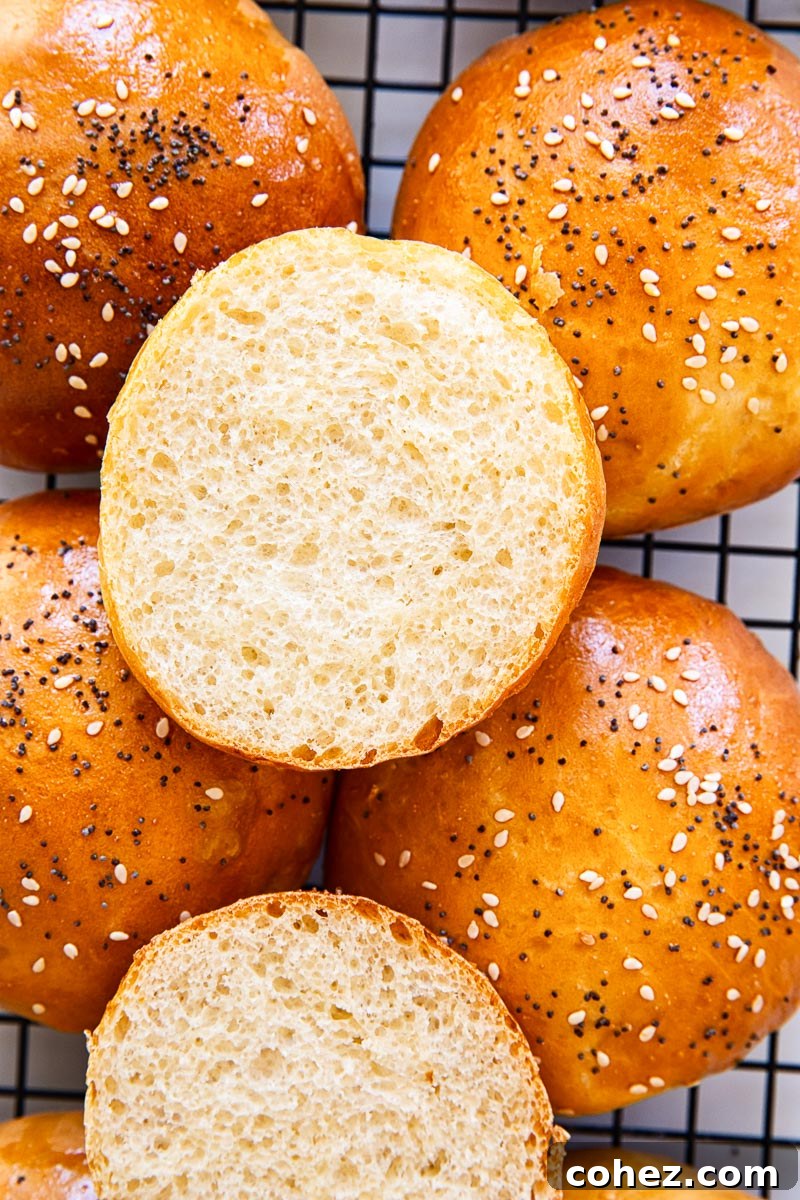
Our simple yet masterful recipe consistently delivers the ultimate burger bun experience: exquisitely soft and fluffy on the inside, with a satisfyingly chewy crust that offers just the right amount of resistance. Beyond their structural integrity, these buns boast an incredible flavor profile that far surpasses mere packaging for your burger and its accompanying toppings. They become an integral part of the dish, enhancing every bite with their rich, buttery notes. And the most compelling reason to try them? These delicious, restaurant-quality hamburger buns are incredibly quick to make, requiring a mere 2 hours from the moment you start mixing ingredients to the time they emerge golden and fragrant from your oven!
Crafting the Perfect Hamburger Bun: A Recipe Revelation
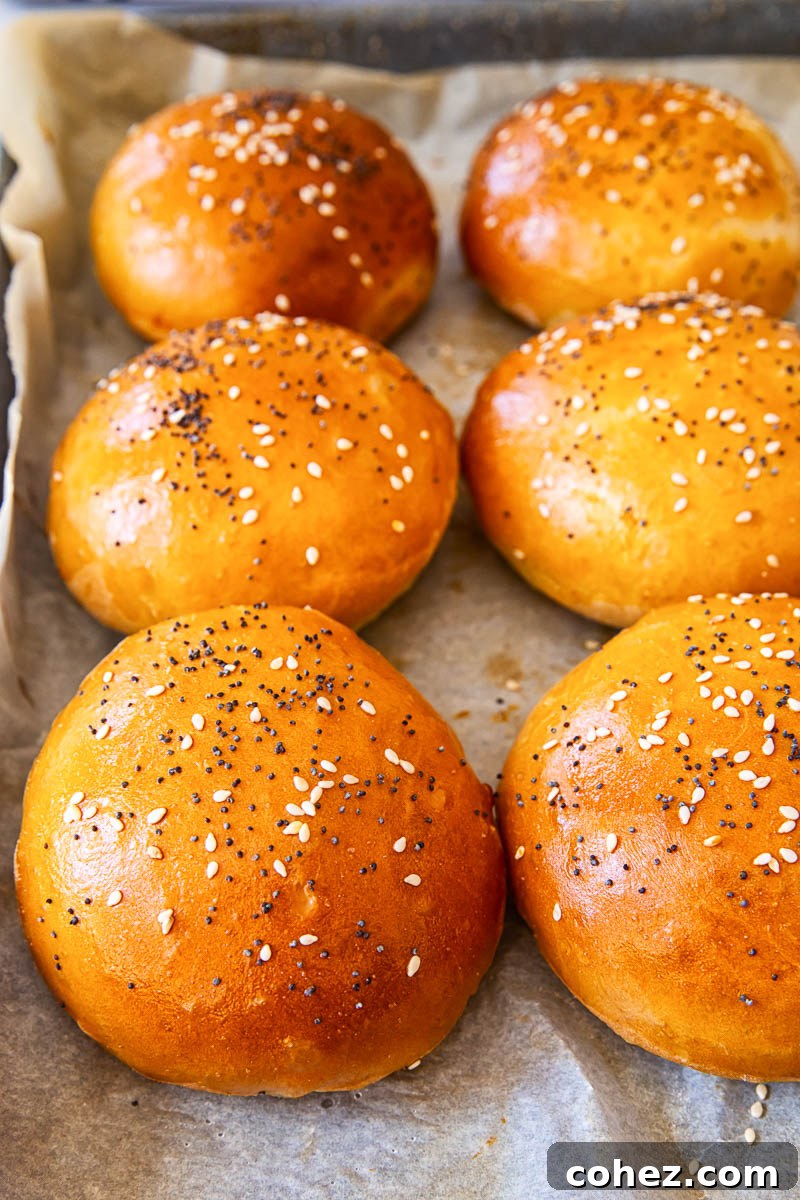
This exceptional hamburger bun recipe, like many of our most cherished culinary secrets, originates from my mother’s kitchen. We’ve taken her brilliant master yeasted dough recipe and carefully adapted it to achieve the specific qualities ideal for a superior burger bun. The results, we’re thrilled to say, were absolutely delightful! These buns possess everything you could possibly desire to cradle your burger masterpiece. They exhibit a beautifully sturdy yet yielding crust with a lovely golden sheen, while the interior crumb is consistently soft, airy, and utterly fluffy.
For me, the paramount quality of a truly great burger bun lies in its ability to effectively absorb the savory juices and condiments from the patty and toppings without disintegrating in your hands. Simultaneously, it must offer a tender bite that doesn’t overwhelm the delicate textures within the burger. This recipe achieves that perfect equilibrium, providing a bun that’s both resilient and wonderfully palatable, allowing the burger’s flavors to shine while providing its own delectable contribution.
How to Make Them: Simplified Brioche-Style Buns
The secret to these incredibly soft and buttery hamburger buns lies in a method not too dissimilar from a classic brioche recipe. Essentially, we are working with an enriched yeasted dough, made extra luxurious with the addition of eggs and oil. However, please don’t let the mention of “brioche” — often associated with complex French patisserie techniques — intimidate you! This dough recipe is remarkably straightforward and accessible for any home baker, regardless of experience level. We’ve simplified the traditional brioche process to make it incredibly user-friendly.
The primary simplification involves incorporating vegetable oil directly into the dough from the start, bypassing the more time-consuming process of slowly adding softened butter. This minor adjustment significantly streamlines the kneading process without compromising on the desired rich flavor and tender texture. Furthermore, the amount of yeast has been thoughtfully increased to ensure a fast-rising dough, which is the key to achieving these delectable buns in such a short timeframe. This accelerated proofing allows you to have warm, freshly baked buns ready to serve in just 2 hours flat, making gourmet burgers a spontaneous weeknight possibility!
What Flour Should I Use for Homemade Buns?
For optimal results and to achieve that coveted fluffy interior with a pleasantly chewy crust, we highly recommend using strong bread flour. Bread flour contains a higher protein content compared to all-purpose flour, which is absolutely essential for the proper development of gluten. Gluten, in turn, is the structural network that gives bread its elasticity, allowing it to rise beautifully and creating that desirable soft yet resilient texture.
However, if strong bread flour isn’t readily available, all-purpose flour (for our US and Canadian readers) will certainly work as a suitable alternative. For our UK readers, plain flour can be an acceptable substitute if bread flour cannot be found. It’s worth noting, though, that using all-purpose or plain flour may result in a slightly tighter crumb and a less pronounced chew compared to buns made with high-protein bread flour. While still delicious, the texture will be subtly different.
For those seeking a more rustic or wholesome alternative, you can also successfully use whole wheat flour or spelt flour to make these hamburger buns. These options will impart a denser texture and a distinct nutty flavor. Alternatively, a popular choice is to use a half-and-half combination of white bread flour and whole wheat or spelt flour. This blend offers a fantastic compromise, providing some of the whole grain benefits while maintaining a lighter texture than a 100% whole grain bun. Experiment to find your perfect bun!
Essential Tips and Notes for Perfect Buns
- **Flour Choice Matters:** While all-purpose flour can be used, for the absolute best results in terms of texture and rise, bread flour is superior. Bread flour’s higher protein content facilitates more robust gluten development. This improved gluten structure is crucial for a dough that is both stretchy and elastic, leading to an impressive rise during proofing and a wonderfully soft yet chewy texture once baked.
- **Whole Grain Options:** Feel free to experiment with whole wheat or spelt flour for a more nutritious bun. A 50:50 ratio of white and whole grain flour (wheat or spelt) offers a delightful balance of flavor and texture, providing a slight heartiness without making the buns too dense.
- **Kneading Efficiency:** While traditionalists might enjoy the meditative process of kneading dough by hand, we highly recommend using a stand mixer with a dough hook attachment. Not only does this significantly reduce the physical effort involved, but it also cuts down the kneading time by almost half, making the 2-hour timeline even more achievable. Proper kneading develops the gluten, which is vital for the bun’s final texture.
- **The Warmth for Yeast Activation:** Yeast thrives in warmth. For your dough to rise effectively and double in volume as expected, ensure it is placed in a warm, draft-free environment. If your kitchen is cool, consider finding a warmer spot, like near a sunny window, above a warm oven, or in a slightly warmed (then turned off) oven, to encourage optimal yeast activity and a successful rise.
- **The Golden Egg Wash:** An egg wash before baking might seem like a minor detail, but it plays a significant role in the final appearance of your buns. Brushing the shaped dough with a beaten egg gives the buns their signature beautiful golden-brown color and a lovely, subtle sheen, making them visually appealing and professional-looking. Don’t skip this step for that bakery-quality finish!
- **Patience for Cooling:** It’s incredibly tempting to tear into warm, freshly baked bread or buns straight from the oven, but for the best texture, patience is key. A substantial amount of moisture within the freshly baked buns is initially in the form of steam. Allowing the buns to cool completely on a wire rack enables this steam to reabsorb back into the dough, resulting in that wonderfully soft, light, and perfectly fluffy interior crumb we all desire.
Serving Suggestions: More Than Just Burgers!
While these magnificent buns were undoubtedly created with big, juicy burgers in mind, their versatility extends far beyond the grill. They are truly the perfect companion for a wide array of fillings, transforming any sandwich or slider into a gourmet experience. Naturally, we recommend starting with these classic burger pairings:
- Best Homemade Burgers: The ultimate match for our buns.
- Smash Burger: Their sturdy yet soft texture is ideal for a crispy smash burger.
- Salmon Burgers: A lighter, flavorful option that perfectly complements these rich buns.
- Halloumi Burgers: For a delicious vegetarian twist that deserves a great bun.
But why limit yourself? These exceptional buns are just as perfect for elevating other meals. Imagine them filled with savory Asian Pulled Pork with Carrot, Zucchini, and Radish Slaw, soaking up all the flavorful juices. Or, for a truly indulgent breakfast or brunch, fill these soft rolls with a perfectly fried egg, a slice of ripe tomato, creamy avocado, and your favorite cheese to create the best breakfast sandwich you’ve ever had. They’re also fantastic for deli-style sandwiches piled high with cold cuts, cheese, and fresh veggies, or as a side for soups and stews. Their brioche-like richness makes them a delightful foundation for sweet applications too, perhaps lightly toasted with jam or cinnamon sugar for a breakfast treat. The possibilities are endless!
Storage and Leftovers: Easy Meal Prep!
Wondering about meal prep and how to preserve these delectable buns? You’ll be delighted to know that these homemade hamburger buns freeze beautifully! This makes them an excellent candidate for doubling the recipe. You can easily bake a larger batch and freeze half for another day, ensuring you always have gourmet burger buns on hand whenever the craving strikes.
If you choose to double the recipe, simply multiply all the ingredient quantities by two. The preparation, rising, and baking times remain consistent, allowing for efficient batch baking. To freeze, ensure the buns are completely cooled, then wrap them tightly individually in plastic wrap, followed by a layer of aluminum foil, or place them in an airtight freezer bag. They can be stored in the freezer for up to 3 months. When ready to use, simply thaw them at room temperature for a few hours, then refresh them in a warm oven (around 300°F/150°C) for 5-10 minutes to restore their fresh-baked softness and aroma. At room temperature, stored in an airtight container, these buns will remain fresh for 2-3 days.
More Easy Bread Recipes to Try
If you’ve enjoyed making these hamburger buns, you might love exploring other simple and rewarding bread recipes from our collection:
- 2 Hour Dutch Oven Bread: Another quick and impressive loaf.
- No Knead Farmhouse Bread: Minimal effort, maximum flavor.
- Honey Buckwheat Soda Bread (No Yeast): A fantastic yeast-free alternative.
- Hearty Rye Bread: For those who appreciate a denser, flavorful loaf.
2 Hour Hamburger Buns

Ingredients
- 220ml/1 cup warm milk, whole or skimmed
- 7g/1 tbsp active dry yeast
- 1½ tbsp sugar
- 1½ tbsp vegetable oil
- 1 egg
- ½ tsp salt
- 400g/3 cups + 2 tbsp white bread flour or all purpose flour, read notes
- 1 egg for brushing
- 1 tbsp sesame seeds or poppy seeds
Instructions
-
In a small bowl, combine the warm milk, active dry yeast, and sugar. Stir gently and let the mixture stand for 5 minutes until the yeast is foamy, indicating it’s active. Then, add the vegetable oil, salt, and 1 egg. Whisk these ingredients together thoroughly with a fork until well combined.
-
Pour the liquid mixture into the flour in a large mixing bowl. Mix with a spoon or your hands until a rough, shaggy dough forms. Transfer this dough out of the bowl onto a lightly floured surface. Begin kneading by hand, pushing, stretching, and folding the dough for approximately 8-10 minutes until it becomes smooth, elastic, and no longer sticky. If using a stand mixer, attach the dough hook and knead on low speed for 1 minute, then increase the speed to medium and continue kneading for an additional 4 minutes.
-
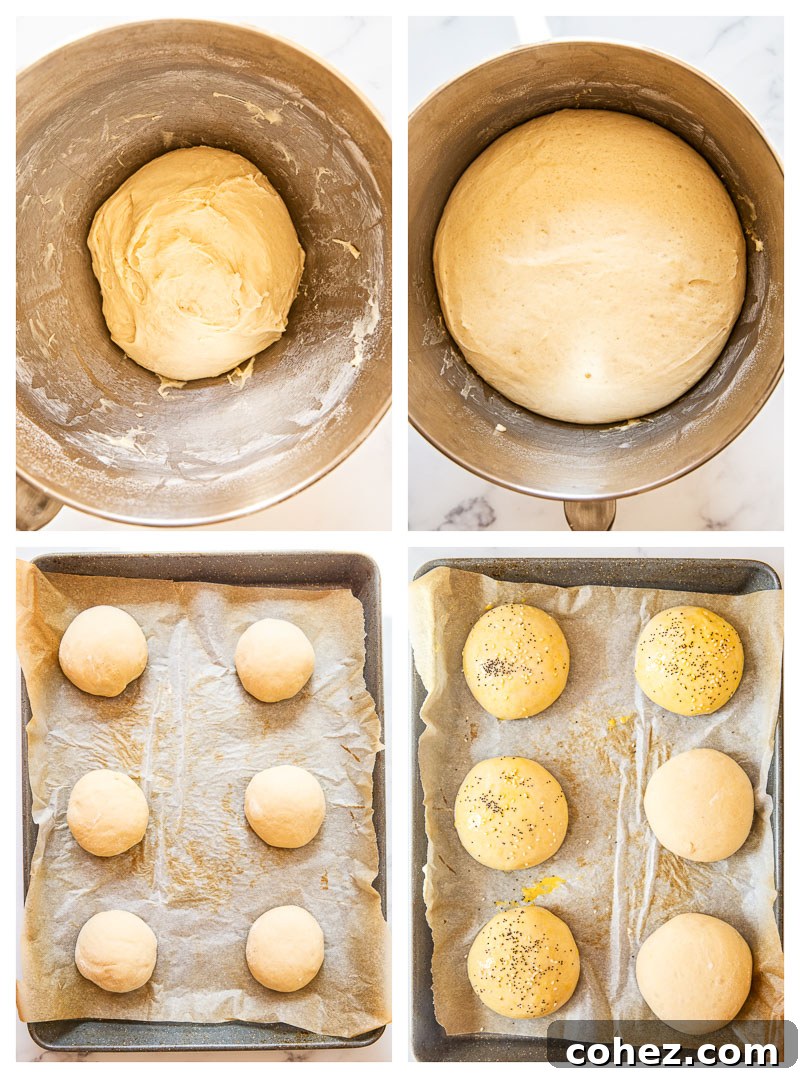
Lightly grease the mixing bowl with a touch of vegetable oil. Return the kneaded dough to the bowl, turning it once to coat. Cover the bowl tightly with plastic wrap, then drape a clean kitchen towel over it. Allow the dough to rise in a warm, draft-free place for 45 minutes, or until it has more than doubled in volume. While the dough is rising, preheat your oven to 180°C/350°F.
-
Once the dough has doubled in volume, gently punch it down to release the air. Transfer the dough onto a lightly floured surface and divide it into 8 equal parts. For precision, you may wish to weigh each piece to ensure uniform bun size. Roll each piece into a smooth, round ball. Place the shaped dough balls onto a baking sheet lined with parchment paper, ensuring they are spaced about 2 inches apart to allow for expansion. Cover the buns loosely with a tea towel and let them rise for a second time for 30 minutes in a warm spot.
-
Just before baking, gently brush the tops of the risen buns with a beaten egg (this will give them a beautiful golden shine). Sprinkle generously with sesame seeds or poppy seeds, or a combination of both, for added flavor and texture. Bake in the preheated oven for 20-25 minutes, or until the buns are deep golden brown and sound hollow when tapped on the bottom. Remove from the oven and transfer them to a wire rack to cool completely before slicing and serving.
Nutrition
Nutrition information is automatically calculated, so should only be used as an approximation.
Tried this recipe?Let us know how it was!