
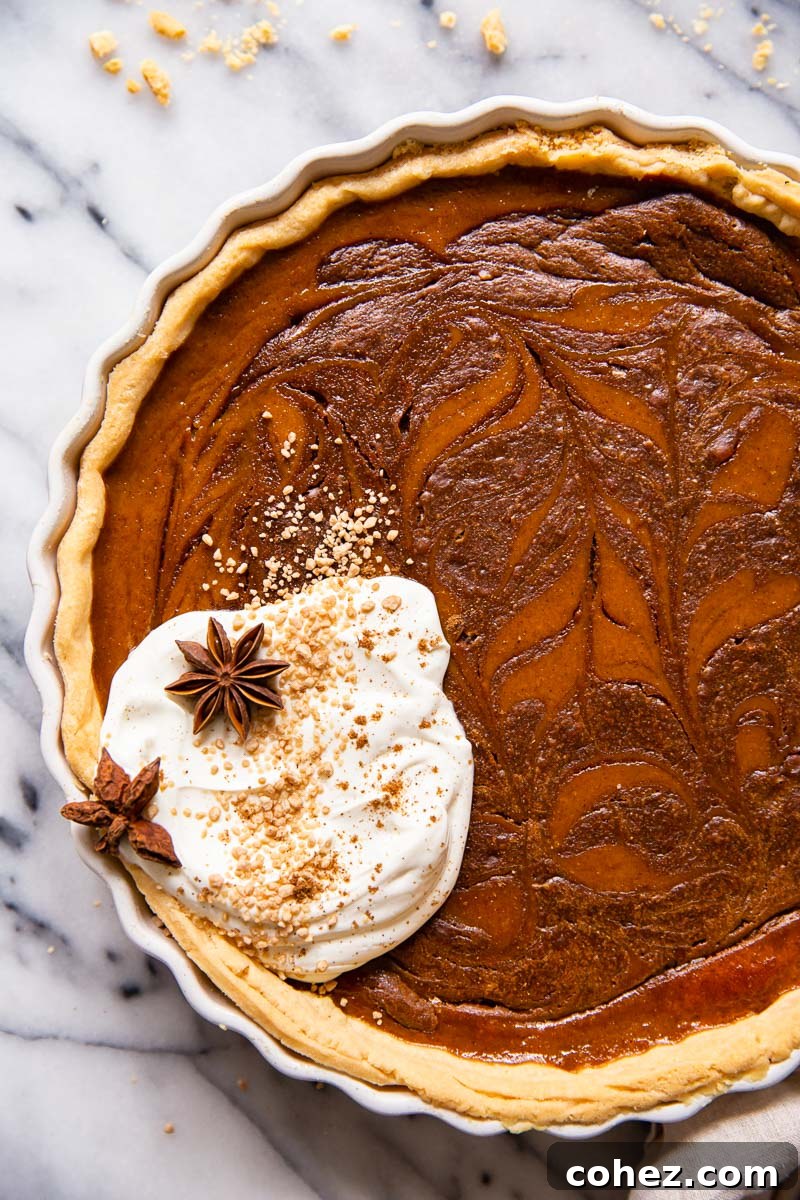
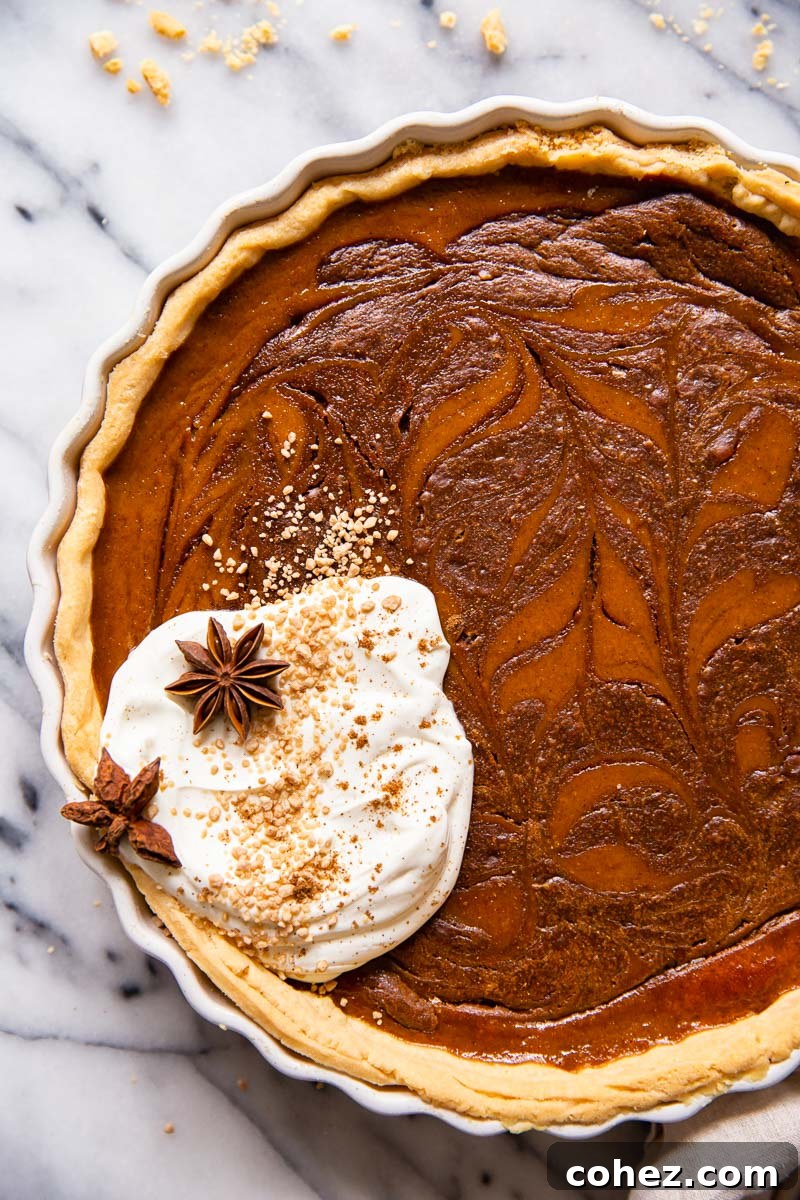
Transform your classic pumpkin pie experience into something extraordinary with this recipe for Chocolate Swirl Pumpkin Pie, featuring the delightful crunch of melted Toblerone. Prepare to discover your new go-to fall dessert, elevating a beloved seasonal favorite to an unparalleled level of deliciousness.
For those who adore the rich flavors of pumpkin pie but prefer to bypass the pastry-making process, explore my delightful Pumpkin Mousse Trifle for a simpler, yet equally satisfying, dessert.
The Classic Pumpkin Pie: A Beloved Foundation
For years, I firmly believed that the classic pumpkin pie recipe was culinary perfection, an iconic dessert that needed no embellishment. Why tamper with something so inherently wonderful, so deeply rooted in tradition and comfort? Its creamy, spiced pumpkin filling nestled in a tender, flaky crust is a timeless masterpiece, evoking warmth and nostalgia with every bite.
However, even perfection can inspire new creativity. While the traditional recipe remains a genius creation, every so often, it’s incredibly rewarding to introduce an inventive twist. This philosophy led to an exciting discovery: a pumpkin pie reimagined with a decadent chocolate swirl. And not just any chocolate, but the distinct pleasure of Toblerone.
Toblerone, with its signature honey and almond nougat bits embedded in smooth, rich chocolate, has always been one of my personal favorites. The subtle crunch and unique flavor profile of Toblerone prove to be an unexpectedly brilliant complement to the creamy, soft texture of pumpkin pie. The interplay of textures and the sophisticated blend of flavors create an irresistible winning combination that will surprise and delight your taste buds.
But before we dive into the spiced pumpkin filling and chocolate swirls, every truly exceptional pie begins with an impeccable crust. And I’m thrilled to share a pastry recipe that consistently delivers the flakiest, most delightful foundation for any pie.
Mastering the Art of the Flaky Pie Pastry
A truly unforgettable pie starts with an equally unforgettable crust. We can all agree that the hallmark of a superior pastry is its flakiness – that delicate, tender texture that melts in your mouth. The recipe I rely on most, and one that has garnered countless compliments, was lovingly passed down to me by my mother-in-law. Her pies are legendary within our family; my father-in-law, a true connoisseur, would often forgo a traditional birthday cake in favor of one of her glorious pies. This legacy speaks volumes about the quality of her crust.
What sets this particular pastry recipe apart and makes it so consistently flaky is the thoughtful inclusion of vinegar. This seemingly unconventional ingredient plays a crucial role in creating those desirable layers. The acidity of the vinegar tenderizes the gluten in the flour, preventing the dough from becoming tough and promoting that exquisite flakiness we all crave. Furthermore, the recipe calls for lard, and while I often advocate for butter in baking, this is one instance where I emphatically insist on lard. Its unique fat composition contributes unparalleled tenderness and flakiness that butter simply cannot replicate.
Beyond the ingredients, technique is paramount. The golden rule for a flaky pastry is to handle the dough as little as possible. Overworking the dough develops too much gluten, resulting in a tough crust. More importantly, excessive handling generates heat, which melts the precious bits of fat (lard, in this case). Keeping these tiny pockets of cold, solid fat intact is absolutely critical for the texture. As the pie bakes, these fat pockets melt, releasing steam that separates the layers of dough, creating the characteristic flakes. Another non-negotiable step for success is thorough chilling. Never rush the pastry-making process. After assembling the dough, a good chill allows the gluten to relax and the fat to firm up, ensuring easier rolling and a superior final texture. Plan ahead and give your pastry ample time to rest in the refrigerator before rolling it out.
The Indispensable Step: Blind Baking Your Pie Crust
For any custard-based pie, especially pumpkin pie, the question isn’t “should I blind bake the pastry?” but rather, “how thoroughly should I blind bake it?” The answer is a resounding “absolutely, yes!” Blind baking is a non-negotiable step if you want to prevent the dreaded soggy bottom – a common pitfall that can undermine even the most delicious filling. This crucial technique ensures your pie crust is perfectly cooked, crisp, and golden, providing a sturdy and satisfying base for your creamy pumpkin filling.
While “blind baking” might sound like a professional, intimidating term, it’s surprisingly simple to execute. Essentially, it means pre-baking your pie crust before adding the filling. The process involves lining your unbaked pastry shell with parchment paper or foil, then filling it with pie weights. These weights are vital; they prevent the pastry from bubbling up, shrinking down the sides of the pie plate, or developing an uneven shape during baking. You can purchase specialized ceramic baking beans, or, as I often do, use readily available dry beans or rice. These household items perform the task just as effectively.
For a pumpkin pie, you’ll typically perform a “partial” blind bake. This means the crust is baked until it’s set and lightly golden, but not fully cooked through. The exact baking time will vary, but usually, it’s around 15-20 minutes at a higher temperature. After this initial bake, you remove the weights and parchment, reduce the oven temperature, pour in your luscious pumpkin filling, and then return the pie to the oven to finish baking. This two-stage baking process guarantees that your bottom crust will be flaky and crisp, offering the perfect textural contrast to the smooth, rich pumpkin filling without ever being soggy.
Crafting the Irresistible Chocolate Swirl in Your Pumpkin Pie
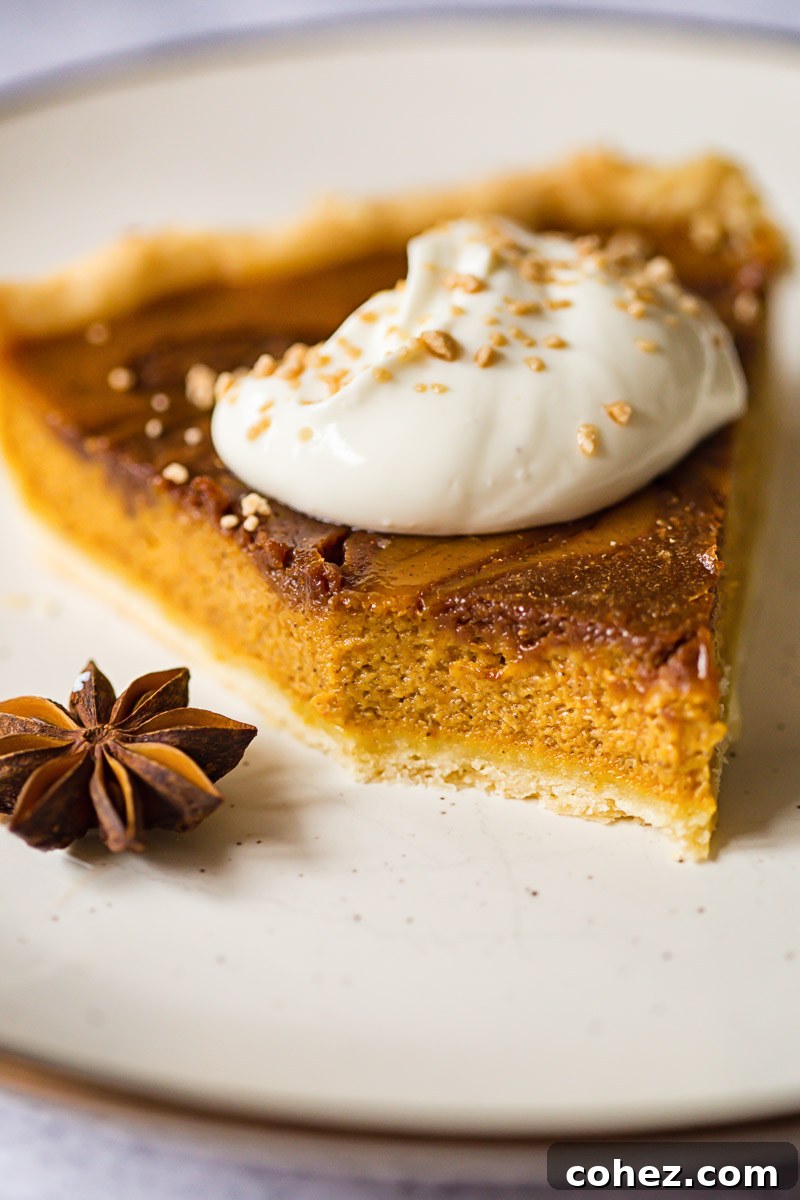
Now, let’s talk about the element that transforms this pumpkin pie from classic to captivating: the mesmerizing chocolate swirl. Adding a beautiful, marbled chocolate design isn’t just about aesthetics; it infuses every slice with pockets of rich, indulgent chocolate that perfectly complement the spiced pumpkin. The process is straightforward, but there’s a crucial step that ensures a successful, crack-free pie.
First, select your chocolate. While Toblerone adds a unique textural element with its nougat bits, a good quality milk or dark chocolate bar will also create a stunning swirl. Melt your chosen chocolate carefully. A double boiler is ideal for a gentle melt, or you can use a microwave, heating in short 30-second bursts and stirring thoroughly between each interval to prevent burning. Ensure the chocolate is completely smooth and melted, but not overly hot.
Here’s the golden secret to preventing cracks in your finished pie, a lesson learned through past, less successful experiments: Do not simply drizzle the melted chocolate directly onto the pumpkin filling. Instead, take about ½ cup (125ml) of your prepared pumpkin pie filling and vigorously stir it into the melted chocolate. This step is vital because it helps to equalize the texture and temperature of the two mixtures. If the chocolate is too thick or significantly different in consistency from the pumpkin filling, the two layers will expand and contract at different rates during baking, leading to unsightly cracks on the surface of your pie.
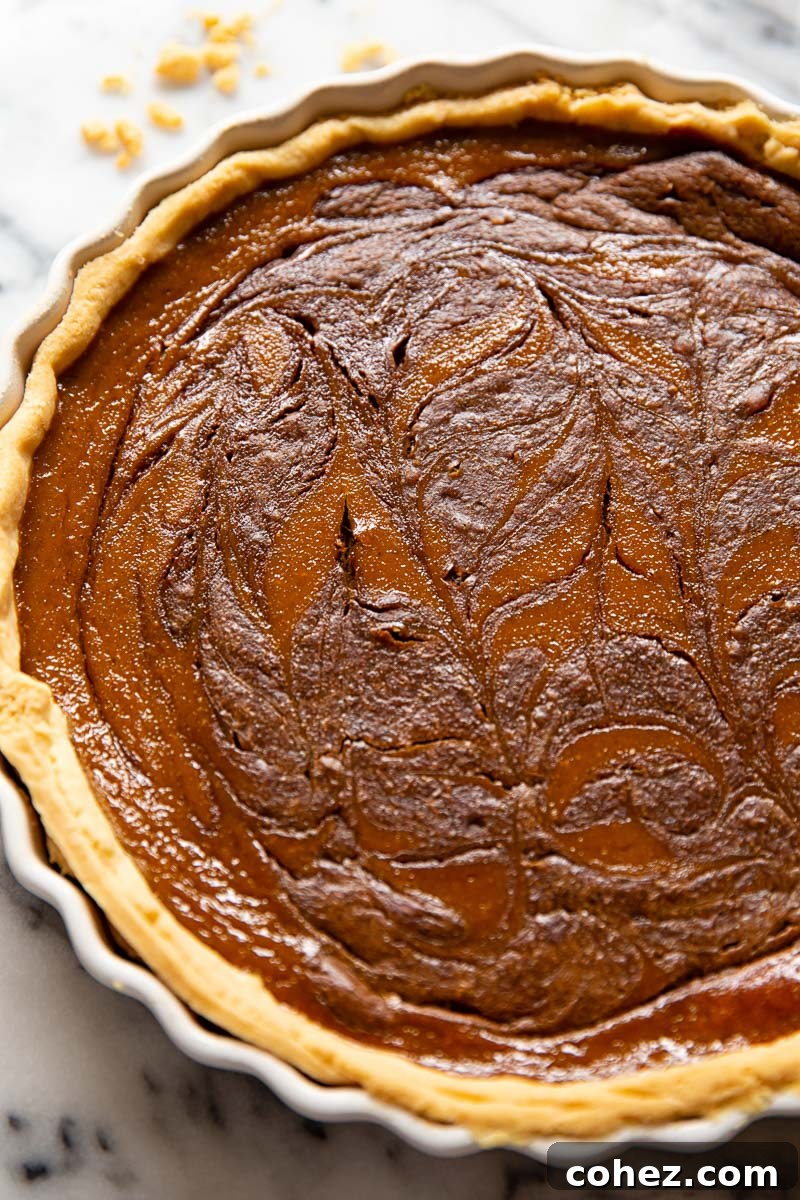
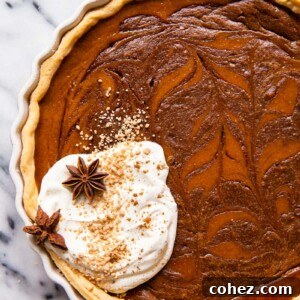
Once you have your pumpkin-chocolate mixture, pour the main pumpkin filling into your blind-baked pie crust. Then, using a spoon or a small measuring cup, randomly drop spoonfuls of the chocolate-pumpkin mixture over the surface of the plain pumpkin filling. Don’t be too precise; the beauty of a swirl lies in its organic, artistic nature. Finally, take a knife, skewer, or even a toothpick and gently swirl through the dropped chocolate, creating elegant patterns. You can make broad strokes for larger swirls or smaller, more intricate designs – the choice is yours. Swirl just enough to create a beautiful marble effect, being careful not to overmix, which would fully incorporate the chocolate and lose the distinct swirl.
This method ensures that your chocolate swirl not only looks stunning but also bakes beautifully, creating a harmonious blend of flavors and textures without any structural compromises.
Perfecting Your Pumpkin Pie Experience: Serving Suggestions
To truly appreciate the complex flavors and delightful texture of this Chocolate Swirl Pumpkin Pie, optimal serving conditions are key. This pie reaches its peak deliciousness when served at room temperature. Chilling the pie, while sometimes necessary for storage, tends to mute the subtle spices and the rich notes of both pumpkin and chocolate. Allowing it to come to room temperature for at least 30-60 minutes before serving will allow all the aromatic compounds to bloom, enhancing your tasting experience.
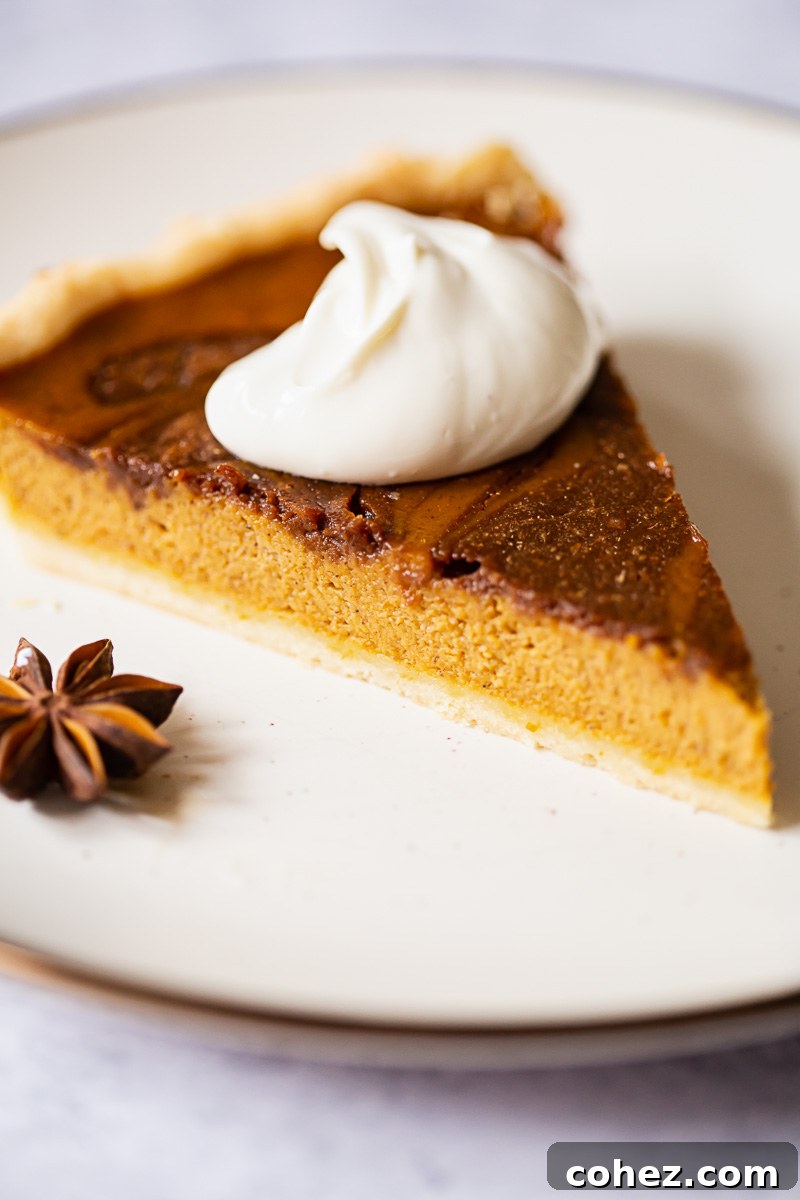
No pumpkin pie is complete without the perfect accompaniment. A generous dollop of freshly whipped cream is a classic choice, offering a light, airy contrast to the dense, creamy filling. If you’re a fan of contrasting flavors and textures, or prefer something less overtly sweet, consider serving your pie with slightly sweetened crème fraîche. Its tangy richness provides a wonderful counterpoint to the pie’s sweetness, creating a more sophisticated flavor profile.
For an extra touch of autumnal elegance and sensory appeal, I adore decorating fall desserts with whole star anise pods. Their intricate star shape is visually striking, and their subtle licorice-like aroma adds a lovely, natural fragrance without overpowering the pie. Beyond aesthetics, I often sprinkle my pies with a touch of maple sugar. This exquisite sweetener, a cherished gift from Canada, adds a delicate, earthy sweetness and a beautiful shimmering finish that perfectly complements the pumpkin and chocolate. Consider adding a light dusting of cinnamon or a tiny pinch of freshly grated nutmeg for an additional layer of warmth and spice. Serve your pie with a warm cup of coffee, a spiced chai latte, or even a glass of apple cider for a truly cozy and satisfying dessert experience.
More Delightful Pumpkin Recipes to Explore
- Toffee Honeycomb Pumpkin Muffins
- DIY Pumpkin Spice Syrup
- Spiced Pumpkin and Chocolate Cake
- Pumpkin Bread with Butterscotch Streusel Topping
Pumpkin Pie with Chocolate Swirl
Equipment
-
Rolling Pin
-
Pie dish
-
Mixing bowls
Ingredients
- 9 inch pie crust, or store bought pie crust
- 400g/15oz canned pumpkin puree, or your own
- 3 large eggs
- 125ml/1/2 cup double cream/whipping cream
- 100g/1/2cup brown sugar
- 1 1/2 tsp cinnamon
- 1/4 tsp cloves
- 1/4 tsp ginger
- 1/4 tsp nutmeg
- 1 tsp vanilla extract
- 1/2 tsp salt
- 80g/1/3cup chopped Toblerone or regular chocolate bar
Instructions
For the pie crust
-
Preheat your oven to 400°F/200°C. Prepare 1/3 of the flaky pie crust recipe (linked for convenience). On a lightly floured surface, roll out the pastry evenly. Carefully drape the rolled pastry over your rolling pin, then transfer it gently to your 9-inch pie or tart plate. Press the pastry into the contours of the plate, ensuring the edges are neat and extend up to the top rim. Place the pie crust in the refrigerator to chill for at least 20 minutes. This chilling step is essential for preventing shrinkage during baking.
-
After chilling, line your unbaked pie crust with parchment paper, allowing it to overhang the edges. Fill the lined crust completely with pie weights (baking beans or rice work perfectly). Bake in the preheated 400°F/200°C oven for 15 minutes. Carefully remove the pie from the oven and immediately reduce the oven temperature to 350°F/180°C. Let the crust cool for about 5 minutes, then gently lift the parchment paper along with the weights out of the pie shell. The crust is now partially baked and ready for the filling.
For the pumpkin pie filling
-
While your pie crust is blind baking, prepare the rich pumpkin filling. In a large mixing bowl, beat the eggs with the brown sugar until well combined. Gradually add the canned pumpkin puree, double cream (or whipping cream), cinnamon, nutmeg, cloves, ginger, vanilla extract, and salt. Whisk everything together until the mixture is smooth and uniform. Set this pumpkin filling aside briefly.
-
Next, chop the Toblerone bar (or your chosen chocolate) into small pieces. Melt the chocolate either in a double boiler over simmering water or in a microwave using short, 30-second bursts, stirring thoroughly after each interval until completely smooth. Crucially, take 125ml (1/2 cup) of the prepared pumpkin filling and stir it into the melted chocolate. This step helps to stabilize the chocolate mixture and prevents the pie from cracking during baking by equalizing the consistency and temperature. Once combined, pour the main pumpkin filling into your partially baked pie crust. Then, randomly drop small spoonfuls of the chocolate-pumpkin mixture over the surface of the plain pumpkin filling. Take a skewer, toothpick, or the tip of a knife and gently swirl through the chocolate to create an appealing marbled pattern.
-
Carefully transfer the pie to the preheated 350°F/180°C oven. Bake for approximately 40-55 minutes, or until the filling is set and a knife inserted near the center comes out clean (it may have a slight jiggle in the very center, which indicates perfect doneness). Remove the pie from the oven and allow it to cool completely on a wire rack before slicing and serving. This slow cooling process is important for the filling to fully set. Serve your stunning Chocolate Swirl Pumpkin Pie at room temperature, garnished with fresh whipped cream for an extra touch of indulgence.
Nutrition
Nutrition information is automatically calculated and should only be used as an approximation.