
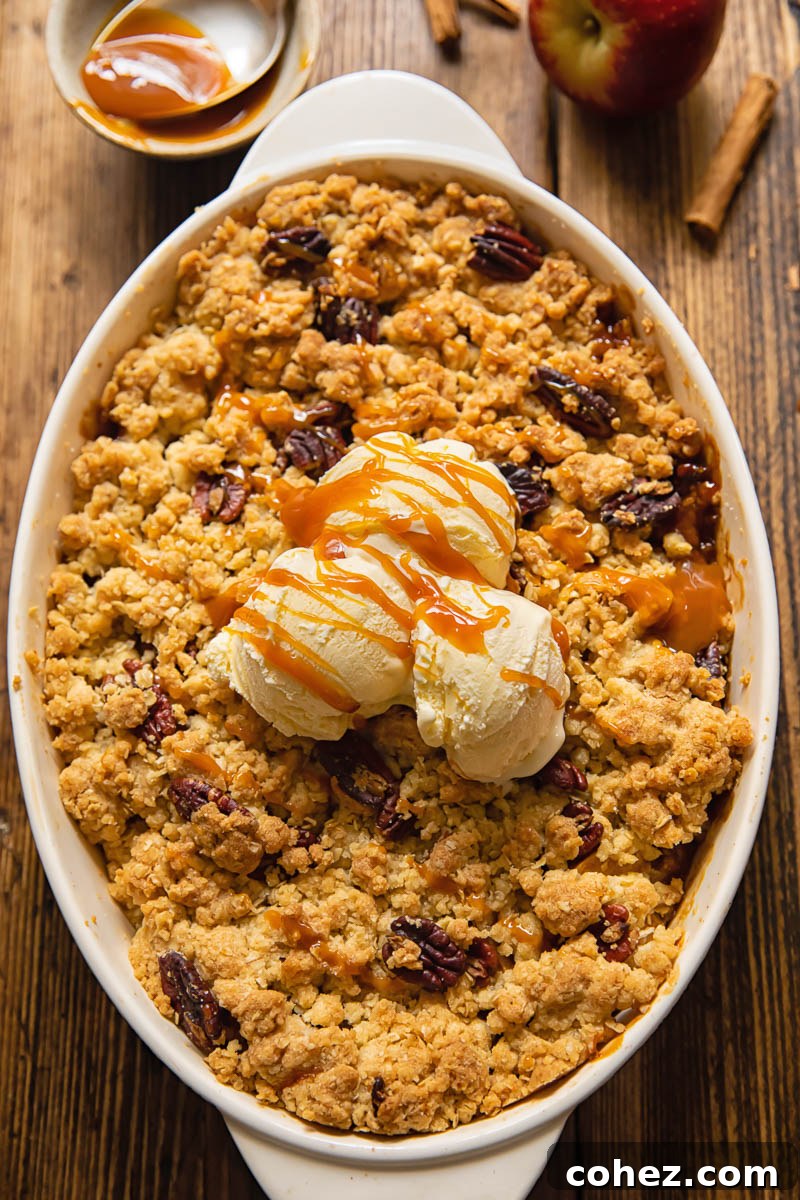
This irresistibly easy homemade apple crisp is more than just a dessert; it’s an experience. It begins with the comforting aroma of sweet apples and warm cinnamon wafting through your kitchen, a promise of the deliciousness to come. Then, a steaming bowl reveals tender, spiced fruit beneath a golden, crunchy topping of oats and pecans. It’s the ultimate comfort food, a perfect blend of warmth, texture, and flavor that captivates with every spoonful. And trust me, you’ll want to keep this simple apple crisp recipe all to yourself.
If you find yourself leaning towards classic apple pie, our Grandma’s homemade apple pie offers a nostalgic taste, reminiscent of cozy autumn afternoons and cherished childhood memories.
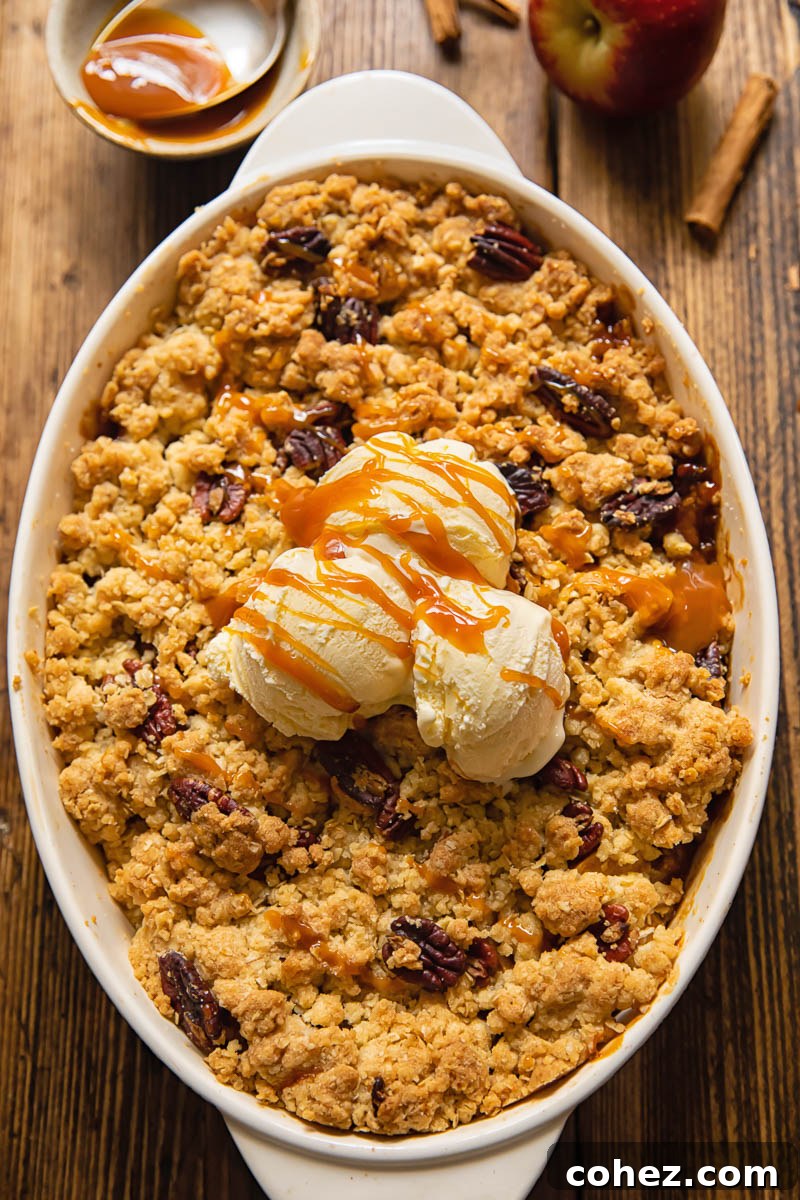
Mastering the Homemade Apple Crisp: A Culinary Deep Dive
The world of baked fruit desserts can sometimes be a delicious labyrinth, especially when distinguishing between an apple crisp, an apple crumble, and a streusel. While often used interchangeably, these terms refer to distinct preparations, primarily varying based on their geographic origins and topping compositions.
Apple Crisp vs. Apple Crumble: A Transatlantic Tale
For over a decade, my dessert orders have shifted from “apple crisp with a scoop of vanilla ice cream” in North America to “apple crumble and custard” here in the UK. This geographical divide highlights the primary distinction: a crisp is typically North American, while a crumble is undeniably British.
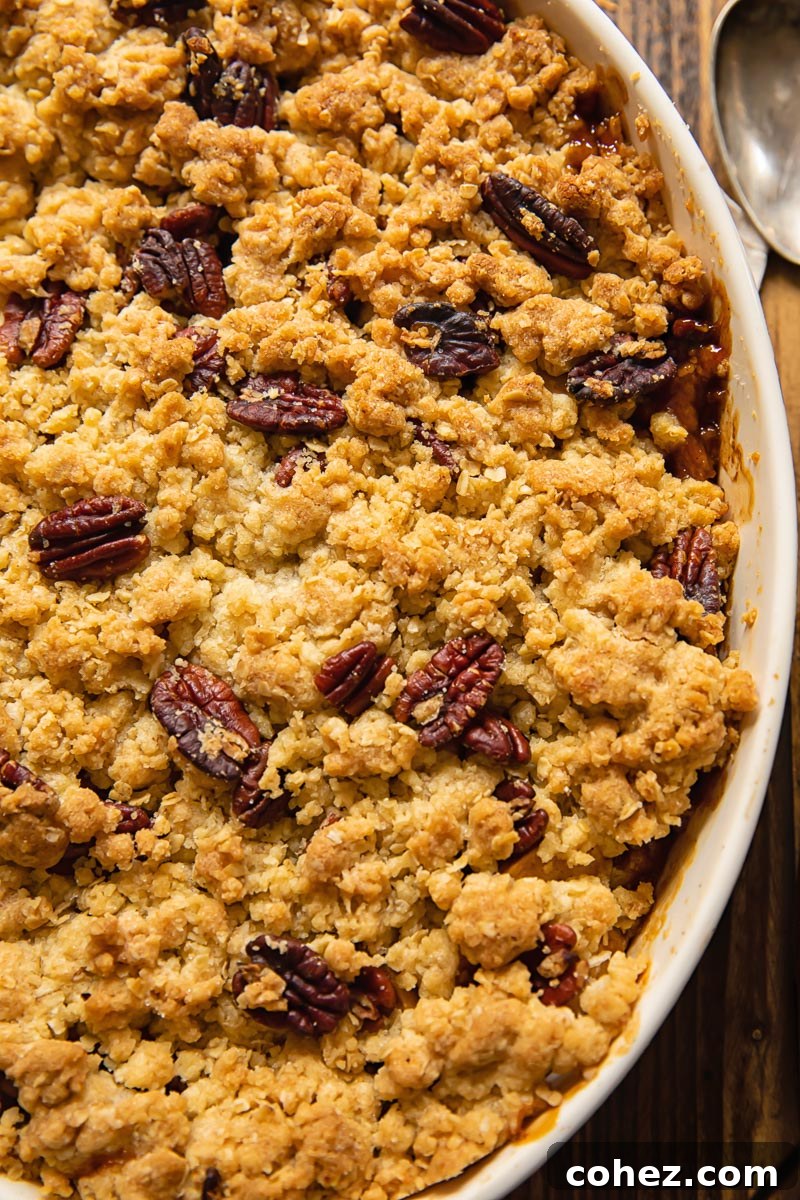
- Apple Crisp: The hallmark of an apple crisp is its distinctively crunchy, often golden-brown topping. This crisp texture is achieved through a generous amount of butter and sugar, which, when baked, caramelizes to create irresistible dark and crispy edges. Crucially, a true apple crisp always incorporates oats into its topping, providing that signature satisfying crunch. The oats toast beautifully, adding depth of flavor and a rustic appeal.
- Apple Crumble: On the other side of the Atlantic, the British apple crumble features a topping with a higher ratio of flour to sugar and butter. This composition results in a more crumbly, cake-like texture that is designed to absorb the delicious fruit juices. While oats can be an optional addition to a crumble for extra texture, they are not a defining characteristic as they are in a crisp. The crumble topping tends to be softer and more homogenous, melting into the fruit layer rather than standing apart as a distinct, crispy layer.
Both are delightful, but if you’re chasing that ultimate golden, crunchy, oat-flecked topping, you’re looking for an apple crisp. Our recipe delivers just that.
What About Streusel?
The term “streusel” adds another layer to this dessert lexicon. While crumbles and crisps are specifically toppings for baked fruit desserts, streusel is a more versatile crumbly topping typically used for cakes, muffins, or sweet breads. The ingredients for streusel are often similar to a crumble – butter, flour, and sugar – but the texture is usually finer and more uniform, designed to add a delicate crunch without overshadowing the baked good it adorns. Although it shares the “crumbly” characteristic with a crumble, streusel aims for a lighter, more integrated crunch, making it distinct from the more robust and chunky texture of a crisp.
Selecting the Best Apples for Your Apple Crisp
While some might argue that any apple can make a good apple crisp, with over 7,500 apple varieties globally, I strongly beg to differ. The choice of apple is paramount to achieving the perfect balance of flavor and texture in your homemade apple crisp.
For an apple to be truly worthy of a stellar apple crisp recipe, it must possess two key qualities: firmness and tartness. A firm apple will retain its structure during baking, preventing the filling from becoming a watery, mushy mess. Tartness, on the other hand, provides a crucial counterpoint to the sweet, buttery streusel topping, creating a complex and incredibly satisfying flavor profile that prevents the dessert from being overly saccharine.
Sweet apples, while delightful for snacking, often lack the structural integrity and tangy bite needed to stand up to baking, frequently resulting in a soggy or bland crisp. The contrast between sweet and tart is what truly elevates this classic dessert.
Here’s my ranking of commonly available apples for cooking, ordered from supremely sour to pleasantly sweet, to help you choose wisely for your easy apple crisp recipe:
- Bramley Apple: The undisputed king of sour apples, perfect for those who love a truly tangy crisp. It breaks down beautifully, creating a wonderfully soft, almost saucy filling.
- Granny Smith: A classic choice for baking. Its firm texture holds up well, and its sharp tartness cuts through the richness of the topping, delivering a vibrant flavor.
- Braeburn: A fantastic all-rounder. Braeburn apples offer a crisp texture and a lovely balance of tart and sweet, making them versatile for many baked goods.
- Honeycrisp: Known for its explosive crunch and balanced sweetness with a hint of tartness. It holds its shape remarkably well during baking, adding a delightful texture to the filling.
- Jonagold: A cross between Jonathan and Golden Delicious, offering a good balance of sweet and tart with a firm texture, although it can be slightly less firm than Granny Smith.
- Pink Lady: Borderline sweet, but its firm flesh can still work, especially if combined with a tarter apple. It offers a floral note that some enjoy.
- Golden Delicious: Definitely on the sweeter side and can be too mild for my taste in a crisp. It softens considerably during baking, so best paired with a firmer, tarter variety.
- Fuji: While delicious for snacking, Fuji apples are generally too sweet and have a high water content. This combination often leads to a filling that disintegrates and turns your crisp soggy. AVOID for optimal results!
My preferred easy apple crisp recipe specifically calls for Granny Smith or Braeburn apples. These varieties consistently deliver the desired tartness and maintain their texture, ensuring your apple crisp is perfectly balanced and never mushy.
Don’t shy away from experimentation! Using a mix of two different apple varieties, such as half tart and half slightly sweeter, can add layers of complexity and flavor to your easy homemade apple crisp. Just ensure at least one of your choices is firm and tart.
Recipe Tips for the Perfect Apple Crisp
- Embrace Cold Butter: The secret to a truly crisp topping lies in starting with very cold butter. Cold butter creates pockets of steam as it bakes, leading to a flakier, crunchier topping. If your butter is too warm, it will melt too quickly and create a more uniform, doughy crust rather than a distinct crisp.
- Master the Topping Texture: Cut your chilled butter into small cubes before mixing it into the dry topping ingredients. Use a pastry cutter or your cool fingertips to incorporate the butter. The goal is a coarse, crumbly texture with pea-sized pieces of butter, not a fine powder. Avoid overmixing or using warm hands, as this can melt the butter and compromise the crispiness.
- Slice Apples Uniformly: Apples are a dense fruit and require time to cook through. To ensure both the apple filling and the streusel topping cook perfectly within the same timeframe, slice your apples thinly and uniformly. Aim for slices roughly 1/4 inch thick. This ensures they soften beautifully without becoming mushy.
- Control the Juices with Cornstarch: I highly recommend adding a tablespoon of cornstarch (or cornflour) to your apple filling. This simple step works wonders in thickening the juices released by the apples during baking, preventing a watery bottom and ensuring a perfectly luscious, saucy filling that clings to the fruit.
- Elevate with Spices: While cinnamon is a classic pairing with apples, don’t hesitate to add a pinch of other warm spices like nutmeg, allspice, or even a tiny bit of ground cloves for extra depth and complexity in your filling.
- Toast Your Nuts: For an even richer, nuttier flavor in your topping, consider lightly toasting your pecans (or other nuts like walnuts or almonds) before adding them to the streusel mixture. This brings out their natural oils and enhances their aroma.
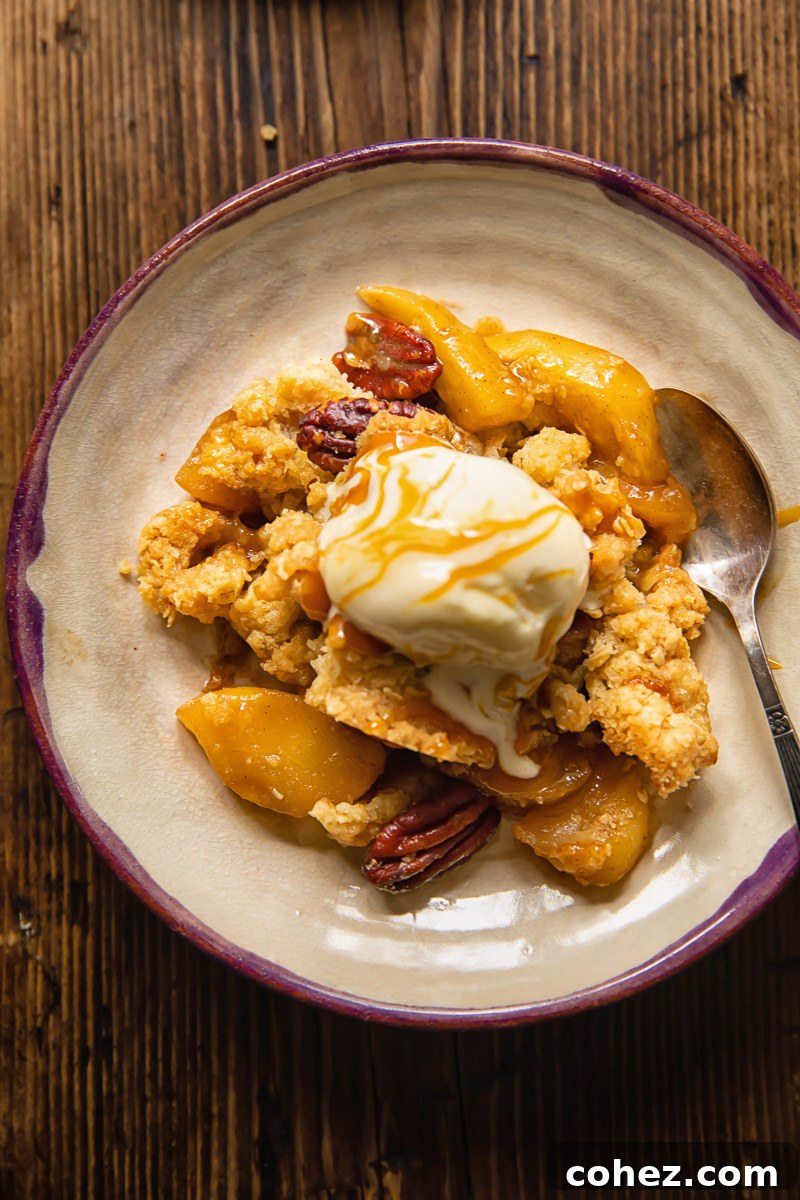
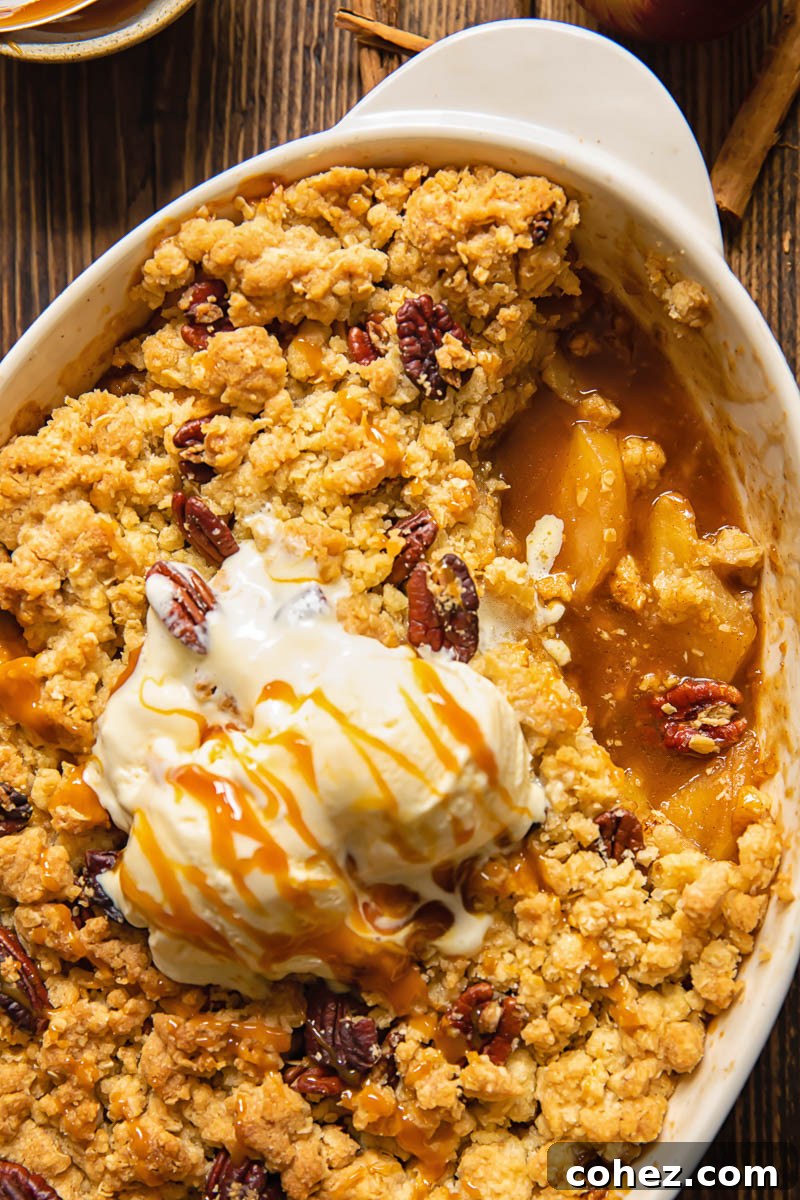
- The Ultimate Serving Suggestion: My definitive tip for serving apple crisp is this: pair a warm, freshly baked slice with a generous scoop of high-quality vanilla ice cream and a decadent drizzle of store-bought (or homemade!) salted caramel sauce. The hot and cold contrast, combined with the sweet and salty notes, is truly delish!
Serving Suggestions for Your Perfect Apple Crisp
Once your easy homemade apple crisp emerges golden and bubbling from the oven, the crucial decision remains: how to serve this delightful dessert? For me, there’s only one answer: I am resolutely team ice cream! A scoop of premium vanilla bean ice cream or rich clotted cream, melting slowly over the warm apple crisp, creates an exquisite contrast of temperatures and textures. And, as previously mentioned, a generous dousing of luscious salted caramel sauce is non-negotiable for that perfect sweet and salty finish.
However, my dear British friends often find themselves puzzled by this preference. “Why would you serve a hot pudding with a cold sauce?” they ask, a valid point from their perspective. For many in the UK, “apple crumble” (their equivalent of crisp) is incomplete without lashings of warm, creamy custard. This traditional pairing is undeniably comforting and allows the flavors of the apple and spice to truly shine through a velvety smooth sauce.
That being said, they are also partial to a liberal pour of single (light) cream cascading over the steaming hot dessert, offering a gentler, less sweet alternative to custard or ice cream. Ultimately, the choice is yours, but whether you opt for cold ice cream, warm custard, or a simple pour of cream, your homemade apple crisp is destined to be a crowd-pleaser.
Storage and Leftovers: Enjoying Your Apple Crisp for Days
One of the many joys of making easy apple crisp is its versatility for storage, making it an ideal make-ahead dessert for potlucks, holidays, or simply to enjoy throughout the week. You can freeze either a baked or unbaked apple crisp, preserving its deliciousness for months.
Freezing Baked Apple Crisp:
If you’ve already baked your apple crisp and have leftovers, or wish to prepare it entirely in advance:
- Allow the crisp to cool completely to room temperature. This is crucial to prevent ice crystals from forming.
- Wrap the entire baking dish (or individual portions) tightly in several layers of plastic cling film, ensuring it’s completely airtight. Follow with a layer of aluminum foil for extra protection against freezer burn.
- Freeze for up to 4 months.
- When ready to enjoy, your baked and frozen apple crisp can go straight into a preheated oven. Cook at 200°C / 400°F, adding approximately 10-15 minutes to the original cooking time, or until heated through and the topping is re-crisped.
Freezing Unbaked Apple Crisp:
For maximum freshness and a “just baked” experience later, you can freeze an unbaked apple crisp:
- Assemble the apple filling and topping in your baking dish as directed by the recipe.
- Once the filling has cooled slightly (if you cooked it first), wrap the dish tightly in multiple layers of cling film, followed by aluminum foil to ensure it’s airtight.
- Freeze for up to 4 months.
- To bake, thaw the unbaked crisp overnight in the refrigerator. Once thawed, follow the original baking instructions (200°C / 400°F for 50-55 minutes), adding a few extra minutes if needed, until the top is golden and apples are tender.
Refrigerating Leftovers:
If you have any (previously unfrozen) leftover apple crisp, it can be refrigerated in an airtight container for 2-3 days. Surprisingly, many find that apple crisp tastes even better a day or two later, as the flavors have more time to meld and deepen. This might be a controversial opinion, but it’s worth trying! You can enjoy refrigerated leftovers either hot (reheated gently in the oven or microwave) or cold, straight from the fridge.
More Delicious Baking Recipes to Explore
If you’ve enjoyed mastering this easy apple crisp, consider trying some of our other delightful baking creations:
- Italian Plum Cobbler
- Almond Raspberry Cheesecake Bars
- Summer Peach Cake with Red Berries
- Wild Blackberry Pie with Honeyed Crème Fraîche
Easy Homemade Apple Crisp
Ingredients
For the streusel topping
- 200g / 1 cup white granulated sugar
- 140g / 1 cup plain flour (all purpose)
- 80g / 1 cup old-fashioned oats or quick cooking oats
- 200g / 1 cup butter, chilled
- 1/2 cup pecans, whole or nuts of your choice like almonds and hazelnuts
For the apple filling
- 8 medium apples, Braeburn or Granny Smith
- 100g / 1/2 cup packed brown sugar
- 1 tbsp cornflour/cornstarch
- 1/2 tsp cinnamon
- 1 tsp vanilla
Instructions
-
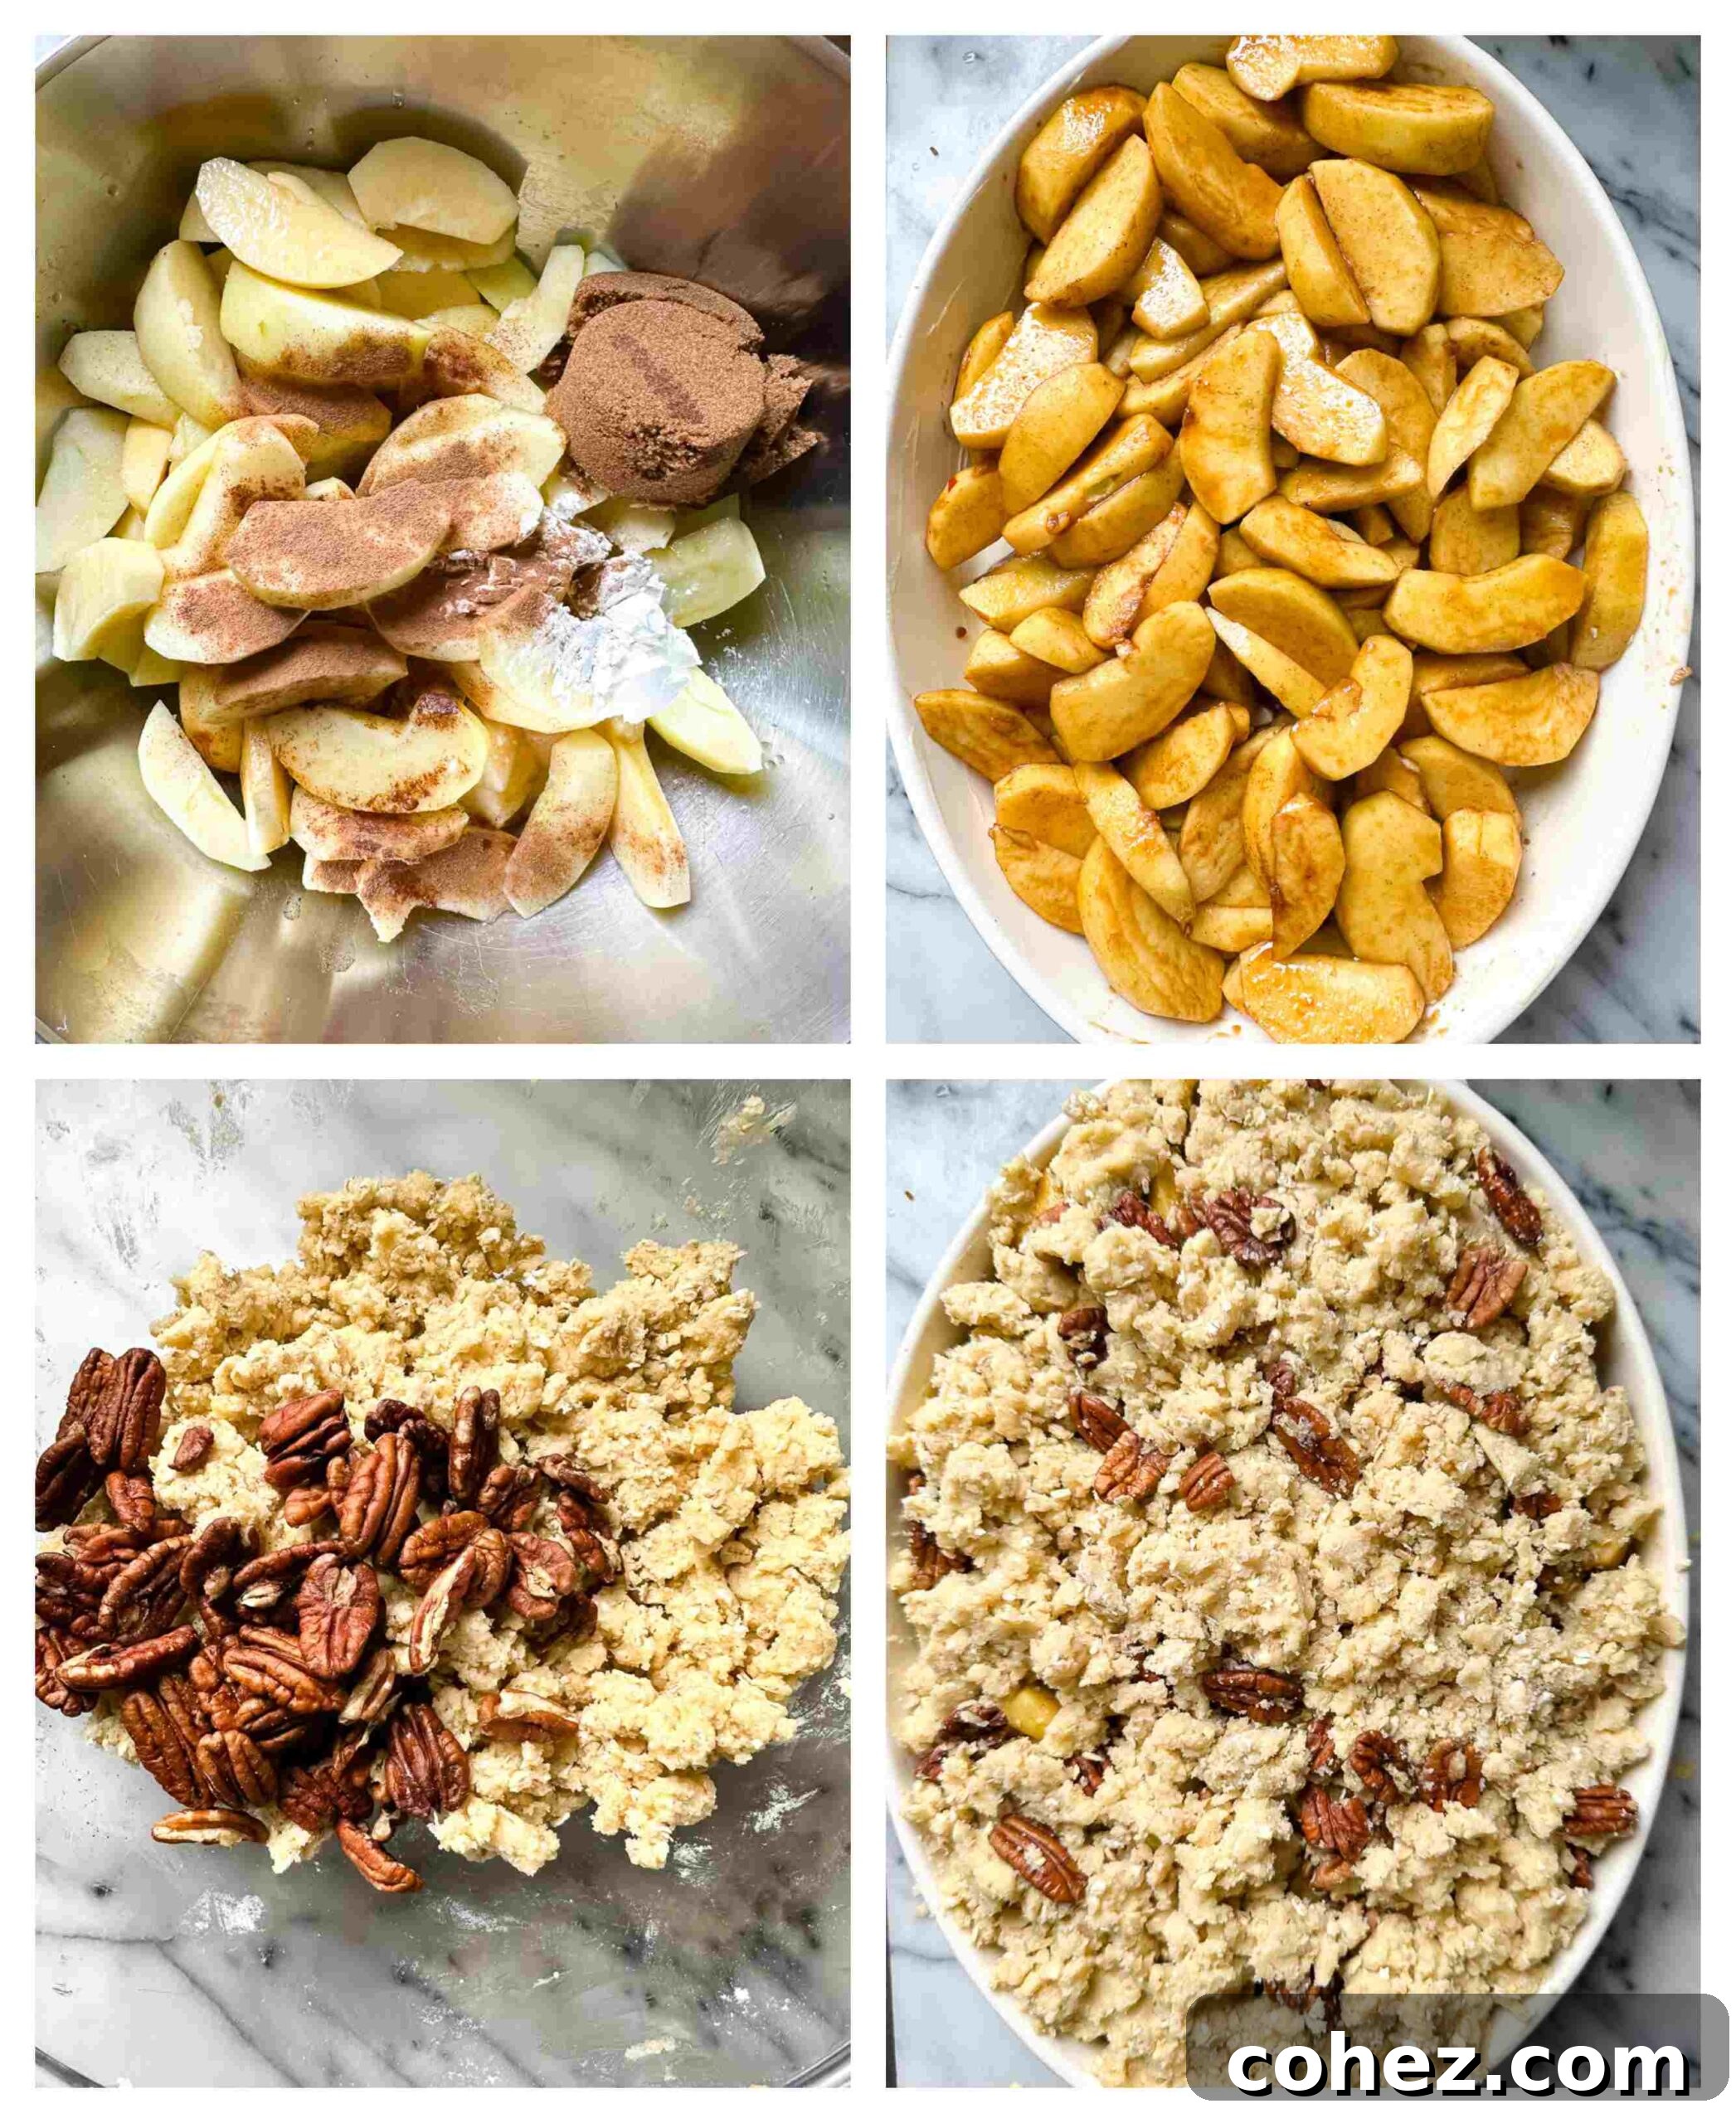
Preheat the oven to 200°C / 400°F. In a mixing bowl, combine the granulated sugar, flour, and oats. Then, cut the cold butter into the mixture using a pastry blender or two knives. Alternatively, use your fingertips to rub the chilled butter into the flour and oat mix, creating small, pea-sized chunks. Ensure all dry ingredients are moistened with the butter. Add the pecans or any other nuts you are using and mix until just combined.
-
Meanwhile, peel, core, and slice the apples. Toss them with brown sugar, cornstarch, cinnamon, and vanilla extract until evenly coated. Transfer the apple mixture to a buttered 9×13 inch baking dish or a large cast iron pan. Evenly scatter the streusel mix all over the apples. Bake in the preheated oven for 50-55 minutes, or until the topping is golden brown and crispy, and the apples are tender and bubbling.
Nutrition
Nutrition information is automatically calculated, so should only be used as an approximation.