
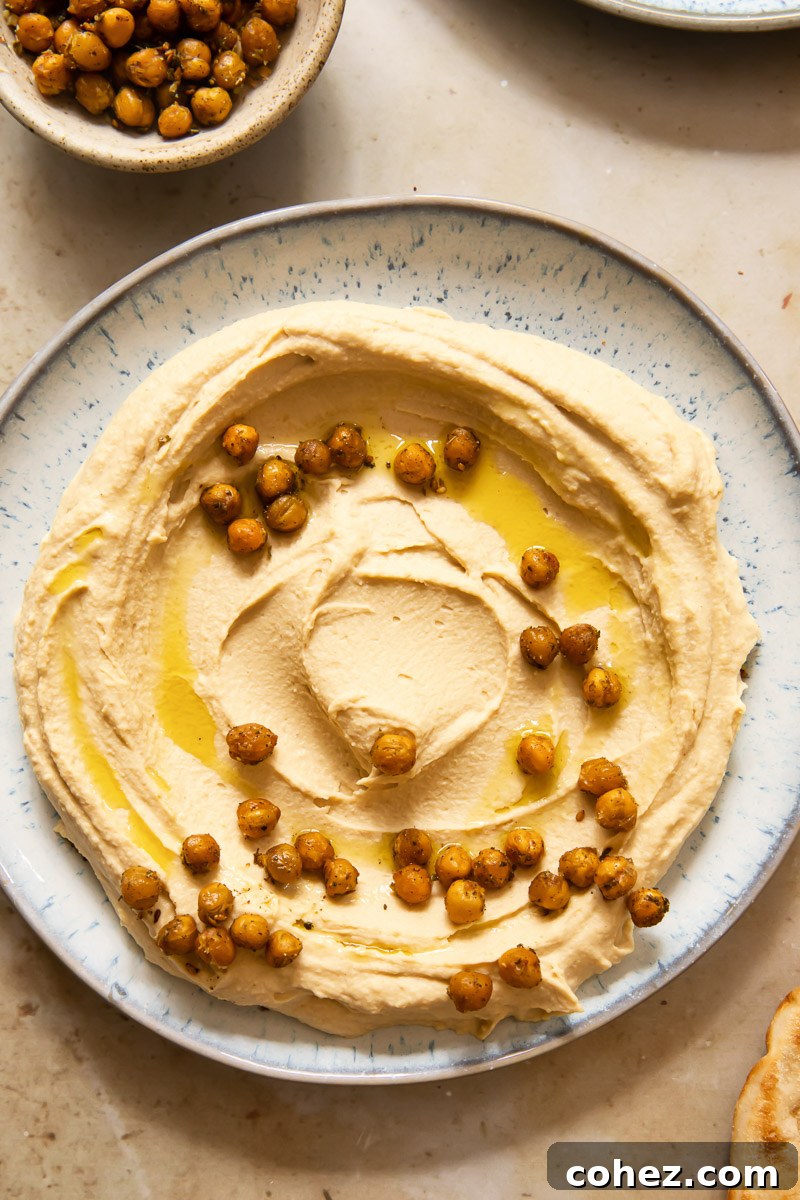
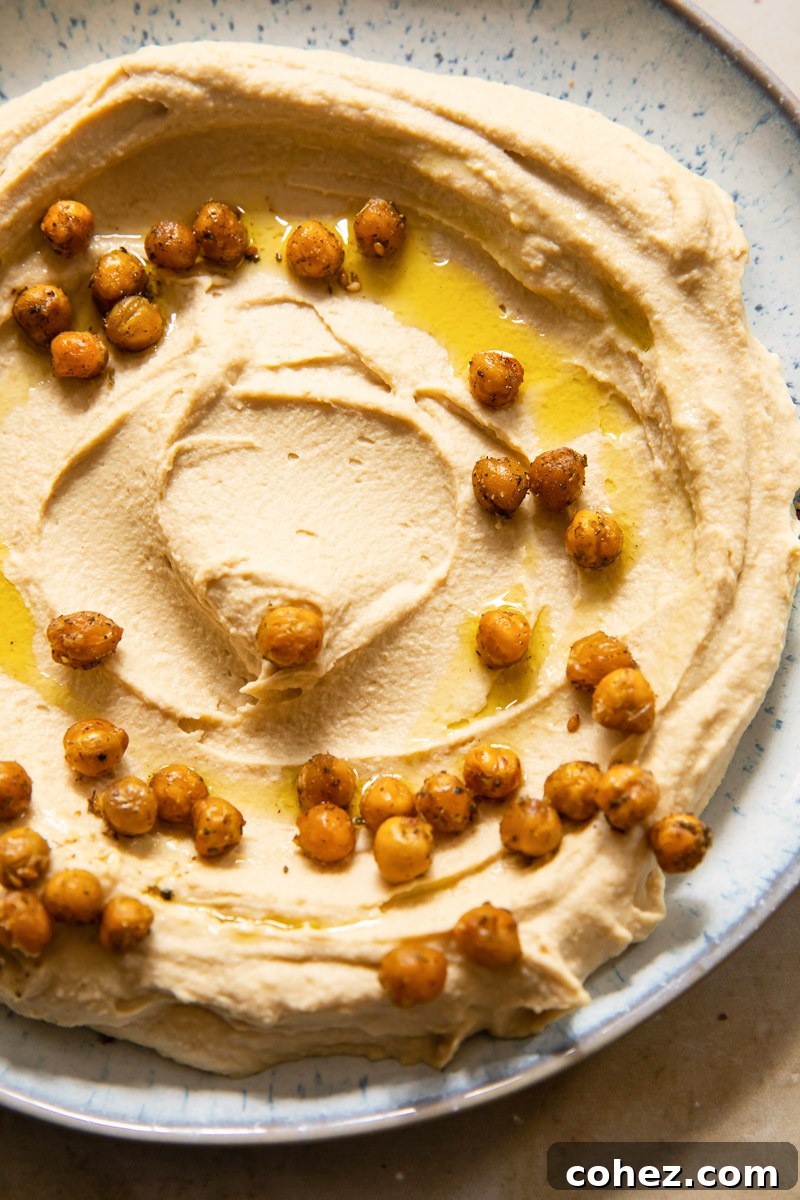
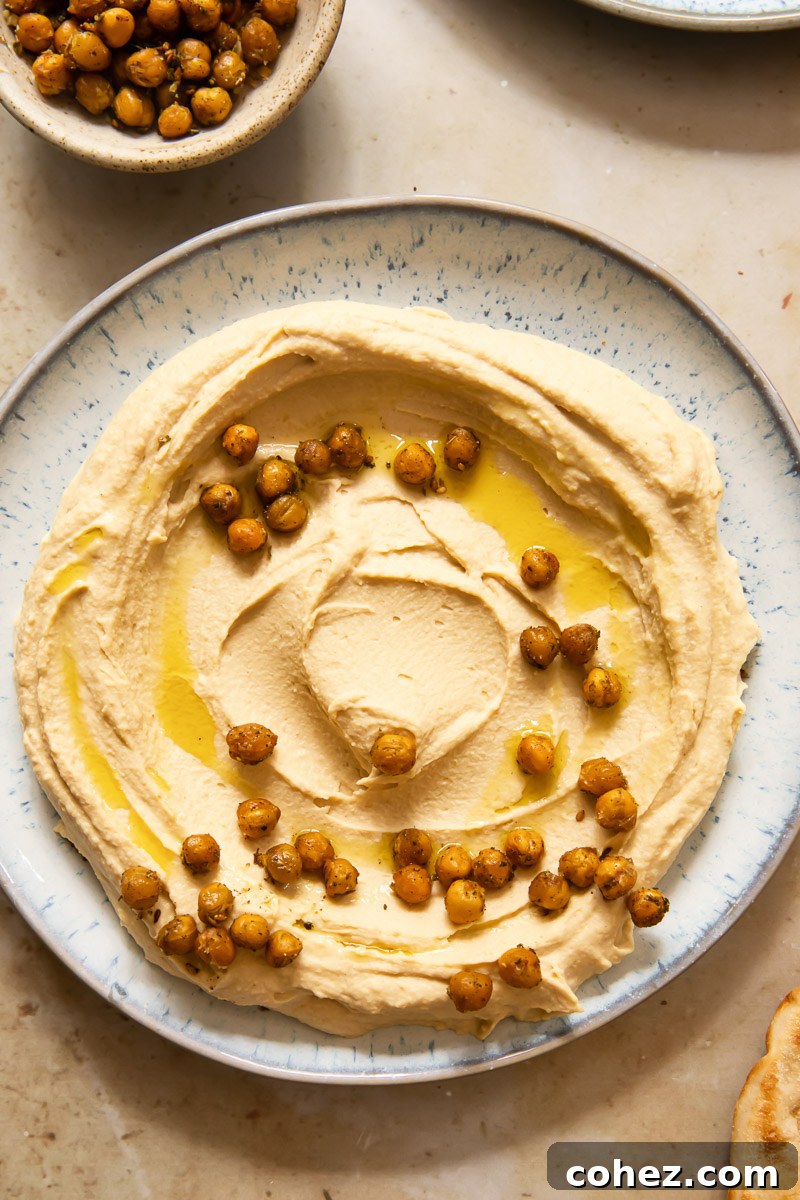
Elevate your snack game and transform your meals with this unparalleled homemade hummus recipe. Forget bland, store-bought versions; this classic hummus, crowned with a vibrant roasted za’atar chickpea topping, is incredibly simple to prepare, entirely natural, budget-friendly, and boasts a freshness and flavor that’s incomparable. Once you experience the creamy perfection of homemade hummus, there’s no going back!
This versatile hummus is perfect on its own or as a key ingredient in other delicious dishes. For a delightful summer meal, try incorporating it into my Mediterranean salad with hummus and fried halloumi. Summer salads are back, and this hummus makes them even better!
The Art of Homemade Hummus: A Journey to Creamy Perfection
The humble chickpea, a powerhouse of protein and flavor, has been a staple in diets for millennia. Among its many delicious incarnations, hummus stands out as arguably the most beloved chickpea recipe worldwide. My passion for this creamy, savory dip was intensely rekindled during a recent trip to Israel, the heartland of hummus culture, where its freshness and depth of flavor are an art form.
The Enigmatic Origins of Hummus
Hummus, whose name literally means “chickpeas” in Arabic, is a culinary marvel coveted by many. Virtually every country in the Eastern Mediterranean and Middle Eastern regions proudly lays claim to either inventing this famed creamy legume-based spread or producing the finest version in the world. Yet, its true geographical origin remains shrouded in mystery.
Despite the chickpea being cultivated for approximately 7,500 years in what is now modern-day Turkey, definitive historical evidence for the specific dip we know as hummus is elusive. The earliest written mention of a dish resembling hummus bi tahina (hummus with tahini) appears in a 13th-century Egyptian cookbook, “Kitab Wasf al-Atima al-Mutada.” This ancient pulse, a foundational ingredient in many Middle Eastern cuisines, likely saw countless preparations before its creamy, tahini-infused destiny was documented. One can only wonder what people dipped their carrot sticks into for all those thousands of years prior to that first written recipe!
This long, rich history underscores hummus’s deep cultural roots and its enduring appeal. From ancient feasts to modern-day tables, hummus has transcended borders, becoming a global symbol of wholesome, delicious eating.
Effortless Homemade Hummus: Simplicity in Every Scoop
You might be surprised by just how incredibly simple it is to make authentic, delicious hummus from scratch. The ingredients are predominantly everyday pantry staples: canned chickpeas, aromatic ground cumin, fresh garlic, zesty lemon juice, rich olive oil, and, of course, the indispensable tahini. After a brief cooking process to ensure the chickpeas are perfectly tender, all these components are combined in a blender or food processor, and within minutes, you’ll have a batch of smooth, creamy hummus.
The most challenging part, truly, is deciding how to enjoy your healthy homemade creation. It makes for a perfect quick snack with crisp pita chips or a vibrant assortment of crudités. But its versatility extends far beyond a simple dip. Integrate it into a larger meal alongside a falafel salad bowl, serve it with succulent chicken souvlaki, spread it in sandwiches, or dollop it onto roasted vegetables. The possibilities are endless, and each spoonful promises a burst of fresh, wholesome flavor.
The Secret to Silky Smooth Hummus: Beyond Just Blending
Achieving that coveted, ultra-smooth texture in your homemade hummus is easier than you might think, and it largely comes down to the chickpeas. While many traditional Middle Eastern recipes call for dried chickpeas soaked overnight and boiled, I’ve found that a wonderfully smooth dip is absolutely achievable with the convenience of canned varieties. The key lies in an extra step:
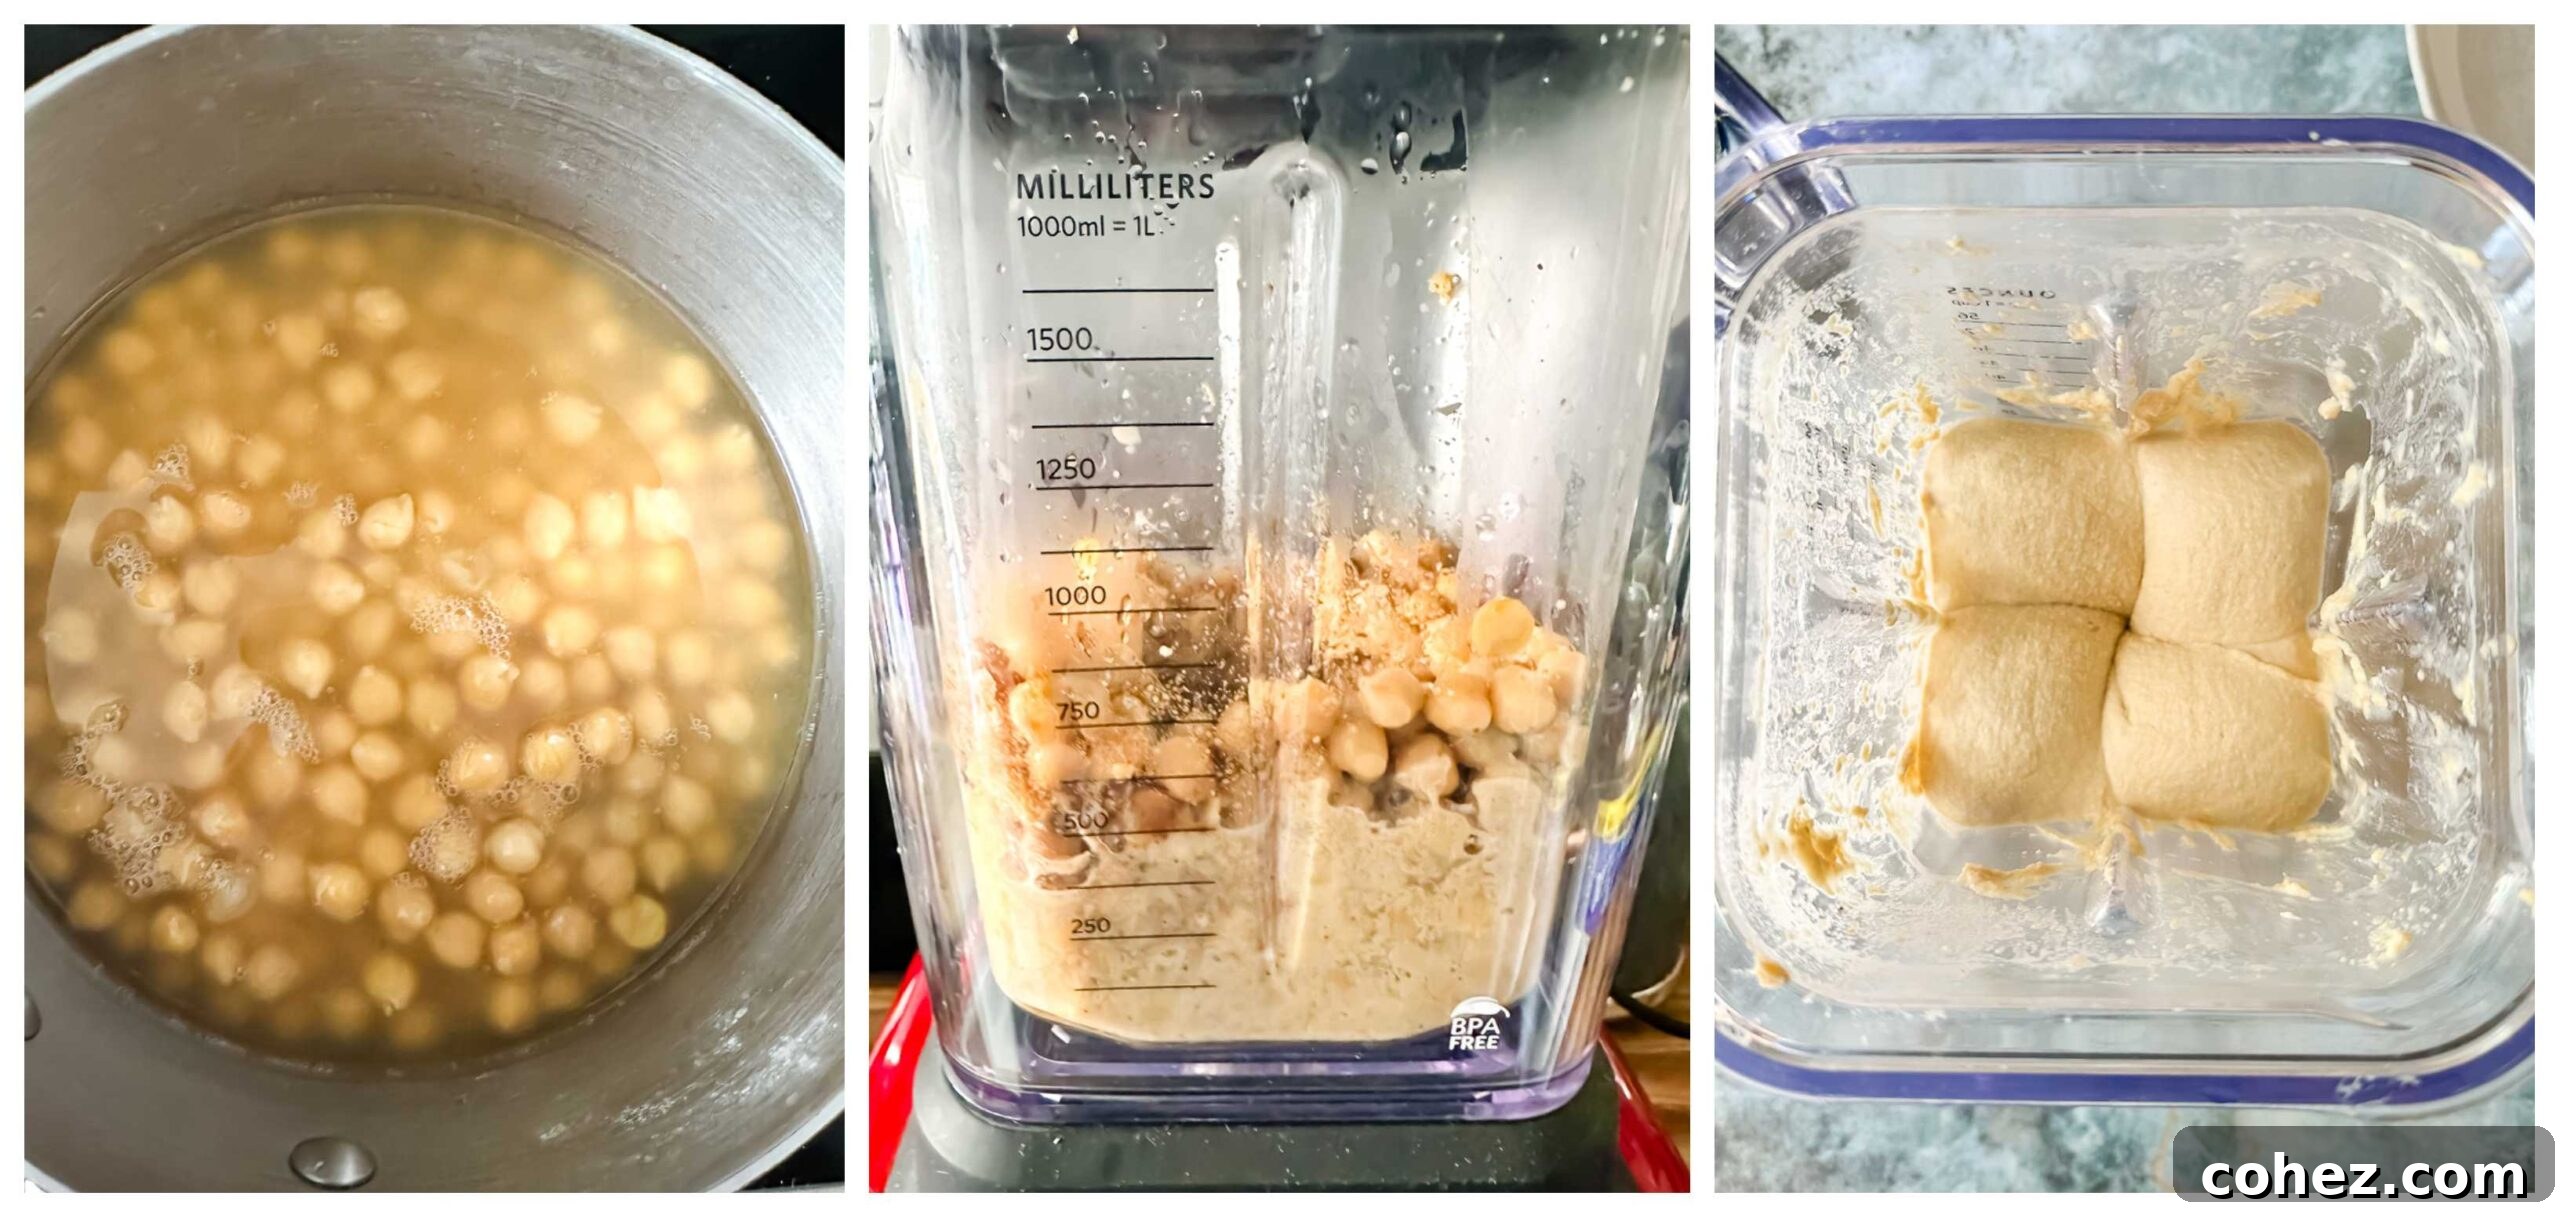
- Cook Canned Chickpeas: Even though they’re already cooked, gently boiling canned chickpeas in their own liquid for about 10 minutes makes them incredibly soft. This step is crucial for breaking down their outer skins and ensuring a creamy result. They should be tender enough to effortlessly crush between your thumb and forefinger. A hard chickpea invariably leads to a grainy paste.
- Embrace the Aquafaba: Don’t discard the liquid from the can! This “aquafaba” is excellent for achieving the desired consistency and adds richness without extra oil.
- Blend Thoroughly: A powerful blender or food processor is your best friend here. Allow it to run for several minutes, scraping down the sides as needed, until the mixture is truly velvety. Patience in blending is key.
- High-Quality Tahini: As discussed below, the quality of your tahini plays a significant role not only in flavor but also in the final texture. A good tahini contributes to a naturally smoother consistency.
Choosing the Right Tahini: The Heart of Your Hummus
Tahini, a paste made from ground sesame seeds, is far more than just a hummus ingredient; it’s a versatile culinary staple in its own right. From enriching yogurt dips and creating luscious salad dressings to crafting savory sauces, baking cookies, or even simply spreading it onto toast, tahini adds a unique nutty depth. Given its widespread uses, investing in a good quality jar is highly recommended. Here are a few essential tips for selecting the best tahini:
- Source from Middle Eastern Groceries: If you have access to a Middle Eastern grocery store, it’s often your best bet. These stores typically import tahini from regions renowned for their superior production, such as Israel, Lebanon, or Palestine. Brands from these areas are often made with premium sesame seeds and traditional methods.
- Scrutinize the Label: Always check for “100% sesame seeds” on the ingredient list. The best tahini contains no hidden salt, sugar, additives, or preservatives. Be wary of products labeled “tahini sauce,” as these are often pre-mixed with other ingredients and lack the pure, concentrated flavor and texture you need for authentic hummus.
- Observe the Product: A visual inspection of the tahini in the jar can reveal a lot. High-quality tahini typically has a paler hue, ranging from off-white to a light cream color. This indicates the use of sweeter, nuttier sesame seed varieties. Crucially, it should have a runny, pourable consistency. It’s perfectly normal for a layer of sesame oil to separate and rise to the top; this is natural seed oil separation. However, an excessive amount of oil can indicate a lower quality product.
Beyond these visual cues, other factors influence tahini’s quality and flavor: the specific type of sesame seed used (white humera seeds are often considered premium), whether the seeds are ground hulled or unhulled (hulled seeds generally result in a smoother, less bitter product), the duration of roasting, and the fineness of the grind. While this detailed information isn’t always available on every jar, online retailers often provide more comprehensive product descriptions, offering more intel and options for discerning buyers.
Ultimately, finding your preferred tahini is a matter of personal taste. Don’t shy away from a bit of trial and error; exploring different brands and varieties is part of the fun in perfecting your homemade hummus!
Expert Tips for the Best Hummus
- Canned vs. Dried Chickpeas: While traditional recipes often call for dried chickpeas, rest assured that an incredibly smooth hummus can be achieved using convenient canned varieties. The key is in the prep!
- Pre-Cooking is Key: Even canned chickpeas benefit from a quick 10-minute simmer in their liquid. This softens them significantly, making them easier to blend into a whip-smooth consistency. Test by squashing one between your thumb and forefinger – it should offer no resistance.
- Invest in Quality Tahini: As highlighted, the quality of your tahini (or tahina) makes a profound difference. Seek out pale, runny, and sweet varieties. Cheaper supermarket versions can be bitter and often separate into unappealing layers. A superior tahini will elevate your hummus from good to exceptional.
- Tahini Proportion: Authentic Middle Eastern hummus is often very tahini-heavy, which I personally adore for its rich flavor. This recipe strikes a delightful balance, offering a generous tahini presence that satisfies both traditionalists and those who prefer a slightly milder taste. Feel free to adjust to your preference!
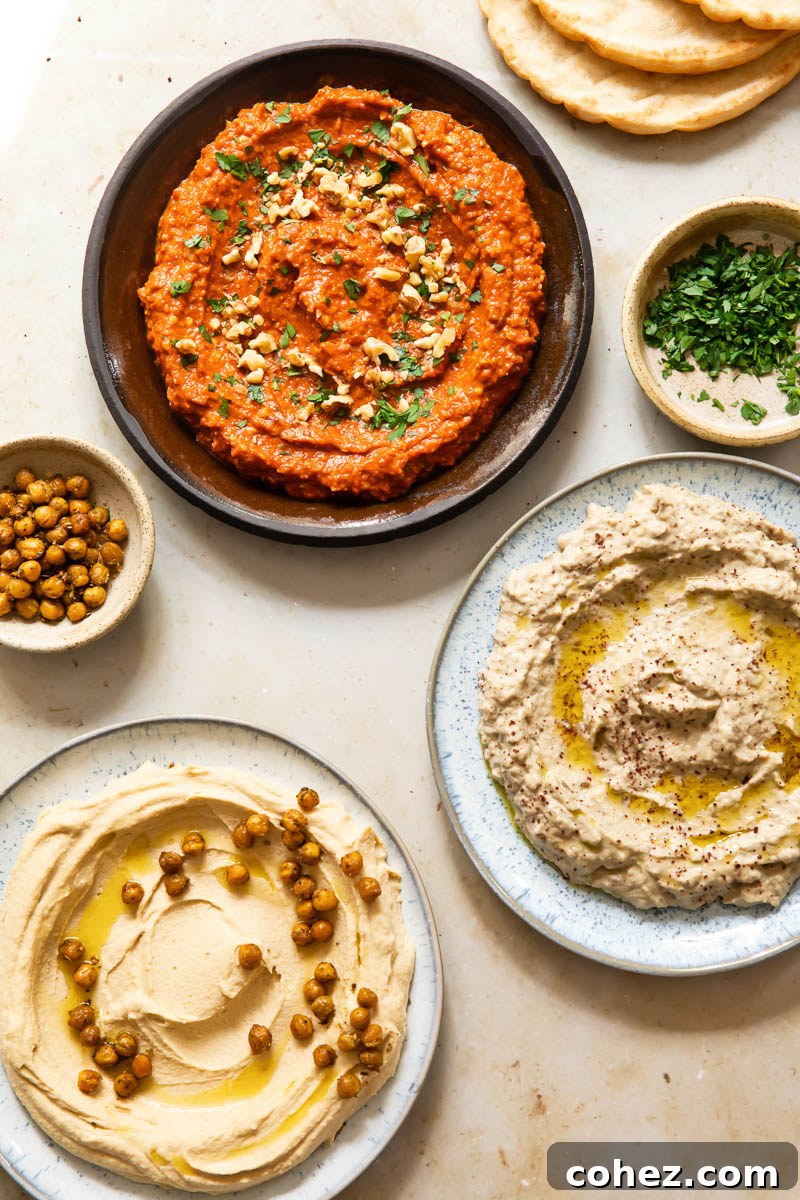
- The Roasted Za’atar Chickpea Topping: This topping is more than just a garnish; it’s an embellishment that adds visual appeal, a delightful textural contrast, and a burst of aromatic flavor. While optional, it transforms a simple dip into a gourmet experience. Don’t hesitate to include it for that extra special touch.
The Magic of Za’atar Chickpea Topping
While classic hummus is fantastic on its own, adding a roasted za’atar chickpea topping elevates this simple dip to an extraordinary level. Za’atar is a distinct Middle Eastern spice blend, typically consisting of dried thyme, oregano, marjoram, toasted sesame seeds, and sumac. Its earthy, tangy, and slightly nutty flavor perfectly complements the creamy richness of the hummus. Roasting the chickpeas with olive oil, garlic powder, and za’atar creates a crunchy, aromatic counterpoint to the smooth spread. Not only does it add an appealing texture and a touch of beauty to the dish, but it also infuses every bite with an irresistible depth of flavor. This topping isn’t just a garnish; it’s a crucial element that distinguishes this recipe and makes it truly unforgettable.
Beyond the Dip: Creative Ways to Enjoy Your Homemade Hummus
Homemade hummus is incredibly versatile and can be enjoyed in countless ways beyond just scooping it up with pita bread or vegetable sticks. Here are some creative serving suggestions to inspire you:
- Mediterranean Mezze Platter: Arrange your hummus with other dips like baba ganoush, fresh olives, feta cheese, cucumber slices, cherry tomatoes, and warm flatbread for an impressive spread.
- Sandwich and Wrap Spread: Ditch the mayonnaise! Hummus makes a healthier and more flavorful spread for sandwiches, wraps, and even burgers. Pair it with grilled chicken, roasted vegetables, or falafel.
- Salad Topping: Swirl a generous dollop of hummus into your green salads or grain bowls for an extra boost of protein and creaminess. It’s particularly delicious with quinoa or couscous salads.
- Breakfast Bowl: For a unique and nutritious breakfast, spread hummus on toast or a bagel, top with a fried egg, sliced avocado, and a sprinkle of chili flakes.
- Roasted Vegetable Companion: Serve hummus alongside roasted sweet potatoes, carrots, or broccoli. The creamy texture and savory flavor are a perfect match for caramelized vegetables.
- Pasta Sauce Base: Thin hummus with a little pasta water and lemon juice for a quick and creamy vegan pasta sauce. Toss with your favorite vegetables.
The Wholesome Goodness of Hummus
Beyond its incredible taste and versatility, hummus is packed with numerous health benefits, making it a truly guilt-free indulgence. The primary ingredients contribute significantly to its nutritional profile:
- Chickpeas: A fantastic source of plant-based protein and dietary fiber, chickpeas aid in digestion, promote satiety, and help regulate blood sugar levels. They are also rich in essential minerals like iron, folate, and manganese.
- Tahini: Made from ground sesame seeds, tahini provides healthy fats, including monounsaturated and polyunsaturated fats, which are beneficial for heart health. It’s also a good source of calcium, magnesium, and phosphorus.
- Olive Oil: A staple of the Mediterranean diet, olive oil is renowned for its heart-healthy monounsaturated fats and antioxidants, which have anti-inflammatory properties.
- Lemon Juice & Garlic: These fresh additions not only enhance flavor but also offer vitamin C and powerful antioxidants.
Together, these ingredients make hummus a nutrient-dense food that supports a healthy diet, aids in weight management, and can even contribute to lower cholesterol levels. Enjoying homemade hummus is a delicious way to nourish your body.
Storage and Leftovers: Keep Your Hummus Fresh
One of the many advantages of making your own hummus is the ability to batch cook and ensure you always have a healthy snack or meal component on hand. Hummus keeps exceptionally well:
- Refrigerator: Freshly made hummus will retain its best quality for 2-3 days when stored in an airtight container in the fridge. For extra freshness, drizzle a thin layer of olive oil over the top before sealing.
- Freezer: Hummus freezes beautifully for up to 4 months. I highly recommend portioning it out into smaller containers or freezer bags before freezing, making it easy to thaw just what you need.
When ready to enjoy frozen hummus, allow 24 hours for it to thoroughly thaw in the refrigerator. If you find the thawed texture a bit grainy or thick, don’t worry! Simply add a little fresh olive oil and a tablespoon or two of water, then whisk or briefly re-blend until smooth again. If the flavor seems a little subdued, a squeeze of fresh lemon juice will refresh it instantly, bringing back its vibrant taste.
More Middle Eastern Delights to Explore
If you’ve fallen in love with the flavors of the Middle East through this hummus recipe, there’s a whole world of culinary wonders waiting for you. Here are some other delectable recipes to try:
- Roast Chicken with Jerusalem Artichokes and Lemons
- Lemony Edamame and Butter Bean Hummus
- Middle Eastern Fattoush Salad
- Easy Flatbread Recipe
- Whipped Feta Dip with Pistachio Mint Pesto
Classic Hummus with Za’atar Chickpea Topping
Julia Frey of Vikalinka
10
10
20
12
Print Recipe
Ingredients
- 2X400g/14oz cans of chickpeas, drained, liquid reserved
- 3 tsp ground cumin
- 2 cloves garlic, minced
- 1/2 tsp salt (or to taste)
- 1 lemon, juice only (approx. 3-4 tbsp)
- 60g/1/4 cup tahini
- 50ml/1/4 cup olive oil, plus extra for serving
For Za’atar Chickpea Topping
- 100g/1/3 cup canned chickpeas, drained and patted dry
- 1/2 tbsp olive oil
- pinch of salt
- 1/4 tsp garlic powder
- 1/4 tsp Za’atar seasoning
Instructions
-
Prepare Za’atar Chickpea Topping: Preheat your oven to 200°C (400°F). Measure out 100g (about 1/3 cup) of drained chickpeas, pat them thoroughly dry with paper towels to ensure crispiness, and spread them evenly on a rimmed baking sheet. Drizzle with 1/2 tbsp of olive oil, sprinkle with salt, garlic powder, and Za’atar seasoning. Toss gently to coat. Roast in the preheated oven for 15-20 minutes, or until golden and slightly crisp. Keep an eye on them to prevent burning. Once roasted, remove from oven, cool completely, and store in an airtight container until ready to use.
-
Prepare Hummus Base: In a medium saucepan, combine the remaining canned chickpeas with their reserved liquid. Bring to a gentle boil over medium heat and cook, uncovered, for 10 minutes. This extra cooking step is crucial for achieving a super smooth texture. After 10 minutes, remove from heat and let them cool slightly. The chickpeas should be very tender and easily squashed between your fingers.
-
Blend the Hummus: Transfer the slightly cooled chickpeas (including their cooking liquid) to a high-speed blender or food processor. Add the ground cumin, minced garlic, salt, fresh lemon juice, tahini, and 50ml (1/4 cup) of olive oil. Blend on high for several minutes, scraping down the sides as needed, until the mixture is incredibly smooth and creamy. Taste and adjust seasoning if necessary, adding more salt, lemon juice, or a splash of water for desired consistency.
-
Serve: Spoon the finished hummus into a serving bowl. Create a shallow well in the center with the back of a spoon. Drizzle generously with extra virgin olive oil and sprinkle with the cooled roasted za’atar chickpeas. Garnish with fresh parsley, if desired, and serve immediately with warm flatbread, pita chips, or fresh vegetables.
Nutrition
Calories: 135kcal
|
Carbohydrates: 12g
|
Protein: 4g
|
Fat: 9g
|
Saturated Fat: 1g
|
Polyunsaturated Fat: 2g
|
Monounsaturated Fat: 5g
|
Sodium: 125mg
|
Potassium: 143mg
|
Fiber: 3g
|
Sugar: 2g
|
Vitamin A: 21IU
|
Vitamin C: 2mg
|
Calcium: 33mg
|
Iron: 2mg
Nutrition information is automatically calculated, so should only be used as an approximation.
Tried this recipe?
Let us know how it was!