
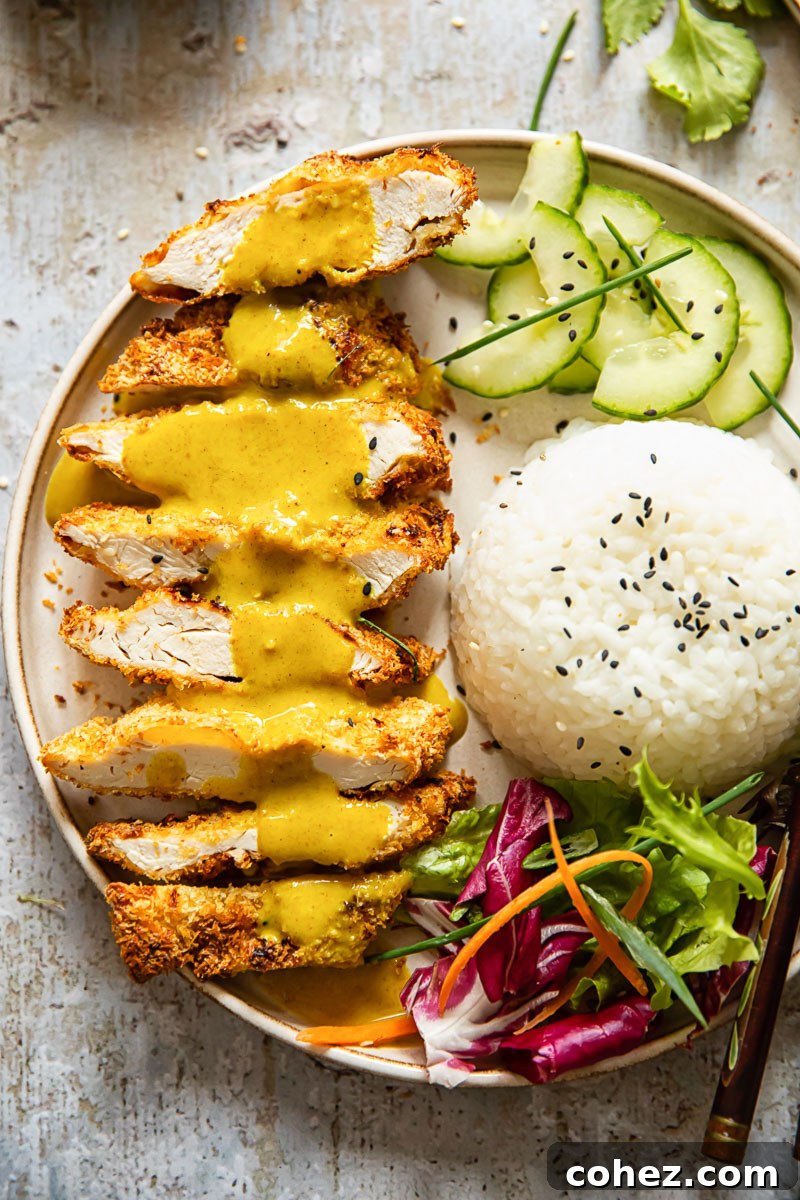
Imagine sinking your teeth into a piece of chicken that’s perfectly crispy on the outside, yet unbelievably juicy and tender within. Now, picture that exquisite cutlet drenched in a rich, creamy, and subtly spiced curry sauce, served alongside fluffy rice. This isn’t just a restaurant fantasy; it’s the reality you can effortlessly create in your own kitchen with our incredibly easy Air Fryer Chicken Katsu Curry recipe. Say goodbye to greasy takeout and hello to a healthier, homemade Japanese delight that will become a family favorite.
Craving more authentic Japanese flavors? Be sure to explore our super easy Udon Noodle Soup for another comforting meal.
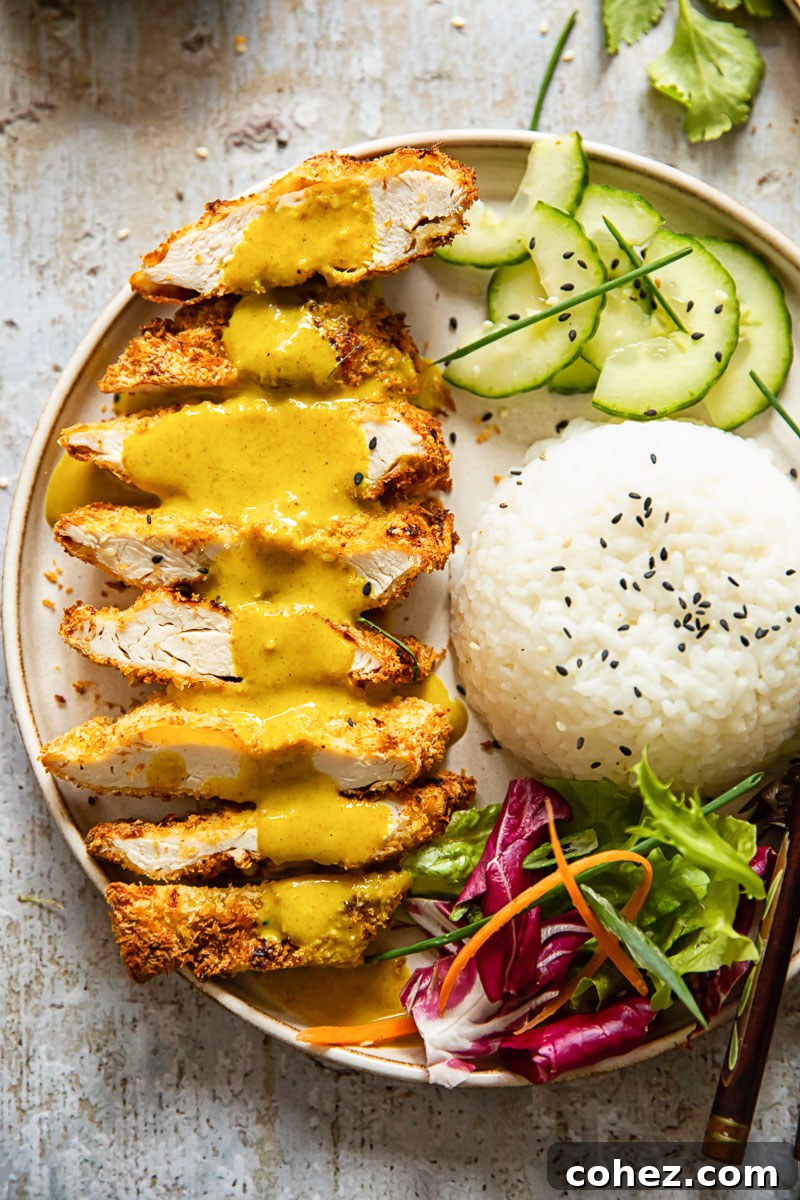
Chicken Katsu holds a special place in our household; its popularity is truly immeasurable. Whenever we decide to treat ourselves to a takeout feast, more often than not, it’s the undisputed first choice for the majority of us. There’s something universally appealing about that golden-fried chicken paired with a warm, comforting curry. This love for Japanese cuisine at home has always driven me to experiment and recreate our cherished restaurant dishes.
I’m certainly no stranger to transforming beloved takeout classics into healthier, homemade versions. My successful adaptation of Butter Chicken is a testament to this culinary philosophy. However, for a long time, the crispy, deep-fried exterior of traditional Chicken Katsu presented a formidable challenge. The idea of achieving that perfect crunch without the hassle and mess of deep frying always intimidated me. I was genuinely afraid I wouldn’t be able to replicate it at home, and to be perfectly honest, I have a strong aversion to deep frying in general.
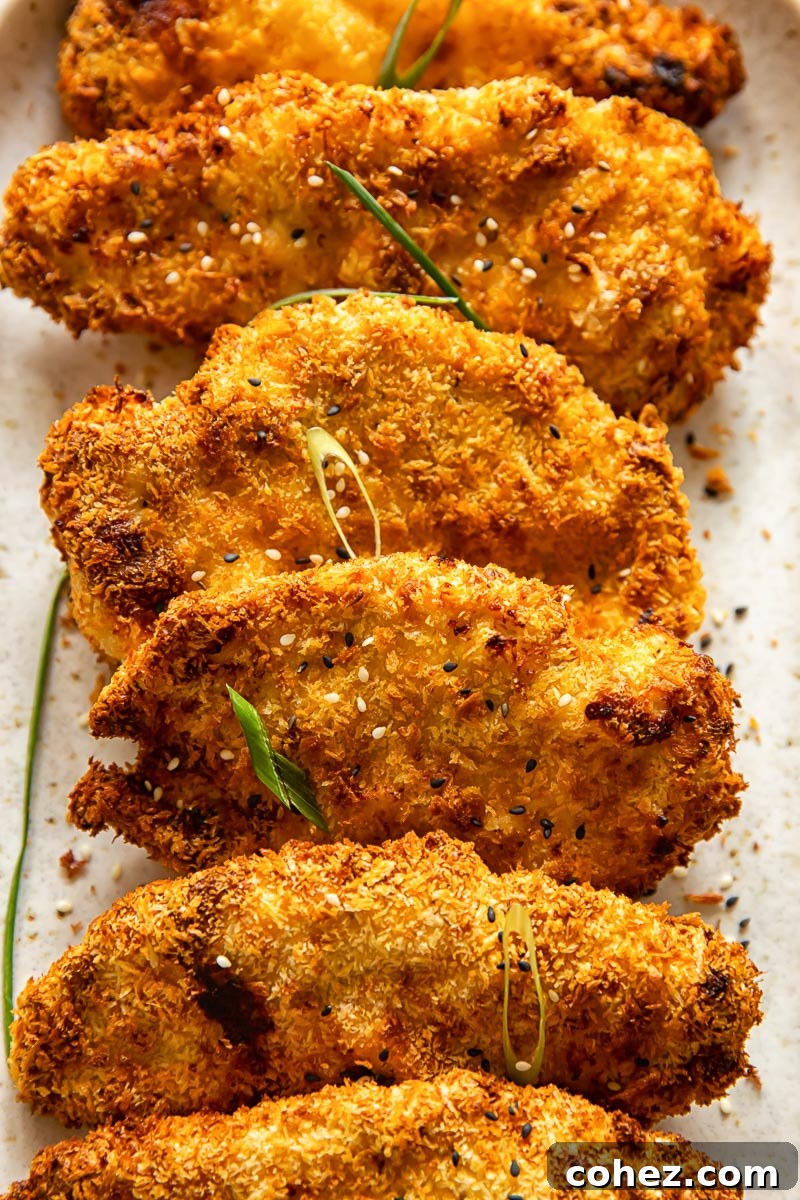
My perspective completely shifted when I had a brilliant revelation: I could effortlessly achieve that coveted crispy texture using my trusty Air Fryer! This discovery was a game-changer. After a few dedicated rounds of testing and tweaking, I finally perfected a recipe that filled me with immense pride. The results were simply astonishing. You honestly wouldn’t be able to tell that this air-fried chicken cutlet contains a fraction of the calories compared to its deep-fried counterpart. It delivers the authentic taste and satisfying crunch of truly fried and breaded chicken, but with significantly fewer guilt-inducing fats. Just take a moment to admire its beautiful golden-brown perfection!
The air fryer’s capabilities extend far beyond just Chicken Katsu. Our Air Fryer Chicken Tenders with Honey Mustard Sauce offers another stellar example of how this versatile appliance consistently delivers outstanding results while effortlessly keeping your meals light and healthy. It’s an invaluable tool for any home cook looking to enjoy their favorite comfort foods with a nutritious twist.
What is Chicken Katsu? Unpacking This Japanese Favorite
At its heart, “Katsu” in Japanese directly translates to “cutlet,” which immediately provides a clear understanding of the dish we’re preparing. Traditionally, Chicken Katsu involves boneless, skinless chicken breasts that are meticulously pounded thin into uniform cutlets. These cutlets are then lovingly coated in a generous layer of well-seasoned, exceptionally crispy Panko breadcrumbs before being deep-fried to a perfect golden hue. It is almost always served alongside fluffy white rice and, crucially, a mild yet profoundly flavorful curry sauce.
If the inclusion of a curry sauce in Japanese cuisine seems a little perplexing, you’re certainly not alone in that thought. It’s a fascinating culinary journey! Curries were actually introduced to Japan during the Meiji era, not directly from India, but rather via Britain. The British had, of course, adopted curry from India during their colonial rule. This “crazy journey,” as some might call it, ultimately gave birth to some truly incredible food pairings, and the iconic Chicken Katsu Curry stands out as a prime example of this delicious cultural fusion. It’s a testament to how culinary traditions can evolve and merge to create something entirely new and beloved, now deeply embedded in the fabric of Japanese comfort food.
Crafting the Perfect Katsu Curry Sauce: Simple & Flavorful
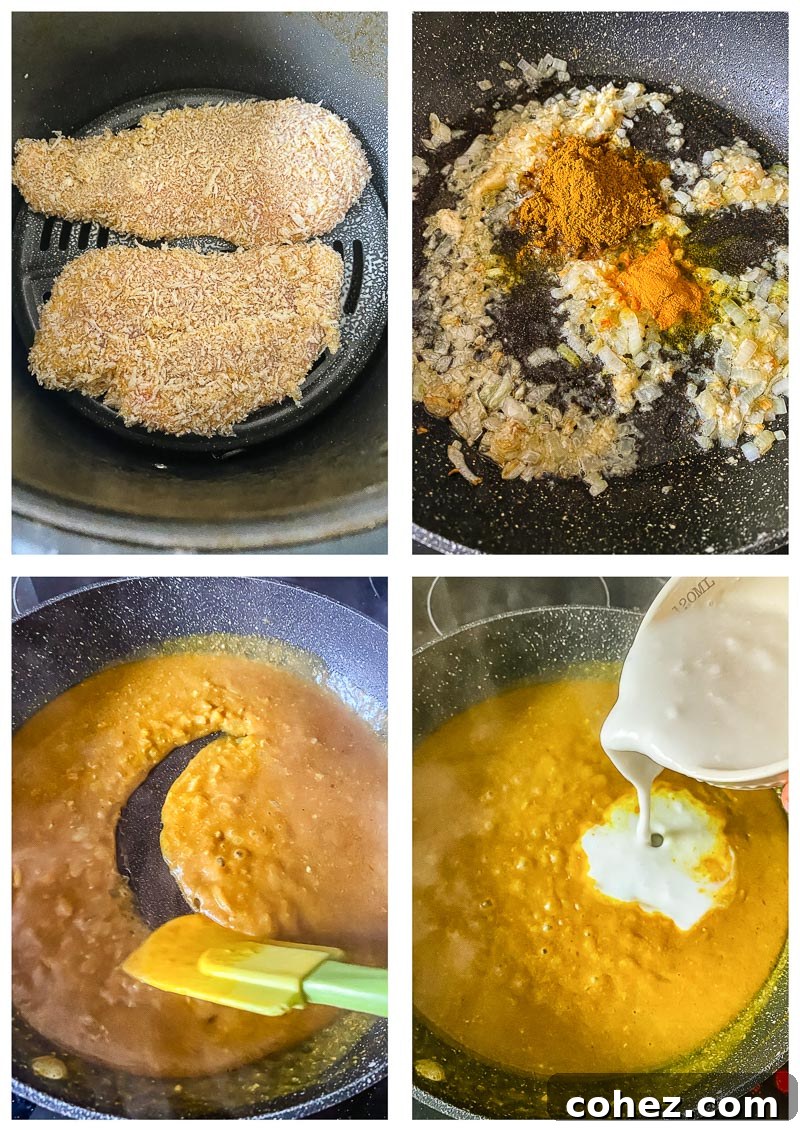
Please, don’t let the idea of making homemade curry intimidate you in the slightest. This Katsu Curry sauce is one of the most straightforward and rewarding recipes you’ll ever encounter, requiring only a handful of readily available ingredients. The key to its rich, comforting flavor begins with a savory aromatic base: finely chopped onion, minced garlic, and freshly grated ginger, all gently sautéed in a touch of oil until softened and fragrant. This foundational trio sets the stage for the depth of flavor to come.
To achieve that signature velvety consistency, we introduce a tablespoon of flour, allowing it to cook briefly with the aromatics to create a quick roux. This simple step is vital for thickening the sauce without any lumps. Next, the magic of the spices unfolds as we stir in a generous amount of mild curry powder and a hint of turmeric. These spices infuse the mixture with their earthy warmth and vibrant color, creating the authentic Japanese curry flavor profile we desire. For the liquid component, I prefer a balanced combination of rich chicken stock and creamy coconut milk. However, feel free to customize; if you yearn for an even creamier, slightly sweeter curry, you can easily omit the chicken stock and increase the proportion of coconut milk.
No Japanese-inspired curry would be complete without a touch of umami-rich soy sauce, which truly elevates and rounds out the flavor profile. This entire sauce comes together remarkably quickly, often in less than 10 minutes of active cooking time. While entirely optional, for that ultra-silky smooth texture reminiscent of your favorite restaurant Katsu Curry, I highly recommend processing the cooled sauce in a blender until perfectly uniform. If you prefer a slightly more rustic sauce with a bit of texture, simply skip the blending step. Either way, the result is a gloriously flavorful curry that perfectly complements the crispy chicken.
Expert Recipe Tips & Notes for Flawless Chicken Katsu
- As highlighted earlier, the choice of breadcrumbs is paramount for achieving that signature crispiness when air frying. For truly superior results, Panko breadcrumbs are the absolute number one choice. Unlike standard breadcrumbs, Panko boasts a distinctly drier, coarser, and flakier texture, which allows for a much crispier coating. Crucially, they also absorb less oil during cooking, which further contributes to their ability to stay crisp and light, a vital factor for our air-fried method. Ensure you press the Panko firmly onto the chicken cutlets to create a robust crust.
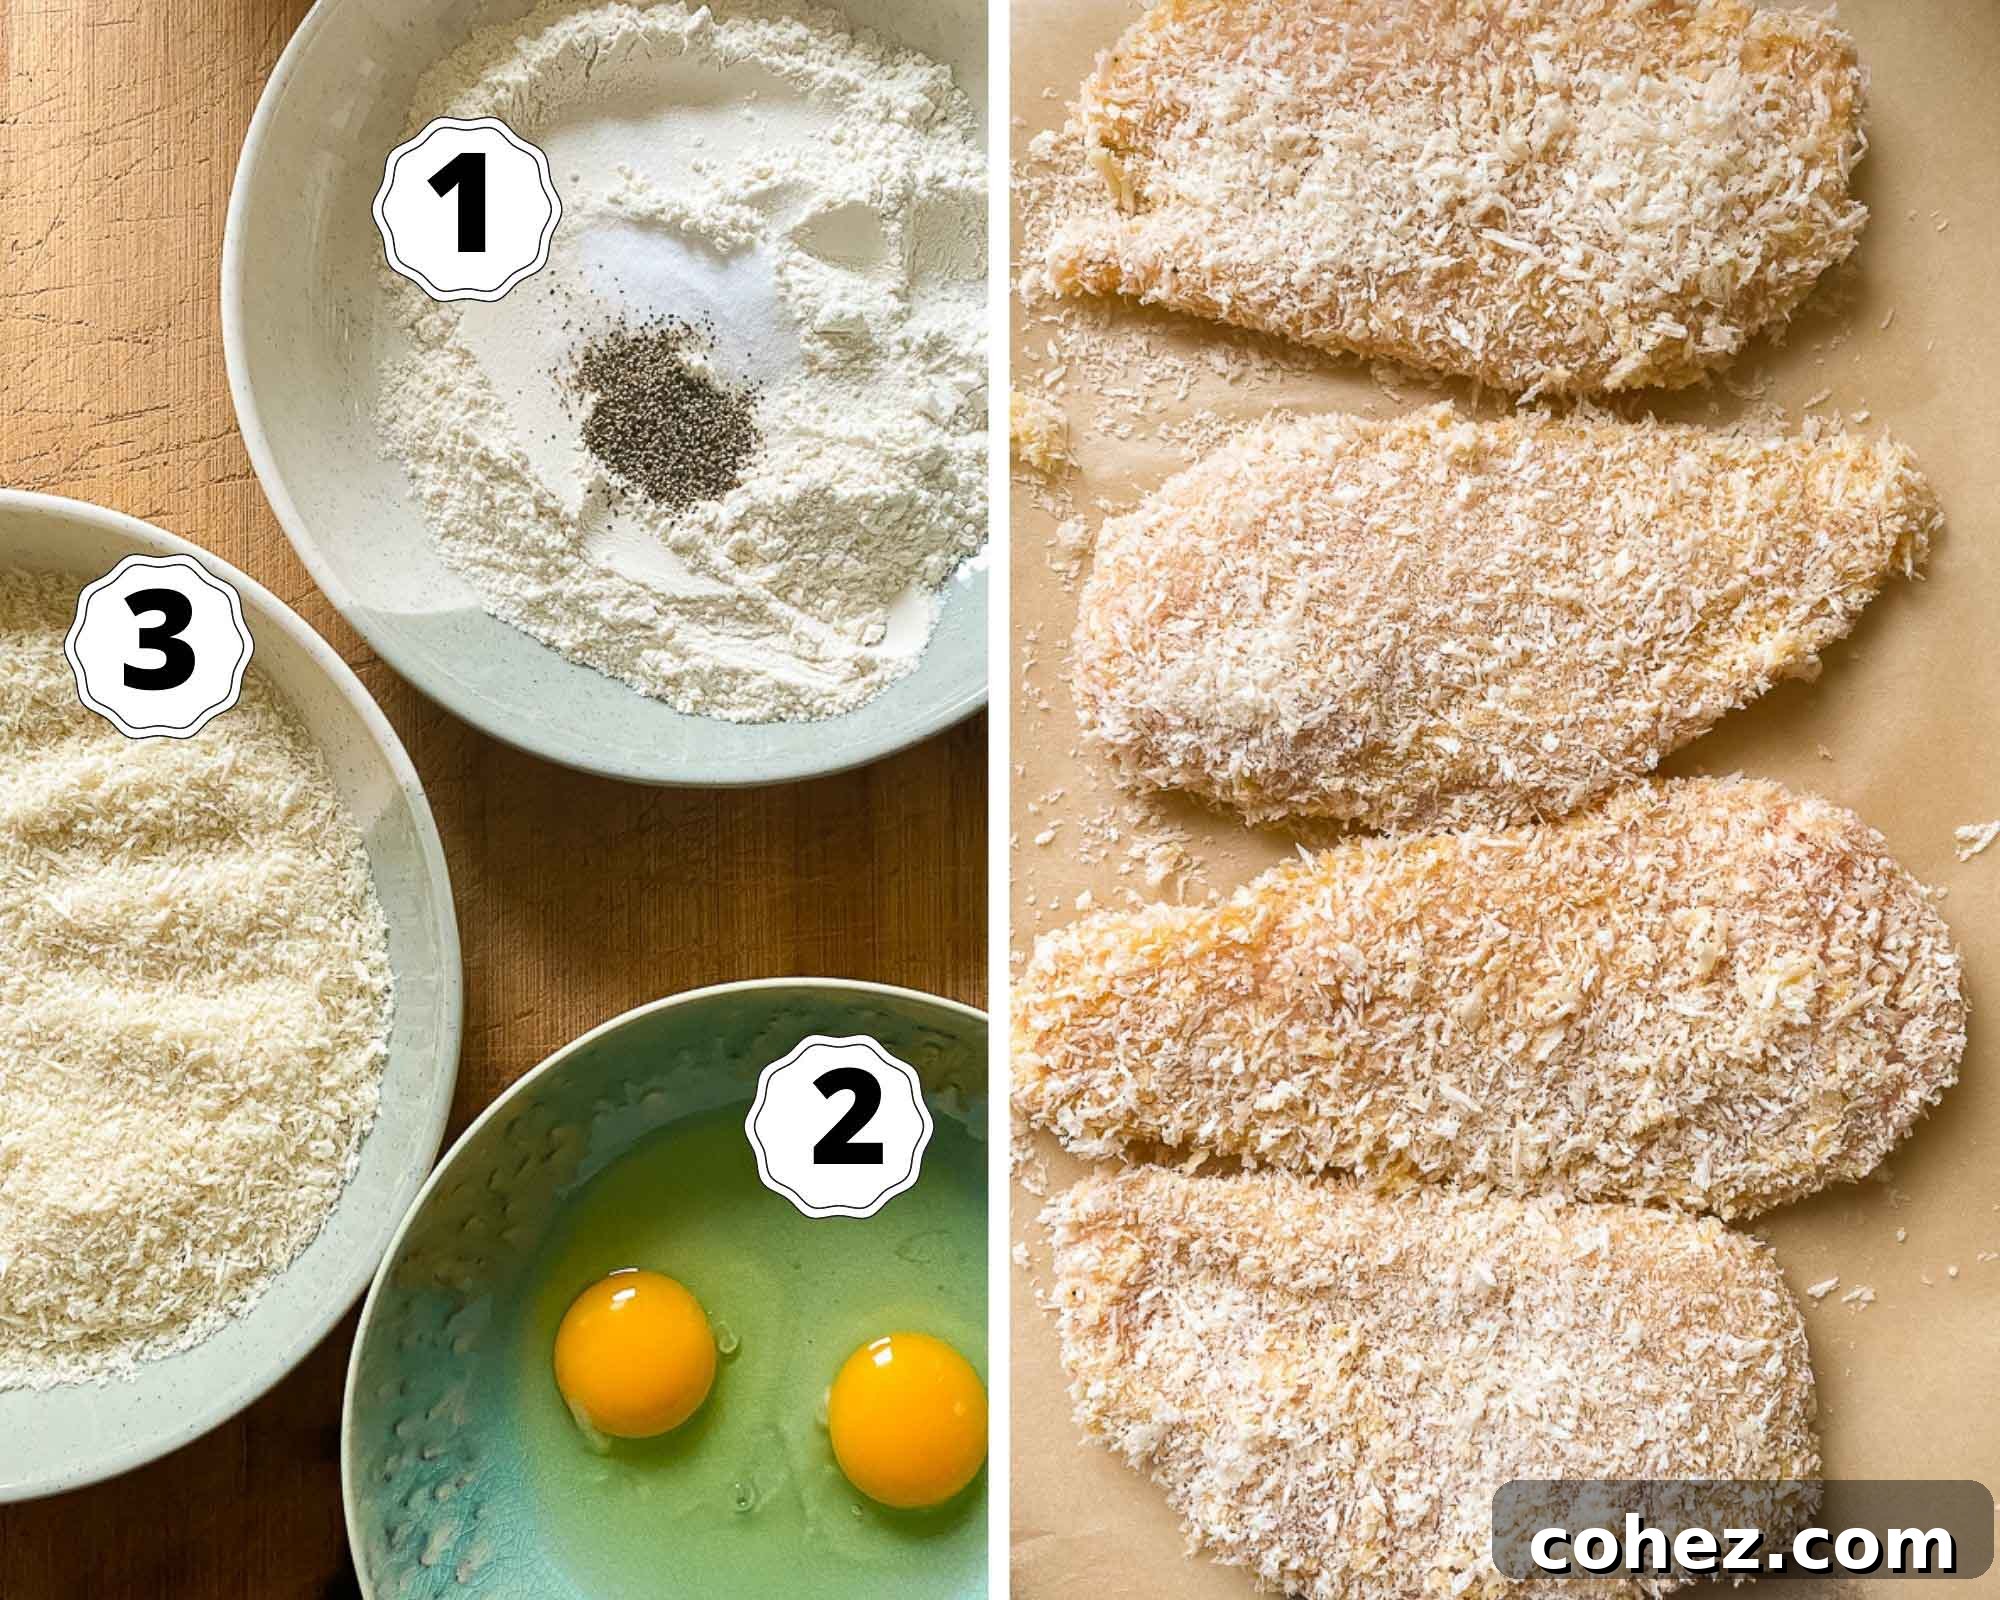
- The breading process is a simple yet crucial three-step “dredging station” technique. Each chicken cutlet is first evenly coated in seasoned flour, then dipped into beaten egg, and finally, generously coated in Panko breadcrumbs. Maintaining this specific order ensures maximum adhesion and an even, golden crust. Refer to the process photos for a visual guide.
- Never underestimate the power of proper seasoning! While it might seem like a minor detail, thoroughly seasoning your plain flour with salt and black pepper is absolutely essential. This step prevents the chicken itself from tasting bland underneath the crispy coating, ensuring a well-rounded flavor in every bite. Consider adding a pinch of garlic powder or paprika to your flour for an extra layer of savory depth.
- To ensure your chicken cutlets cook evenly and quickly in the air fryer, it’s beneficial to pound the chicken breasts to a uniform thickness, about half an inch. This prevents thinner parts from drying out while thicker sections cook through. Use a meat mallet or a heavy rolling pin between two sheets of plastic wrap.
- Preheat your air fryer for 5 minutes before adding the chicken. A hot cooking surface immediately starts the crisping process, leading to better results.
- Avoid overcrowding the air fryer basket. Cook the chicken in a single layer, in batches if necessary, to allow for optimal air circulation. This ensures even cooking and maximum crispiness.
- Once the chicken is cooked, let it rest for 2-3 minutes before slicing. This allows the juices to redistribute, ensuring a tender and moist interior.
Elevate Your Chicken Katsu Curry: Perfect Pairings
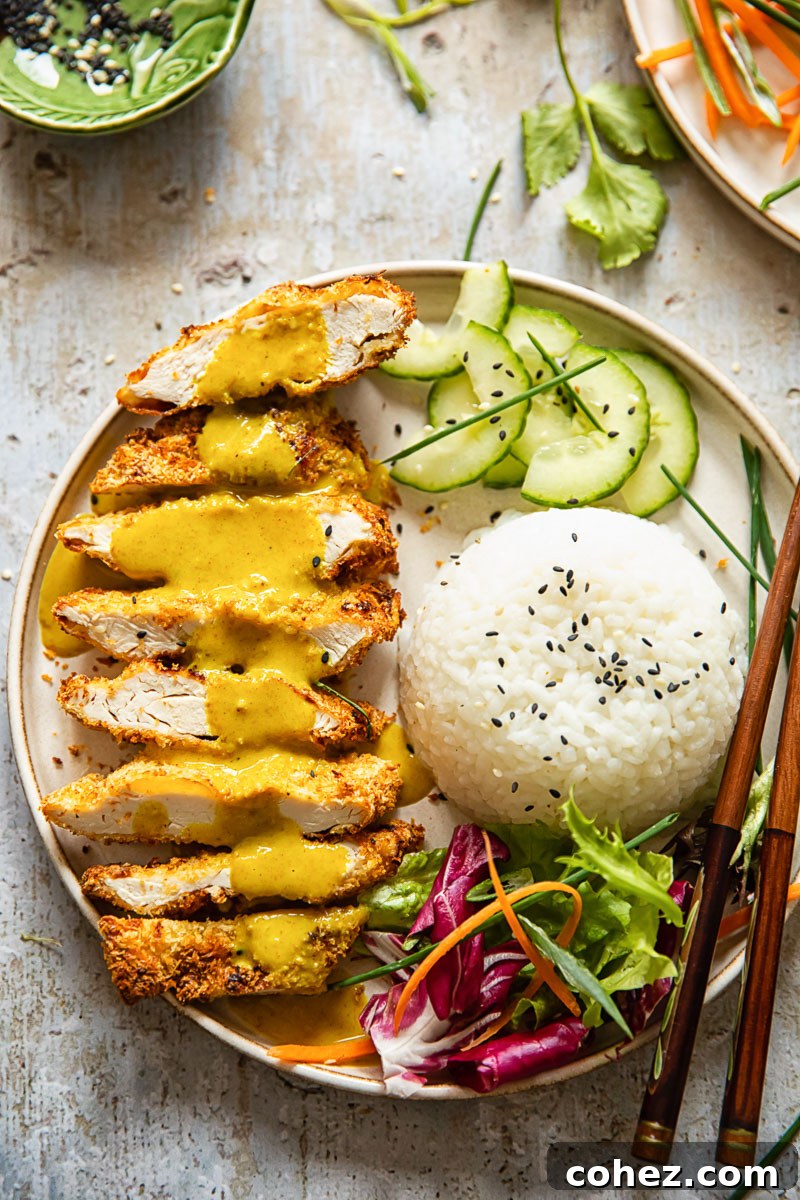
Chicken Katsu Curry is a complete and satisfying meal on its own, but certain accompaniments can truly enhance the experience. I always advocate for serving it with perfectly cooked, plain white rice. The mildness and subtle stickiness of Japanese short-grain rice or even Jasmine rice provide an ideal balance to the rich, aromatic curry sauce and the crispy chicken. This allows the primary flavors to truly shine.
Alongside the rice, a simple, refreshing salad is highly recommended. Think crisp shredded cabbage, thinly sliced cucumber, or a mixed green salad dressed with a light, tangy vinaigrette. This fresh element cuts through the richness of the main dish, offering a delightful contrast in texture and flavor. For an extra layer of texture and a nutty aroma, a sprinkling of toasted black or white sesame seeds over both the chicken and the rice is a fantastic, though optional, addition. They offer a lovely crunch and subtle flavor that complements the dish beautifully. You might also consider garnishing with some finely chopped scallions or a side of traditional Japanese pickled ginger (gari) for an authentic touch. For beverages, a refreshing green tea or a light lager would pair wonderfully with the meal.
Storage and Reheating: Enjoying Your Katsu Later
One of the true joys of homemade Chicken Katsu is the possibility of enjoying it again. However, it would be a shame to lose that magnificent, crispy exterior. Fortunately, your air fryer is perfectly equipped to revive it! To bring leftover Katsu back to its former glory, simply place the chicken cutlets back into your preheated air fryer and cook for no longer than 5 minutes at 350°F (175°C), or until heated through and crisp once more. Avoid reheating in the microwave, as this will inevitably lead to a soggy coating.
For storage, it’s best to keep the cooked chicken Katsu and the curry sauce separate if possible. The crispy chicken will retain its texture better this way. Leftover chicken and curry sauce will keep beautifully for 3-4 days when refrigerated in an airtight container. For longer storage, both components can be frozen. The chicken Katsu, once cooled, can be wrapped individually and frozen for up to 6 months. The curry sauce also freezes well in an airtight container for up to 6 months. Thaw in the refrigerator overnight before reheating.
More Japanese Inspired Recipes to Explore
- Teriyaki Salmon with Bok Choy
- Shoyu Chicken Recipe
- Teriyaki Chicken Stir Fry
- Quick Beef Yakisoba
Air Fryer Chicken Katsu Curry
Equipment
-
Air Fryer
Ingredients
For the Curry
- 2 tbsp vegetable oil
- 1 onion, chopped
- 2 cloves garlic, minced
- 1 tbsp grated ginger or ginger paste
- 1 tsp turmeric
- 2 tbsp curry powder
- 1 tbsp flour
- 250ml/ 1 cup chicken stock
- 125ml/1/2 cup coconut milk
- 1 tsp soy sauce
- 2 tsp white sugar
For the Chicken Katsu
- 4 skinless, boneless chicken breasts
- 100g/3/4 cup plain flour
- 3 tsp salt
- 1 1/2 tsp black pepper
- 2 eggs, beaten
- 150g/1 1/3 cup Panko breadcrumbs
- oil spray
Instructions
-
Heat the vegetable oil in a frying pan over low heat. Add the chopped onion and sauté gently until it softens, which should take about 7 minutes. Then, stir in the minced garlic and grated ginger, continuing to cook for another minute until fragrant.
-
Add the turmeric, curry powder, and flour to the pan. Cook for 1 minute, stirring constantly, until the mixture is fragrant and forms a paste. Gradually pour in the chicken stock, stirring well to combine and ensure no lumps. Next, add the coconut milk and soy sauce, then bring the mixture to a gentle simmer. Continue to simmer until the curry thickens to your desired consistency. Taste the sauce and adjust sweetness by adding 1-2 teaspoons of sugar, if preferred. Allow the curry to cool slightly, then, for a silky smooth restaurant-style sauce, process it in a blender until smooth. Alternatively, you can serve it as is for a more rustic texture.
-
Prepare your chicken: Lay each chicken breast flat and carefully slice it in half horizontally to create thinner cutlets. Next, set up your breading station. In one shallow bowl, combine the plain flour with salt and black pepper. In a second shallow bowl, whisk the eggs until well beaten. In a third shallow bowl, spread out the Panko breadcrumbs. Arrange these bowls in a line in front of you for easy dipping.
-
Take one chicken cutlet and dredge it thoroughly in the seasoned flour, ensuring it’s completely coated. Shake off any excess flour. Next, dip the floured cutlet into the beaten egg, allowing any excess to drip off. Finally, place the cutlet into the Panko breadcrumbs, pressing firmly to ensure the breadcrumbs adhere well to all surfaces. Transfer the breaded cutlet to a clean cutting board or plate. Repeat this process with all remaining chicken cutlets until you have 8 beautifully coated pieces.
-
Preheat your air fryer to 375°F (190°C). Lightly spray each breaded chicken cutlet on both sides with oil spray. Place the cutlets in your air fryer basket in a single layer, ensuring they are not overcrowded. (Most air fryers can accommodate 2 chicken breasts, or 4 cutlets, at a time.) Air fry for 8 minutes, then carefully flip the cutlets, spray the other side with oil, and continue to air fry for an additional 7 minutes, or until golden brown and cooked through (internal temperature should reach 165°F/74°C). Keep any uncooked chicken refrigerated until ready to air fry. Once cooked, transfer the chicken to a warm oven to keep it warm while you cook the remaining batches. Do not cover the chicken with foil, as this will trap steam and make the breading soggy.
-
Once all the chicken is cooked, gently warm up the prepared curry sauce on the stovetop over low heat. Serve the crispy chicken Katsu immediately with a generous ladle of the warm curry sauce and a side of plain, fluffy rice. Enjoy!
Nutrition
Nutrition information is automatically calculated, so should only be used as an approximation.
Tried this recipe?Let us know how it was!