
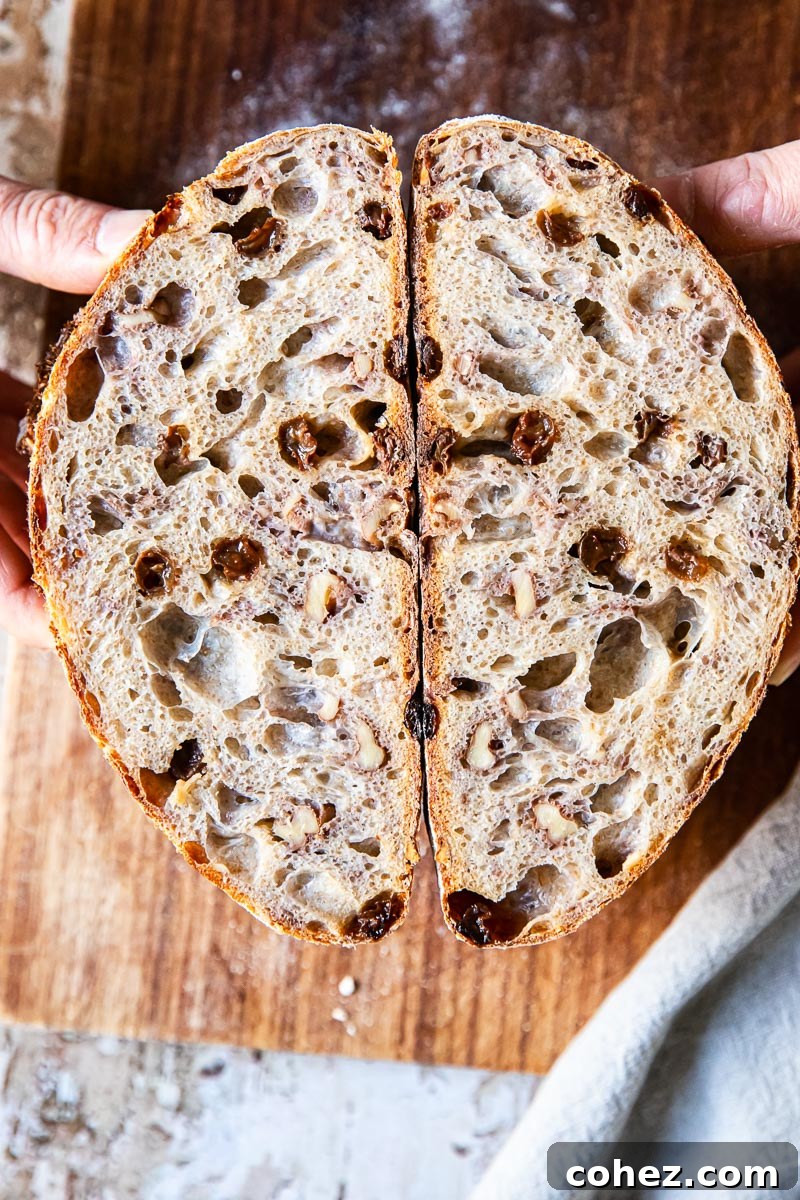
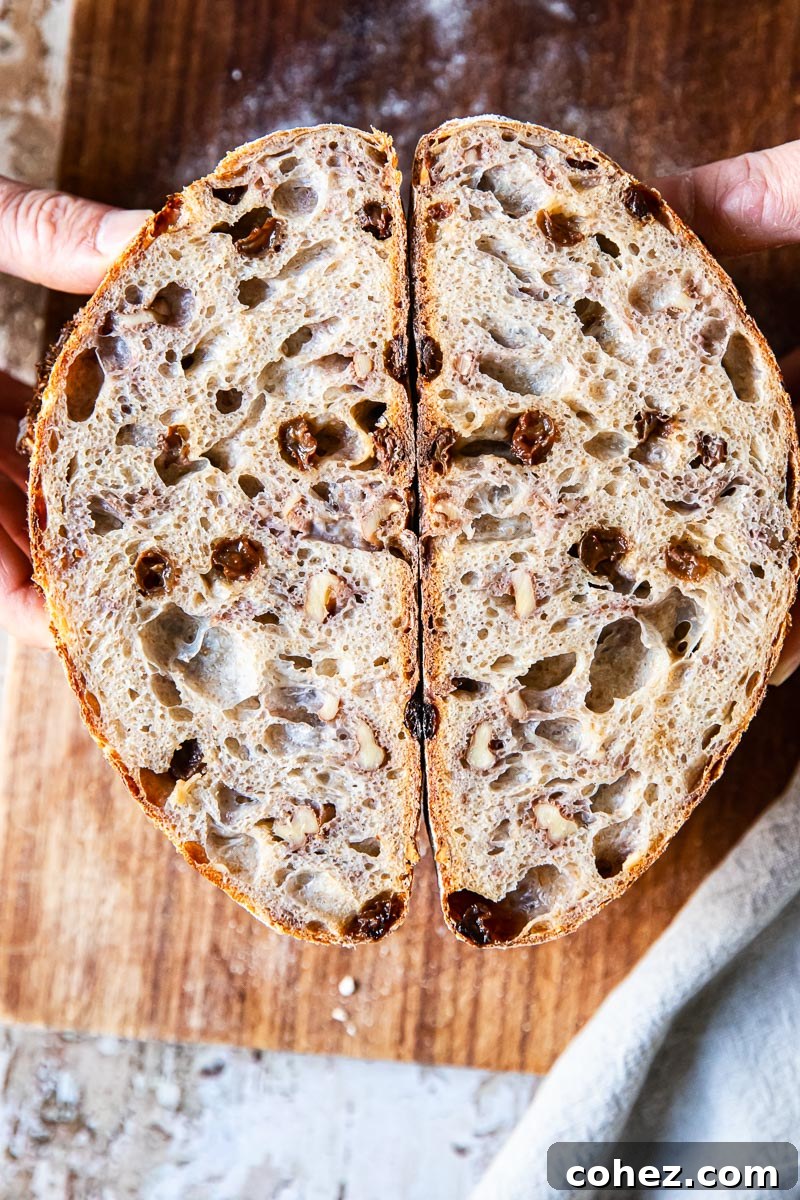
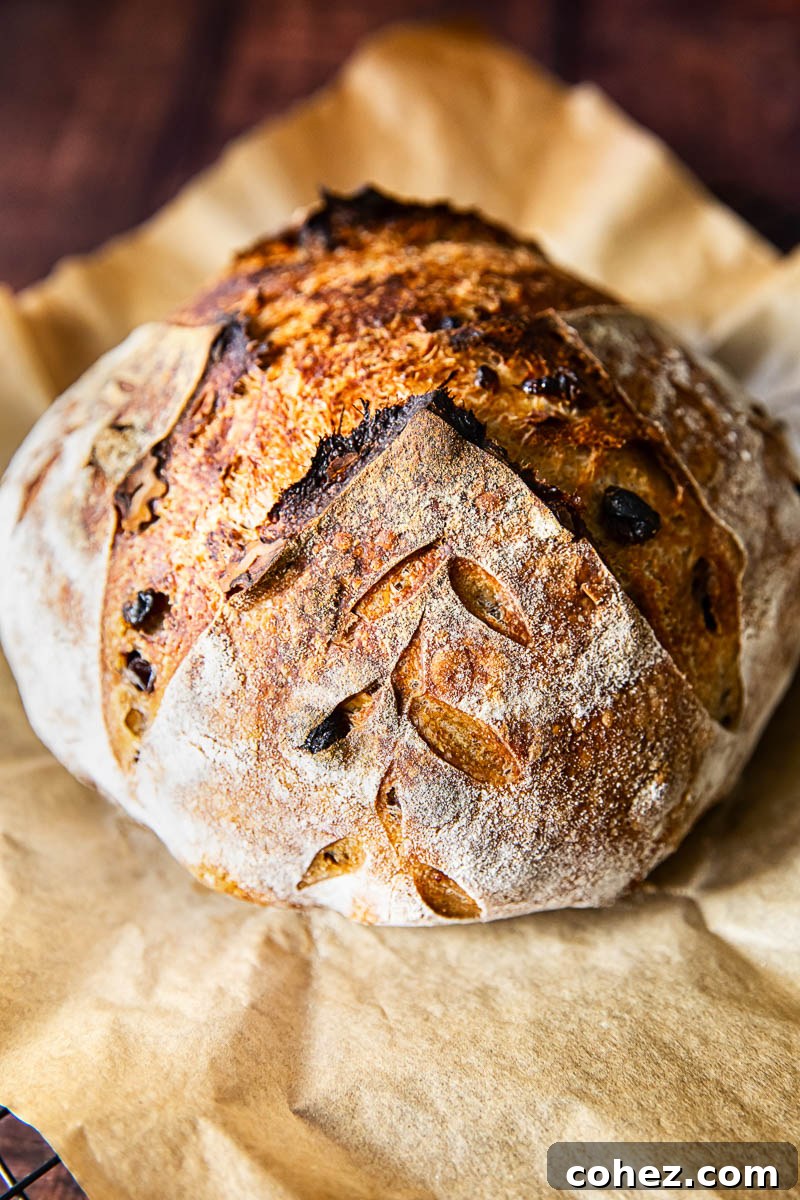
Imagine a loaf of sourdough bread with a robust, crispy crust that crackles under the knife, giving way to an incredibly soft, open, and airy crumb. Now, picture that delicate interior generously studded with the satisfying crunch of toasted walnuts and the sweet chewiness of plump, rehydrated raisins. This isn’t just bread; it’s an experience, a sophisticated upgrade to your morning toast that will utterly redefine your expectations of what homemade sourdough can be. Prepare to be introduced to the ultimate grown-up version of cinnamon raisin toast, an artisan masterpiece ready for your kitchen.
Elevate your breakfast or snack time with a thick slice of this exquisite walnut and raisin sourdough. It pairs divinely with our homemade Maple Peanut Butter, offering a sweet and nutty harmony, or indulge in the creamy richness of our Honey Cinnamon Cashew Butter for a truly decadent treat. It’s a match made in heaven, promising to delight your palate with every bite.
Unlocking Sourdough Creativity: Beyond the Basics
If your sourdough journey has mirrored ours over the past year, you’ve likely moved beyond the initial exhilaration of baking your first basic plain loaf. The foundational skills are mastered, the rhythm of feeding your starter is second nature, and now, the exciting realm of experimentation beckons. The beauty of sourdough lies not only in its rustic charm and distinct flavor but also in its incredible versatility. It’s an invitation to explore a spectrum of tastes and textures, transforming a simple bread into an artisanal masterpiece.
Indeed, sourdough bread, with its signature tangy taste, impressive crust, and wonderfully chewy interior, is far more than just a staple; it’s a blank canvas for culinary artistry. The inherent qualities of sourdough – its natural leavening, improved digestibility, and complex flavor development – make it an ideal base for creative additions. It’s an invitation to elevate your baking, crafting a loaf that usually garners admiration only on the shelves of high-end bakeries. With this recipe, you’ll produce a bread that rivals professional creations, right in your own kitchen.
The Perfect Pairing: Walnuts and Raisins
Our favorite way to infuse classic sourdough with exceptional character is by studding its airy interior with the irresistible combination of crunchy walnuts and naturally sweet raisins. This simple yet profound variation elevates the humble loaf, creating a texture and flavor profile that is both comforting and sophisticated. The walnuts introduce a nutty depth and satisfying bite, complementing the sourdough’s tang, while the raisins burst with sweet, fruity notes, providing a delightful contrast and pockets of chewy goodness. This versatile bread is equally delicious whether enjoyed with sweet toppings like jam, honey, or a simple smear of cream cheese, or alongside savory accompaniments such as aged cheddar, prosciutto, or a rich paté. It’s a testament to how easily you can transform a classic into something truly special and memorable.
Mastering the Walnut and Raisin Sourdough Method
For those who have already navigated the nuances of basic sourdough baking, you’ll be pleased to discover that integrating walnuts and raisins into your loaf is a straightforward adaptation, not a complete re-learning process. The core techniques remain the same – from feeding your starter to the final bake – ensuring a familiar and confident baking experience. If you are new to the world of sourdough or seeking to refine your foundational skills, we highly recommend consulting our comprehensive guide: Sourdough Bread for Beginners. This in-depth article covers everything you need to know, from establishing and maintaining a vibrant sourdough starter to understanding the crucial purpose of stretch and folds, and even includes a helpful video demonstration on how to expertly shape a simple boule (a round loaf). It’s your complete resource for building a solid sourdough foundation.
At its heart, this walnut and raisin bread requires just a few high-quality ingredients: robust bread flour, pure water, fine salt, plump raisins, and crunchy walnuts. Naturally, we assume your active sourdough starter is fed, bubbly, and ready to infuse your dough with its characteristic tang and leavening power. The quality of your ingredients directly impacts the final flavor and texture, so selecting the best bread flour for a strong gluten network, good quality salt for flavor, and fresh nuts and fruits is paramount to achieving an exceptional loaf.
The Role of Flour and Starter
While not strictly mandatory, a personal preference of ours is to feed our sourdough starter with whole wheat flour. This imparts a subtle nuttiness, a richer color, and additional depth to the starter, and subsequently, to the finished bread. Whole wheat flour also tends to activate sourdough starters more rapidly than white flour, thanks to its higher nutrient and enzyme content, contributing to a more vigorous and active starter culture. For the main dough, we typically opt for all white bread flour. This choice helps achieve that desirable open, airy crumb structure that is so characteristic of artisan sourdough, while still benefiting from the complex flavors and increased activity introduced by the whole wheat-fed starter. This blend provides the best of both worlds: a light, tender crumb with a hint of earthy richness and robust sourdough notes.
Essential Recipe Tips for Success
- Hydrate Your Raisins Thoroughly: It is critically important to soak your raisins in hot water for at least one hour (or even two) before incorporating them into your sourdough dough. This crucial step rehydrates them completely, preventing them from absorbing much-needed moisture directly from your precious dough during fermentation and baking. If raisins are not properly rehydrated, they will act like sponges, leaving you with an excessively stiff, dry, and difficult-to-work-with dough. Properly plumped raisins ensure a moist crumb and burst with flavor.
- Dough Consistency Expectations: Even with proper soaking, raisins inherently continue to draw a small amount of moisture from the dough as it ferments and rests. Consequently, your walnut and raisin sourdough dough will feel slightly firmer and perhaps a little less extensible than a plain sourdough loaf. However, this subtle difference does not negatively impact the internal texture or quality of the bread; in fact, this firmer consistency can make it surprisingly easier to score intricate and beautiful designs on the surface of your loaf before baking, allowing for stunning visual appeal and a more controlled oven spring.
- Patience is Key – Cool Before Slicing: This is perhaps the hardest, yet most vital, tip for any sourdough baker: resist the irresistible temptation to slice into your warm loaf immediately after it emerges from the oven. Cutting into hot bread allows trapped steam and moisture to escape rapidly, which can lead to a gummy, dense texture and a less satisfying, often “wet,” crumb. Allowing the bread to cool completely to room temperature (ideally for at least four hours) enables the internal moisture to redistribute and reabsorb throughout the crumb, resulting in the perfect airy, open structure, optimal chewiness, and full flavor development. Your patience will be richly rewarded with every slice.
Preserving Freshness: Storage and Leftovers
Unlike many commercially produced breads found in supermarkets, homemade sourdough, like this delightful walnut and raisin loaf, is entirely free from artificial preservatives. While this is a truly wonderful aspect for healthy, natural eating, it also means your artisan bread will naturally have a shorter shelf life than its store-bought counterparts. Its exceptional quality is undoubtedly best enjoyed fresh, warm from the oven, but with proper storage techniques, you can savor its deliciousness for several days.
For optimal freshness and to maintain its delightful texture, aim to consume your sourdough within 3 days when stored at room temperature. The best method for storage is to place the entire loaf in a breathable cotton bread bag or wrap it loosely in a clean tea towel. Then, store it in a dedicated bread box or a clean, dry cupboard. This method allows the bread to breathe slightly, which is crucial for preserving its crisp crust while simultaneously preventing it from drying out too quickly. It’s important to avoid storing sourdough in airtight plastic bags, as this traps moisture, leading to a soggy, undesirable crust and, unfortunately, accelerating the growth of mold. And critically, always keep your sourdough out of the refrigerator; cold temperatures tend to rapidly dry out bread and alter its delicate texture, making it stale much faster.
Should you wish to extend the life of your walnut and raisin sourdough beyond a few days, freezing is an excellent option for long-term preservation. Once the bread has cooled completely to room temperature, wrap it tightly in plastic wrap, ensuring that no air can reach the surface of the bread – air is the enemy of freshness in the freezer. For an extra layer of protection against freezer burn, which can affect taste and texture, add a second wrapping of aluminum foil. Properly frozen, your loaf will maintain its quality and delicious flavor for up to two months. To enjoy, simply thaw the bread at room temperature, then if desired, warm it gently in the oven for a few minutes to revive its crust and aroma, offering a near-freshly baked experience.
Other Irresistible Bread Recipes to Try
- No-Knead Farmhouse Bread: Simple yet incredibly satisfying, perfect for beginners seeking minimal effort with maximum flavor.
- Classic Rye Bread Recipe: A dense, flavorful loaf with traditional charm and a hearty texture, ideal for savory pairings.
- Rosemary Spelt Bread Recipe: An aromatic and wholesome bread enriched with ancient grains and the fragrant notes of fresh rosemary.
- Easy Flatbread Recipe: Quick and versatile, these flatbreads are perfect for a variety of meals, from wraps to pizzas.
Walnut and Raisin Sourdough Bread

Print Recipe
A beautifully rustic sourdough bread featuring a crunchy crust and an airy, open crumb, generously studded with sweet raisins and toasted walnuts. This recipe takes your sourdough baking to an exciting new level!
Equipment
-
Cast iron Dutch oven
-
Banneton (bread proofing basket)
Ingredients
- 100g / 1/2 cup activated sourdough starter
- 500g / 4 cups white bread flour
- 350ml / 1⅓ cup + 1 tbsp water
- 9g / 1/2 tbsp salt
- 50g / 1/4 cup raisins
- 50g / 1/3 cup walnuts, chopped
Instructions
- Soak the raisins in 2 cups of hot water for 1-2 hours to rehydrate them. Meanwhile, in a large mixing bowl, combine the bread flour and water (this is known as autolyse). Cover the bowl with plastic wrap and let it rest for 30 minutes. After resting, add the activated sourdough starter and salt to the dough. Mix gently until all ingredients are well combined and no dry spots of flour remain. Cover with plastic wrap again and let it sit for another 30 minutes.
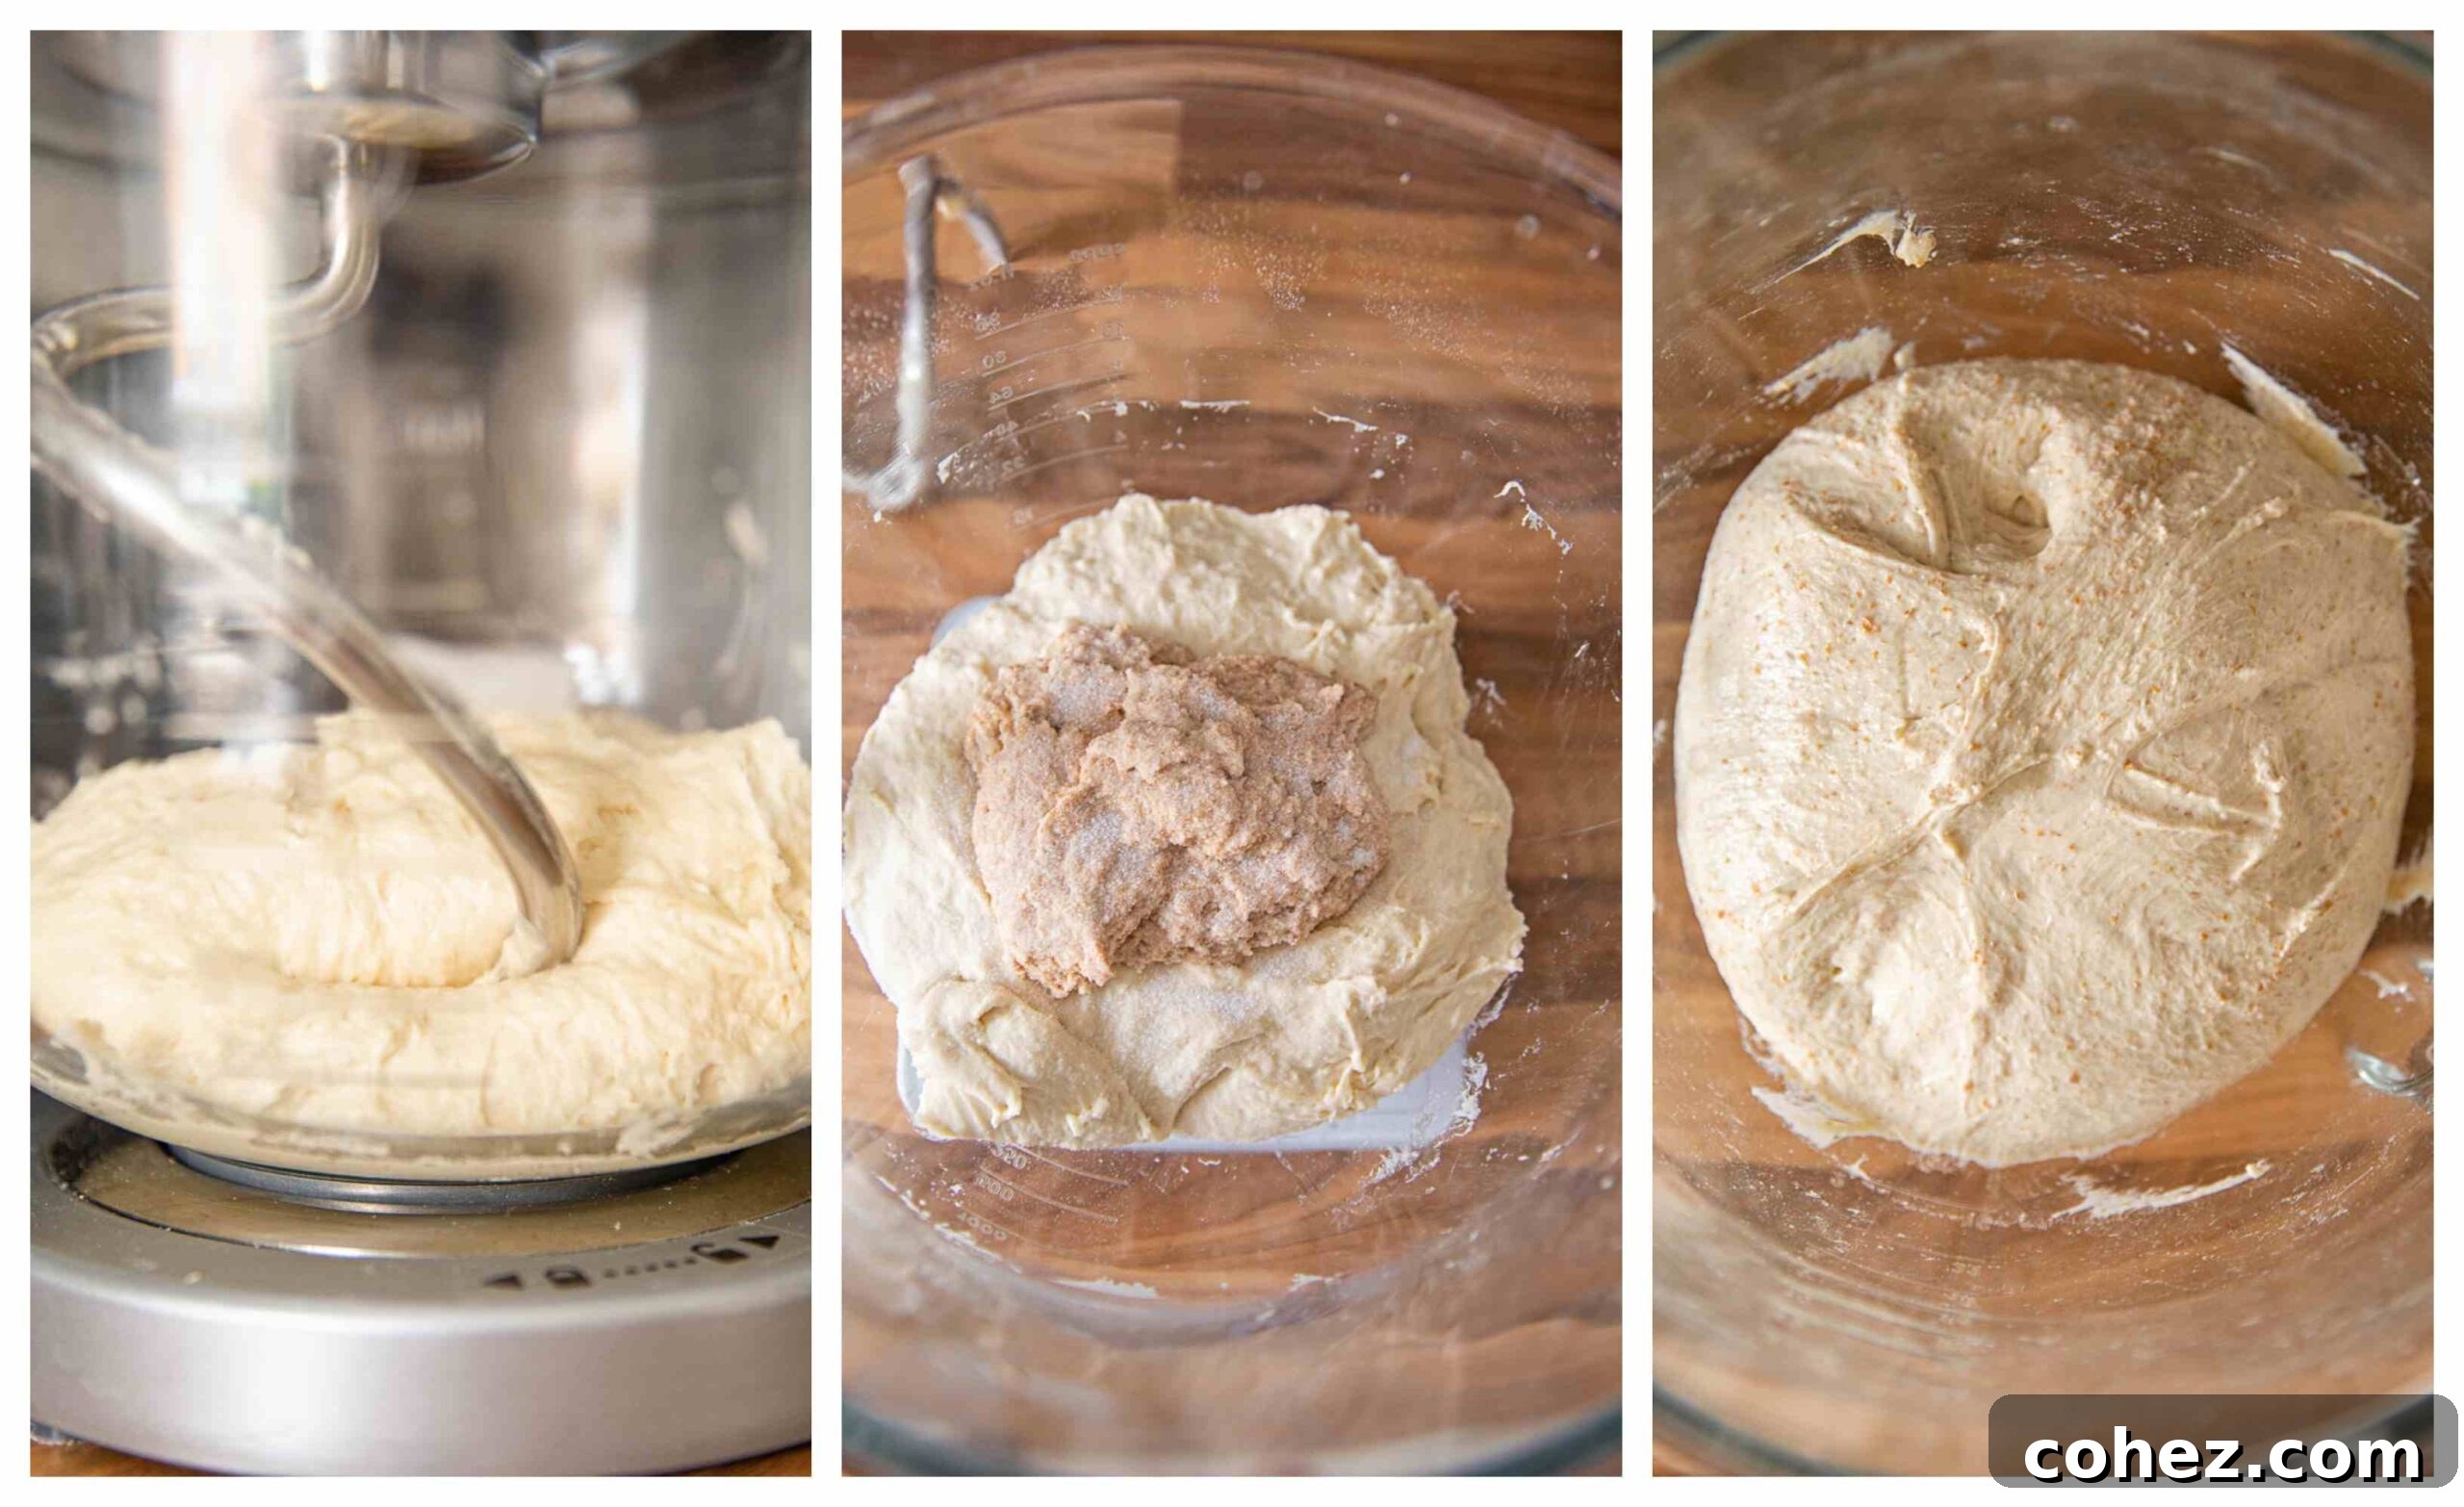
- Uncover the dough. Begin the first set of stretch and folds. To perform a stretch and fold, gently grab a section of the dough with a wet hand, stretch it upwards as far as it will go without tearing, and then fold it back over itself towards the center of the bowl. Rotate the bowl approximately 45 degrees and repeat the stretch and fold process. Continue this rotation and repetition until you have completed 4 stretches and folds in total for this set. This process builds strength and elasticity in the dough.
- Perform a total of 3 sets of stretch and folds, spaced 30 minutes apart. Before beginning the final set of stretch and folds, drain the soaked raisins thoroughly and add them along with the chopped walnuts to the dough. Gently work the inclusions into the dough during this last set of stretch and folds, being careful not to overwork or tear the dough. Once the walnuts and raisins are evenly distributed, cover the bowl tightly with plastic wrap and allow the dough to undergo its bulk fermentation (first rise) for 5-7 hours. The exact timing can vary significantly depending on the ambient temperature of your home; warmer environments will ferment faster. At the end of bulk fermentation, the dough should appear slightly rounded on top and exhibit a few small bubbles on its surface. It will not necessarily double in size, but rather show noticeable activity.
- Gently transfer the fermented dough onto a lightly floured surface. Carefully shape the dough into a taut ball (a boule) by tucking the edges inwards towards the bottom. The goal is to create surface tension, which contributes to a beautiful oven spring. Once shaped, carefully transfer the boule, seam side up, into a proofing basket (banneton) that has been generously dusted with rice flour. Rice flour is excellent for preventing sticking. Cover the banneton with a clean tea towel and refrigerate for a long, slow cold proof, typically 14-16 hours (we usually do this overnight). This cold proof develops flavor and makes the dough easier to handle. (You can watch a detailed shaping technique here: Sourdough Bread for Beginners)
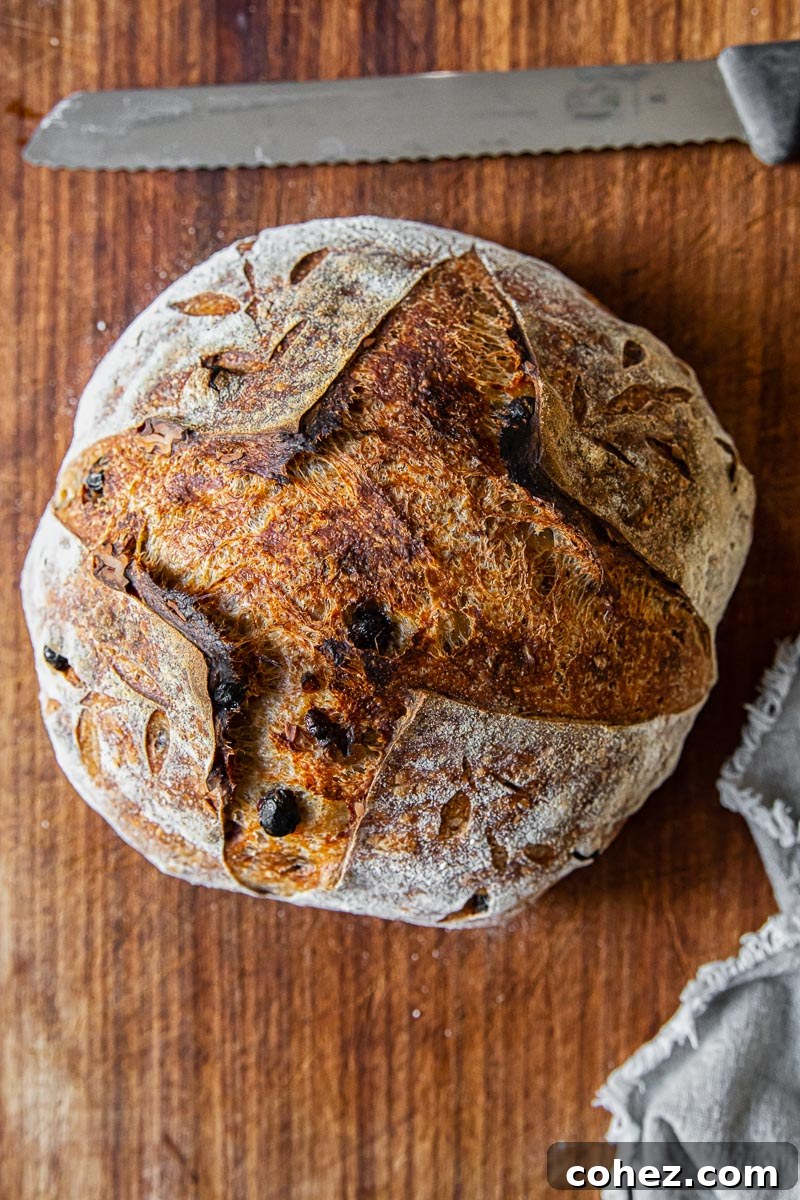
- The following day, preheat your oven to 450°F (220°C) with your cast iron Dutch oven inside for at least one hour. This ensures the Dutch oven is thoroughly hot, mimicking a professional brick oven. Carefully remove the preheated Dutch oven from the oven. Gently turn the cold dough out of the banneton onto a sheet of parchment paper. Using a very sharp blade or a bread lame, score a design onto the top of your loaf. Carefully lift the parchment paper by its corners to transfer the dough into the preheated Dutch oven. Place the lid on and bake for 30 minutes. After 30 minutes, remove the lid and continue baking for another 15-20 minutes, or until the crust is deeply golden brown and the internal temperature reaches 200-210°F (93-99°C).
- Once baked, carefully remove the bread from the Dutch oven and transfer it to a wire rack to cool completely. This crucial cooling period should last for at least 4 hours before you attempt to slice it. As mentioned in our tips, this allows the internal moisture to redistribute, resulting in the perfect texture and flavor.
Notes
This versatile bread is designed to be equally delicious with both savory and sweet toppings. However, if you’re aiming for a distinctly sweet treat, consider adding 1 teaspoon of ground cinnamon to the dough along with the flour. This will infuse the bread with a warm, aromatic spice that makes for the most incredibly fragrant and satisfying morning toast.
Nutrition
Carbohydrates: 30g |
Protein: 4g |
Fat: 3g |
Saturated Fat: 1g |
Polyunsaturated Fat: 2g |
Monounsaturated Fat: 1g |
Sodium: 80mg |
Potassium: 78mg |
Fiber: 1g |
Sugar: 1g |
Vitamin A: 1IU |
Vitamin C: 1mg |
Calcium: 10mg |
Iron: 2mg
Nutrition information is automatically calculated, so should only be used as an approximation.
Tried this recipe?
Let us know how it was!