
Mastering Food Photography: Essential Tips for Capturing Irresistible Shots
Food photography is an art form that transforms ordinary dishes into captivating visual stories. For years, the idea of delving into this subject felt daunting. When I first embarked on my blogging journey three years ago, my understanding of photography, let alone the intricate nuances of food photography, was minimal. To write about it then would have felt premature, as if I had reached a pinnacle I certainly hadn’t. However, the path I’ve traveled has been rich with discovery and learning. I’ve absorbed invaluable lessons, and now, I’m thrilled to share these insights with fellow enthusiasts eager to elevate their food photography skills.
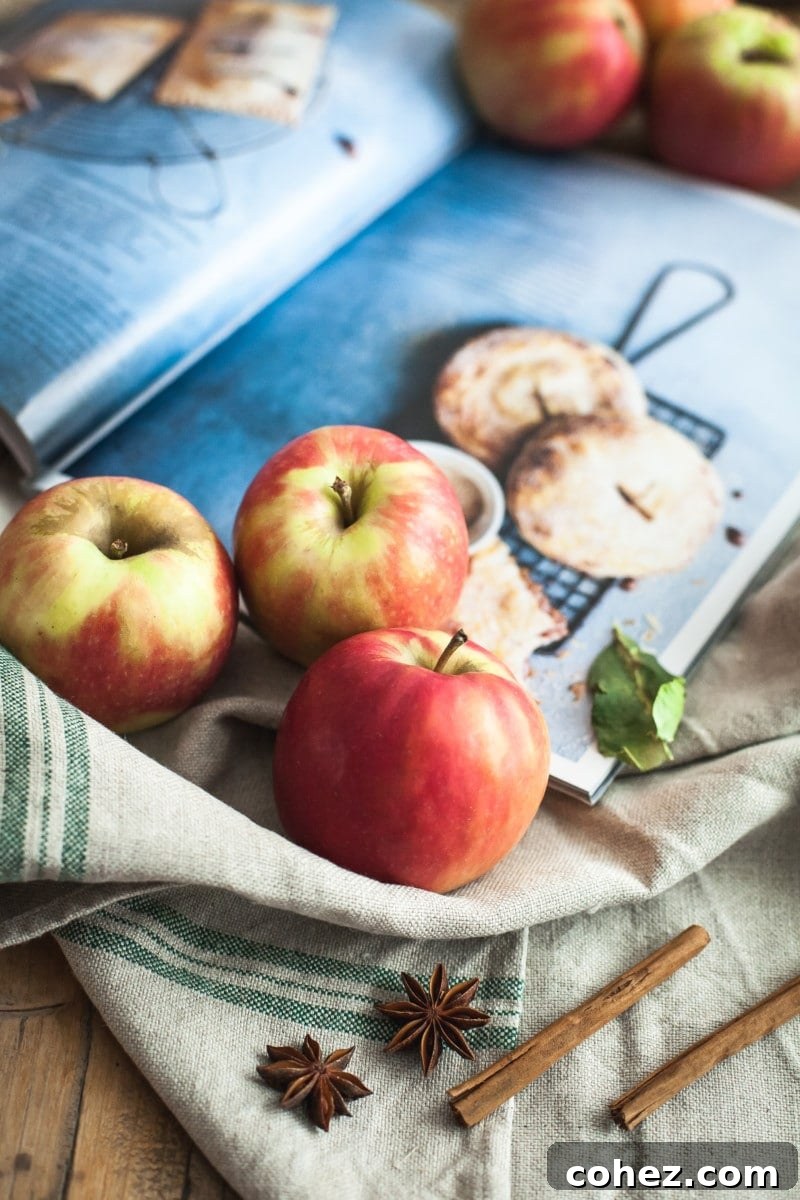
My passion for photography recently led me to a fantastic food photography masterclass hosted by Pink Lady Apples in central London. Accompanying my dear friend Lucy from Supergolden Bakes, I enthusiastically lugged all my gear, including a rather hefty tripod, across the city. While the tripod might have been a bit of an overkill, such is the dedication of a passionate photographer! The workshop was an immersive morning dedicated to the fascinating world of food photography and styling. It was a wonderful opportunity to connect with numerous lifestyle bloggers, all keen to learn the secrets behind crafting more engaging food photos. For many, Instagram serves as their primary communication channel, making the ability to style and capture a stunning shot absolutely essential. Being surrounded by like-minded individuals, discussing shared passions, and photographing beautiful Pink Lady apples was incredibly inspiring. Truly, they were gorgeous!
As I listened to the presenter share her expert tips and showcase her breathtaking photos, a new sense of confidence blossomed within me. I realized that the knowledge and experience I’ve accumulated over three years of blogging could genuinely benefit others. A heartfelt thank you to Aspire Photography for providing that crucial boost! So, let’s dive into my essential guide to captivating food photography.
The Foundation: Harnessing Natural Light for Irresistible Food Photos
When you’re starting your journey in food photography, natural light is, without a doubt, your best friend. While a significant portion of commercial food photography relies on sophisticated artificial lighting setups, I strongly advise beginners to master natural light first, and for several compelling reasons:
- Understanding Light: Natural light offers an intuitive way to grasp how light interacts with your subject. Learning to observe and manipulate it is fundamental to highlighting the best features of your food.
- Avoiding Unappetizing Tints: Standard indoor light fixtures typically cast an awful yellow or orange tint on your food, making it look dull and utterly unappetizing. We’ve all seen those unflattering shots on social media. Natural light ensures true-to-life colors.
- Complexity and Cost: Professional artificial lighting systems are not only expensive but also incredibly complex to master. They require a deep understanding of light modification, a skill best developed after gaining proficiency with natural sources.
Contrary to popular belief, more light isn’t always better. I once made the mistake of moving my entire photo setup into my glass conservatory, believing it would provide ample light. The result was harsh, unflattering images. Crafting a truly great photo, one that tells a story, is about the delicate interplay between light and shadow. Your ideal setting is typically by a north-facing window, where the light streams in gently and consistently. Harsh, direct sunlight creates stark contrasts and blown-out highlights, which are extremely unflattering for food. Always avoid it at all costs, or use diffusers to soften it.
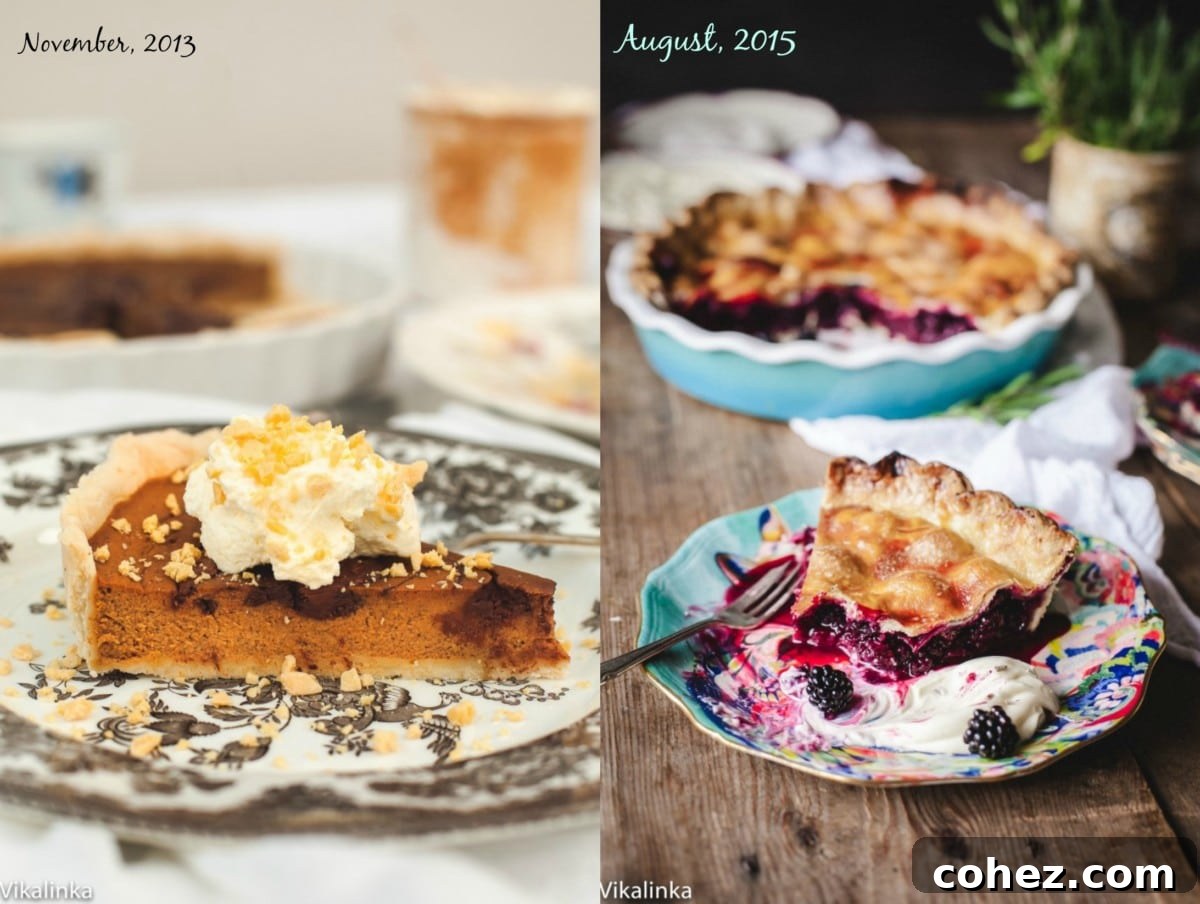
The journey of improvement is a powerful motivator. Below, you’ll see two photos taken two years apart. The first was captured in my conservatory, while the second was shot in my living room, benefiting from better natural light conditions. The difference is striking, isn’t it?
I often cringe when I look back at my older work. While the urge to re-shoot everything is strong, I’ve decided to keep some of those early photos as a potent reminder of where I started. I hope they serve as an encouragement for you too. As someone once wisely shared with me, “The only photographer you should compare yourself to is the one you used to be.” This profound piece of advice truly liberated me from the constant feeling of dissatisfaction that arose from comparing my work to that of photographers I deeply admire.
Elevating Your Composition: Mastering Angles in Food Photography
One of the clearest distinctions between an experienced food photographer and a beginner often lies in the choice of camera angles. Novices tend to photograph subjects from awkward or uninspired perspectives, missing opportunities to showcase the food’s best features. Mastering a few key angles can dramatically improve your compositions and visual storytelling.
The Eye-Level Shot (Side View)
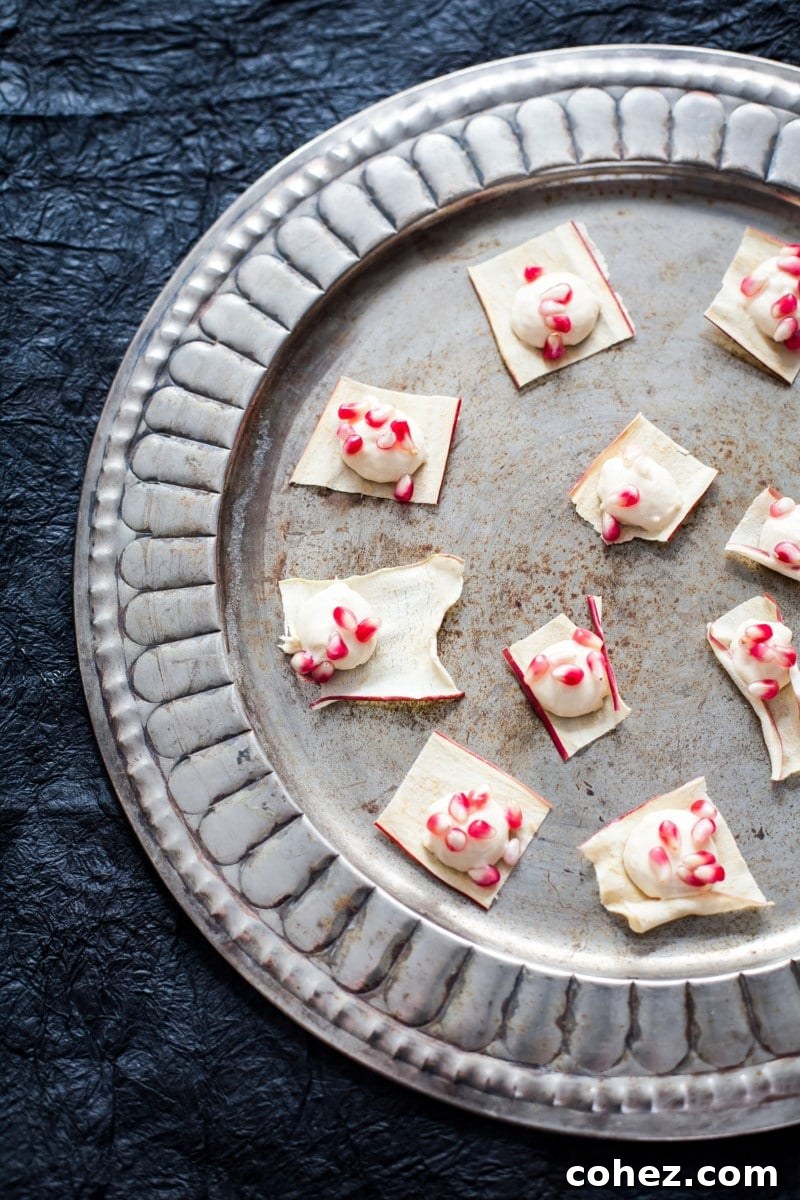
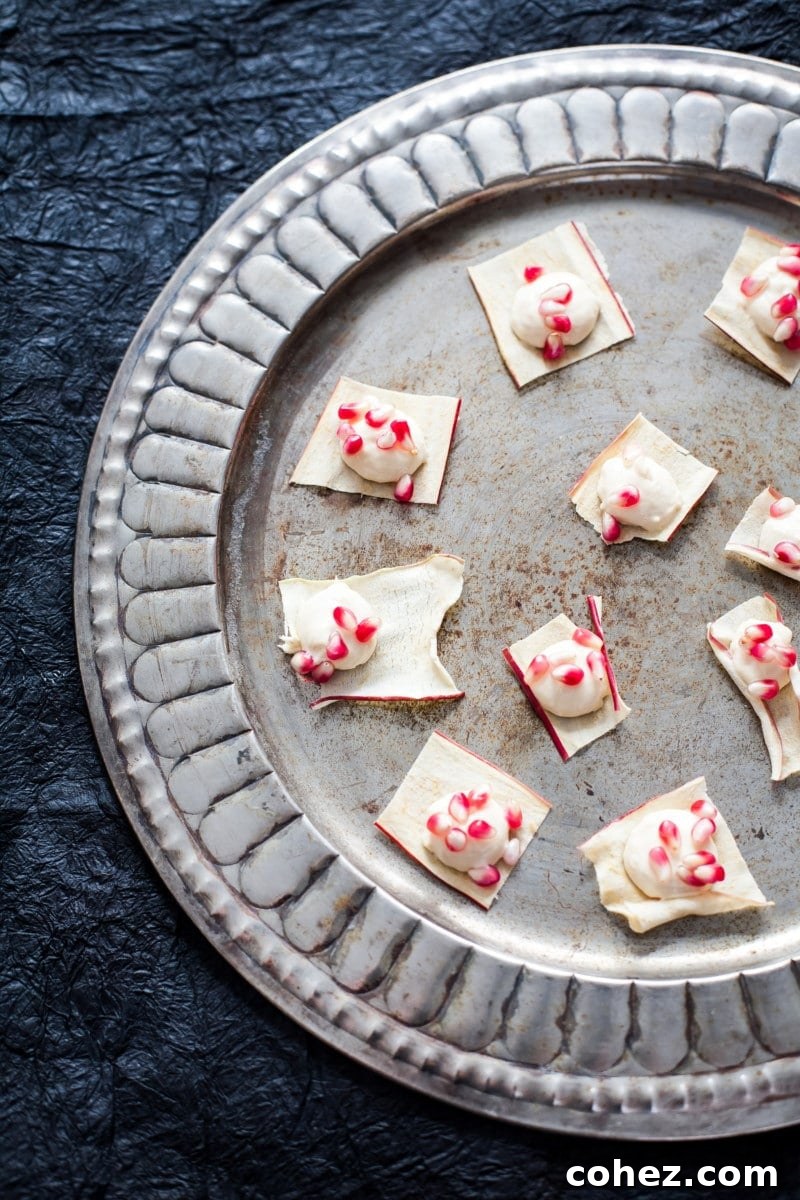
This angle positions the camera as if you are looking directly at the plate, creating an intimate and engaging perspective. It’s particularly effective for dishes with height, such as towering burgers, stacked pancakes, or layered cakes. It draws the viewer in, allowing them to appreciate the textures and layers of the food as if they were about to take a bite. The first photo in this post, showcasing the gorgeous pomegranate seeds, perfectly illustrates an effective side view.
The 3/4 View
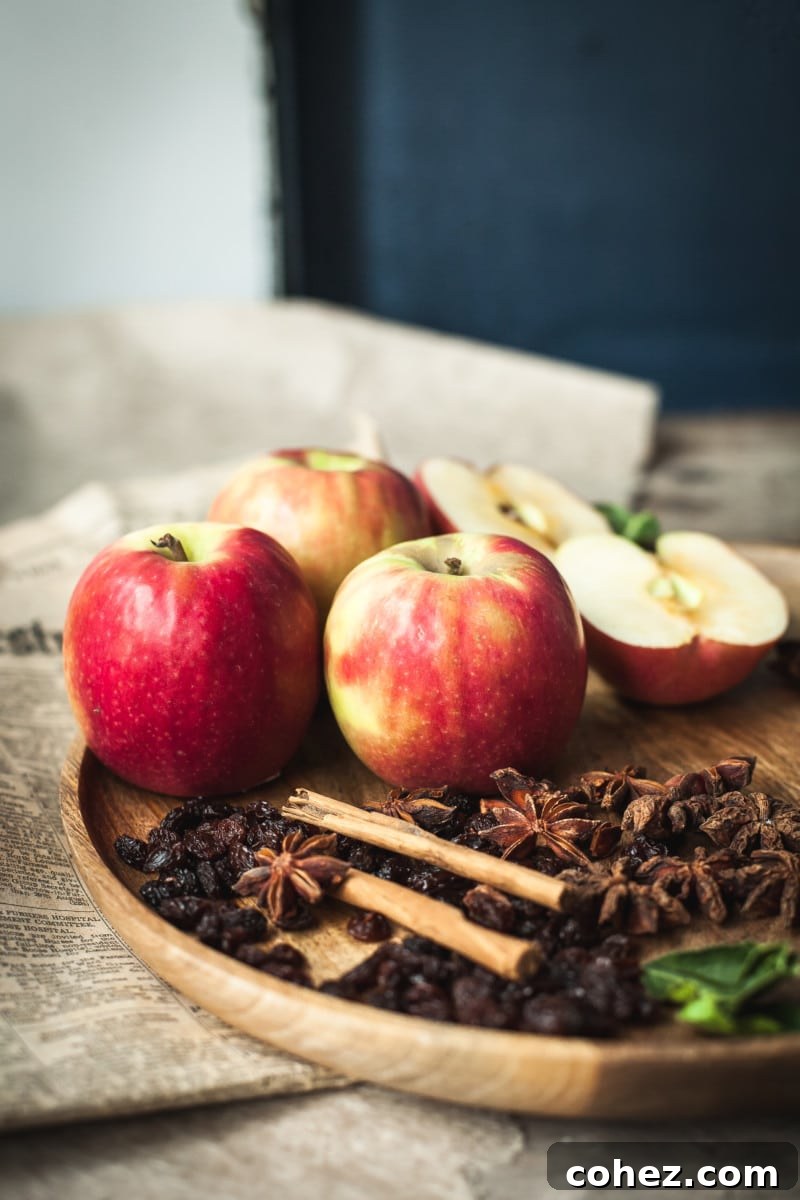
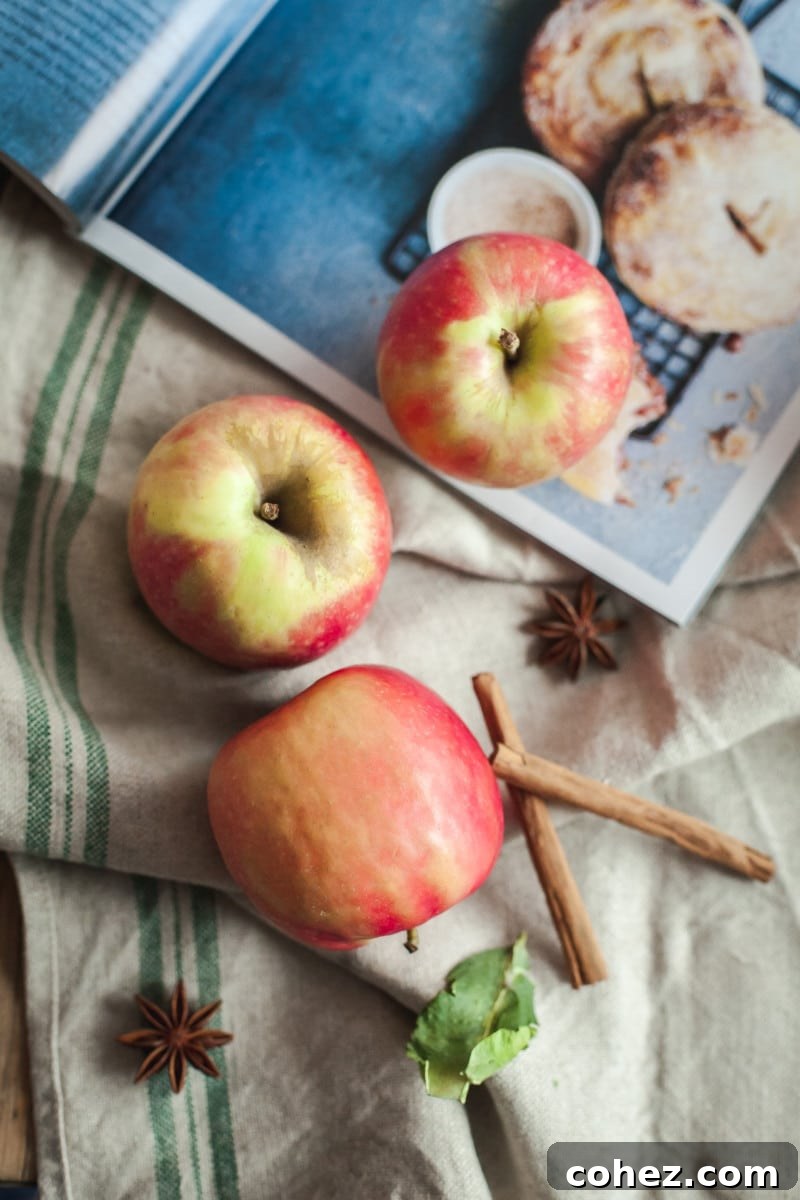
The 3/4 angle, taken slightly from above and to the side, is incredibly versatile and perhaps the most commonly used in food photography. It offers a balanced view, showing both the top and some side elements of the dish. This angle is excellent for displaying depth, the arrangement of multiple components on a plate, and the overall composition of a scene. The second photo in this article demonstrates the pleasing perspective of a 3/4 shot, giving a comprehensive yet inviting look at the dish.
The Overhead Shot (Flat Lay)
The overhead shot, also known as a flat lay, is captured directly from above, looking down on the entire scene. This perspective has gained immense popularity, especially on platforms like Instagram. It’s ideal for showcasing patterns, the variety of ingredients, or a spread of multiple dishes. This angle flattens the perspective, emphasizing shapes, colors, and textures across the frame. While I confess to using overhead shots quite frequently in my own work – we all have our creative biases! – their effectiveness in conveying a complete visual story is undeniable.
The Art of Styling: Selecting Props, Textures, and Colors
Remember this fundamental truth: it is always easier to capture beautiful photographs of a beautifully styled scene. Food photography extends far beyond merely clicking a shutter button; it’s about crafting an appealing narrative around your culinary creation. This involves a thoughtful consideration of colors, textures, and props that will naturally complement and highlight your primary subject.
Choosing the Right Props
Props are the supporting cast in your food story. They should enhance the main dish, not overpower or distract from it. Consider rustic wooden boards, elegant ceramic plates, vintage cutlery, delicate linen napkins, or even a subtle sprinkle of herbs. These elements add context, scale, and visual interest. The stunning textured background that makes the pomegranate seeds pop so appealingly, for instance, is simply paper – a testament to how impactful simple, inexpensive props can be!
The Power of Texture
Texture adds depth and sensory appeal to your photos. Think about the rough surface of a wooden table, the soft folds of a linen cloth, the sheen of a glazed plate, or even the natural variations within the food itself – the crust of a bread, the drizzle of a sauce, the scatter of crumbs. These textural contrasts create visual richness and make the food feel more tangible and inviting.
Color Harmony and Contrast
Colors play a crucial role in evoking mood and enhancing appetite. Understand basic color theory to choose hues that complement your food. For instance, vibrant green herbs often provide a beautiful contrast to warm, earthy tones. A pop of bright color, like a berry or a zest, can draw the eye and add excitement. Aim for a palette that feels cohesive and appealing, creating an overall visual harmony that makes the dish irresistible.
It’s true that food photography can become an expensive pursuit, especially when you consider high-quality cameras, lenses, and a multitude of styling props. But if you’re just starting out, there’s absolutely no need to despair! Charity shops are an incredible resource for budget-friendly props; I source many of my own treasures there. Many fellow bloggers also find great success on platforms like eBay. There’s no need to spend a fortune right away. Focus on gradually collecting items as you need them, while dedicating most of your energy to perfecting the technical aspects of your photography. The goal is to build a collection that reflects your style without breaking the bank.
Achieving Professional Sharpness: Focus and Stability
Capturing razor-sharp images is arguably the cornerstone of truly good photography, and it’s a topic I perhaps should have introduced even earlier. There’s a common misconception that achieving tack-sharp photos requires a prohibitively expensive camera. The reality, however, is entirely different. Your camera, regardless of its price tag, is merely a tool. If that tool moves or shakes while you’re taking a photo, the resulting image will inevitably be blurry. It’s as simple and fundamental as that.
Mastering Focus
The first step to sharpness is precise focus. Modern cameras offer sophisticated autofocus systems, but understanding how to select your focal point is crucial. For food photography, you generally want the most appealing part of your dish – perhaps a garnish, a slice, or a textured surface – to be in sharpest focus. Experiment with single-point autofocus to pinpoint exactly where you want the clarity to be.
The Role of Stability
To consistently produce sharp images, stability is paramount. While a steady hand is helpful, it often isn’t enough, especially in lower light conditions or when using slower shutter speeds. This is where essential tools come into play:
- A Tripod: An indispensable piece of equipment for any serious food photographer. A tripod completely eliminates camera shake, allowing you to use slower shutter speeds without fear of blur. This is especially beneficial when shooting in natural light indoors, where light might not be abundant.
- A Remote Shutter Release: Even the act of pressing the shutter button on your camera can introduce a tiny amount of shake. A remote shutter release (whether wired, wireless, or via a smartphone app) allows you to trigger the camera without physically touching it, ensuring maximum sharpness.
By mastering focus and ensuring absolute camera stability, you’ll find that the quality and sharpness of your food photos will dramatically improve, regardless of your camera’s model or cost.
Unlocking Creative Control: Understanding Your Camera Settings
I know, the thought of delving into camera settings can seem like a daunting task. The terms ISO, Aperture, and Shutter Speed often sound like a foreign language to beginners. However, these three elements form the “holy trinity” of all photography, and truly understanding them is the key to unlocking your creative potential. While it’s perfectly acceptable to start shooting on an automatic setting as you learn focus, styling, and composition, you will eventually yearn for more control over your creative process. That’s precisely when moving into manual mode becomes essential.
Aperture (f-stop)
Aperture controls two critical aspects: the amount of light entering your lens and, more importantly for food photography, your depth of field. A wide aperture (lower f-number like f/1.8 or f/2.8) creates a shallow depth of field, blurring the background (beautiful bokeh) and drawing the viewer’s eye directly to your sharp subject. A narrow aperture (higher f-number like f/8 or f/11) keeps more of the scene in focus, ideal for flat lays or intricate setups.
Shutter Speed
Shutter speed dictates how long your camera’s sensor is exposed to light. A fast shutter speed (e.g., 1/250s or faster) freezes motion, perfect for capturing a dynamic pour or falling ingredients. A slower shutter speed (e.g., 1/30s or slower) allows more light in, which can be useful in dim conditions, but requires a tripod to prevent blur from camera shake. Creative blur can also be achieved with slower speeds for artistic effect.
ISO
ISO measures your camera sensor’s sensitivity to light. A low ISO (e.g., 100 or 200) produces the cleanest images with the least digital noise, ideal in bright conditions. As light diminishes, you might need to increase your ISO (e.g., 800 or 1600) to get a proper exposure, but be mindful that higher ISO settings can introduce graininess (noise) into your photos.
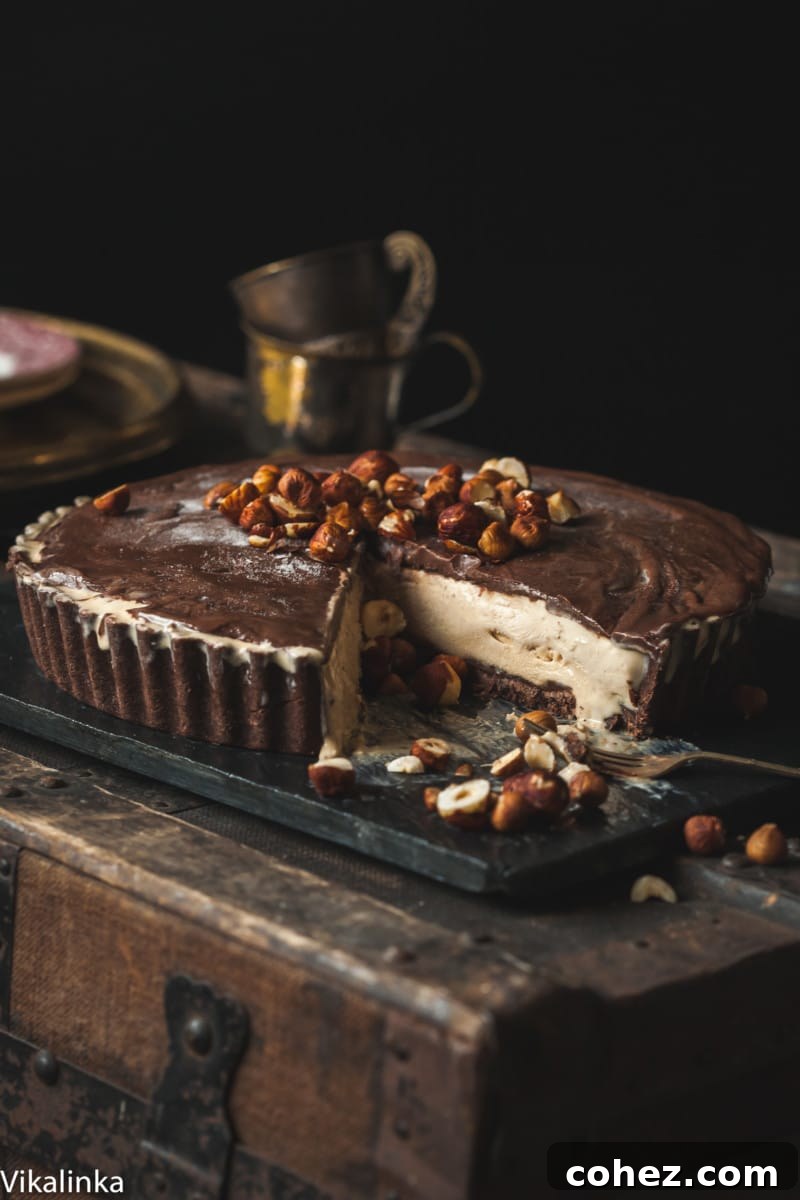
Understanding and manipulating these three settings independently allows you to take full creative control. You can choose to create very dark and moody shots one day, evoking a sense of drama and depth:
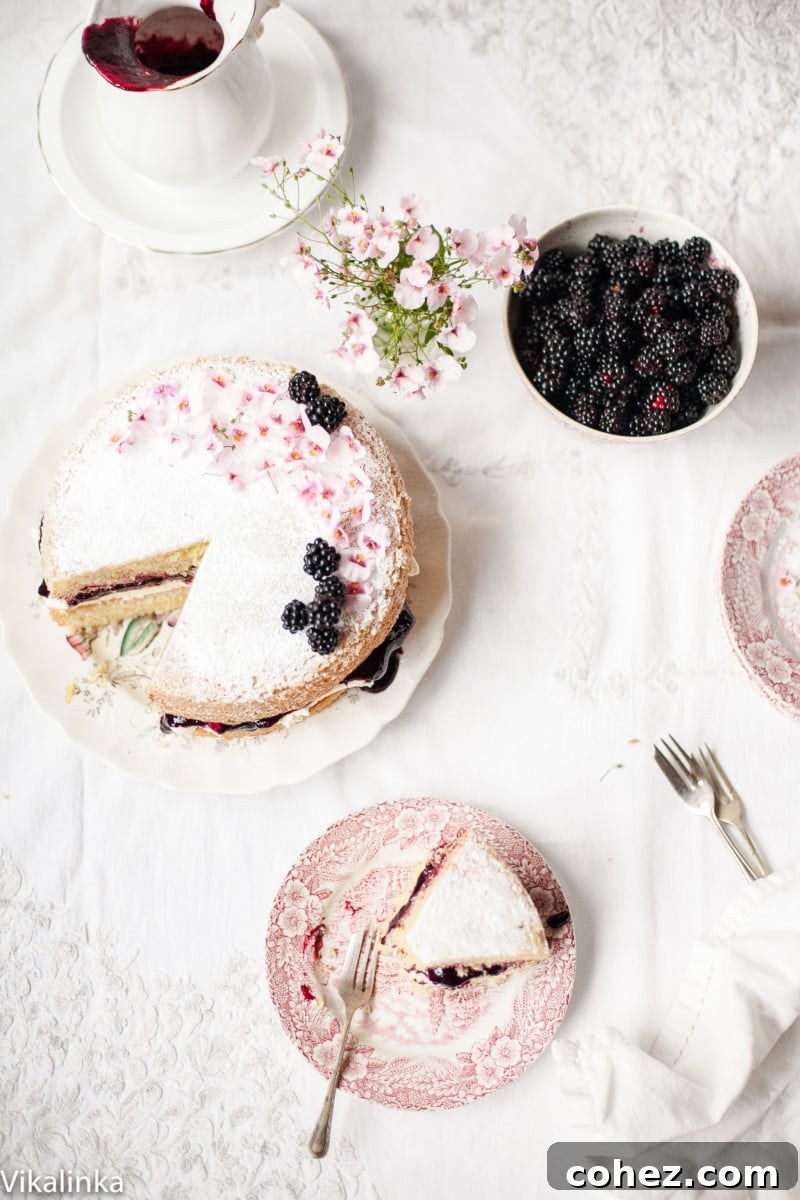
Then, effortlessly switch gears the next day to produce bright, airy, and inviting images:
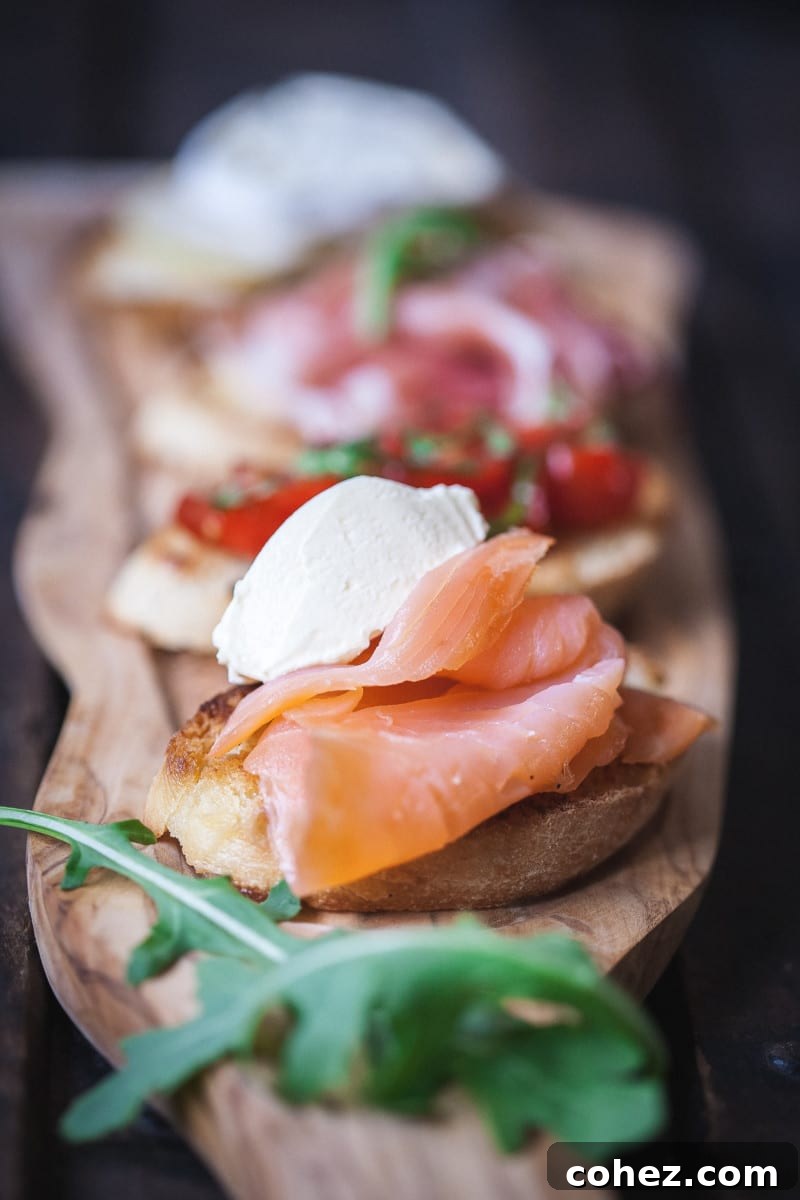
You gain the ability to zero in on a specific, beautiful subject by precisely controlling your depth of field, making it pop from a softly blurred background:
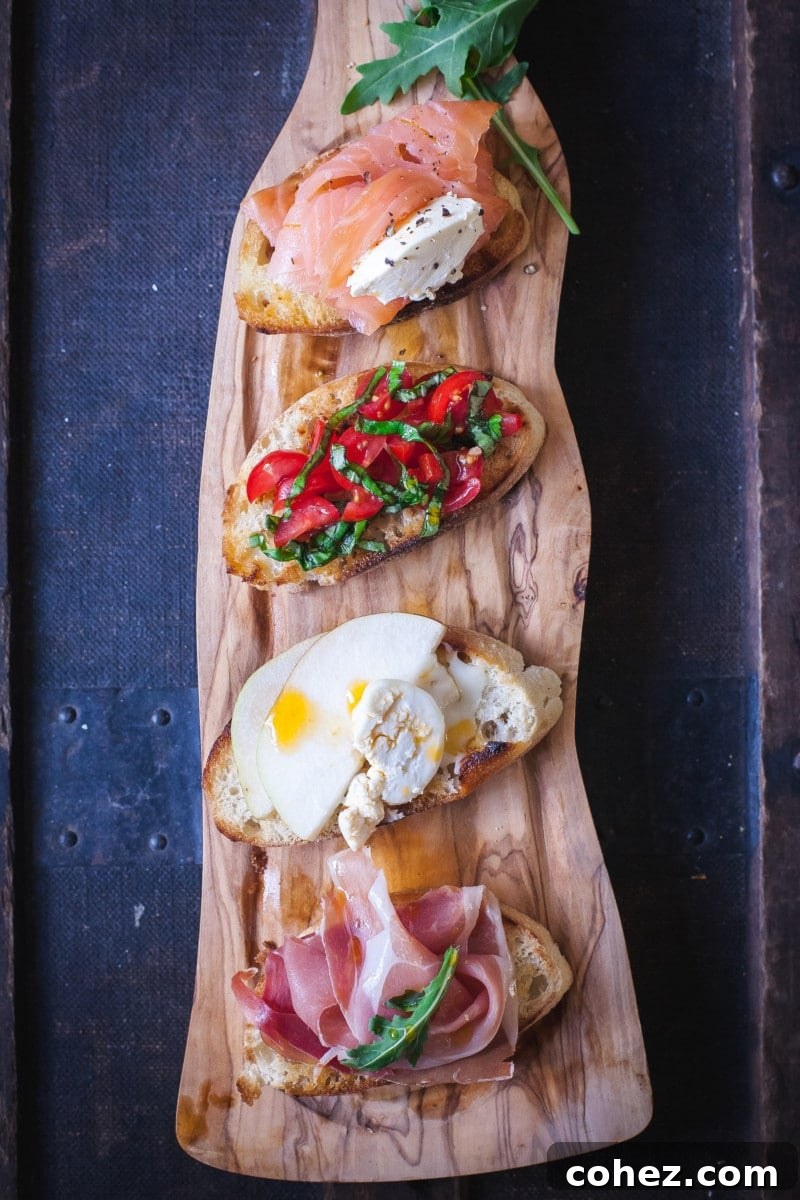
Or, you can capture an entire bustling scene, ensuring that every element remains sharply in focus to tell a complete story:
Ultimately, knowledge is power. It grants you the freedom to be truly creative, allowing you to translate your mental concepts and artistic vision directly into stunning visual realities.
Continuous Growth: Developing Your Food Photography Skills
Photography, like any creative pursuit, is a continuous journey of learning and refinement. There’s always more to discover, new techniques to master, and fresh perspectives to explore. To truly grow and develop your food photography skills, embrace a multifaceted approach:
Study and Learn Actively
Immerse yourself in the work of photographers you admire. Analyze their compositions, their use of light, their styling choices. Read books, blogs, and articles on photography. Don’t be afraid to ask questions – many photographers are generous with their knowledge. Understand the technical aspects of your gear, but also the artistic principles that underpin compelling imagery.
Build an Inspiration Library
Create a dedicated Pinterest Photography Inspiration Board (or feel free to follow mine!). Collect images that resonate with you, noting what you like about them – whether it’s the color palette, the lighting, the mood, or the styling. This visual library serves as a powerful resource, helping you articulate your own style and inspiring new creative directions.
The Power of Practice
There is simply no substitute for consistent practice. The more you shoot, the more you experiment, and the more you analyze your results, the faster you will improve. Don’t be afraid to make mistakes; they are invaluable learning opportunities. Experiment with different angles, props, lighting conditions, and camera settings. The act of doing is where true mastery begins.
Connect and Collaborate
Finally, consider signing up for a food photography workshop. These experiences offer hands-on learning, immediate feedback, and the invaluable chance to meet people who share your passion. Exchanging tips, discussing challenges, and collaborating with fellow enthusiasts can spark new ideas and accelerate your growth. The energy of a shared learning environment is incredibly motivating. As that piece of wisdom reminded me, “The only photographer you should compare yourself to is the one you used to be.” This liberating perspective encourages focusing on your own progress and celebrating how far you’ve come, rather than getting caught in endless comparisons. Embrace your journey, practice consistently, and watch your skills flourish.
Join Us for a Deeper Dive: Practical Food Photography Workshop
I realize that I could easily go on and on when it comes to the vast subject of photography. We haven’t even delved into the nitty-gritty specifics of how to set up a perfect shot or precisely control every camera setting. Sadly, it’s simply impossible to cover such depth in a single blog post. Indeed, some things cannot merely be described; they must be felt, experienced, and actively practiced to be truly learned. That’s why I am incredibly excited to announce that a Practical Photography Workshop, in collaboration with my talented friend Lucy Parissi, is currently in the works! We are actively discussing and planning all the details, and we would absolutely love to hear your thoughts and what you’d hope to gain from such an experience. Please leave a comment below or message me directly if you are interested in joining us! I sincerely hope this post has provided you with valuable insights and inspiration for your food photography journey.
Cheers,
~Julia