
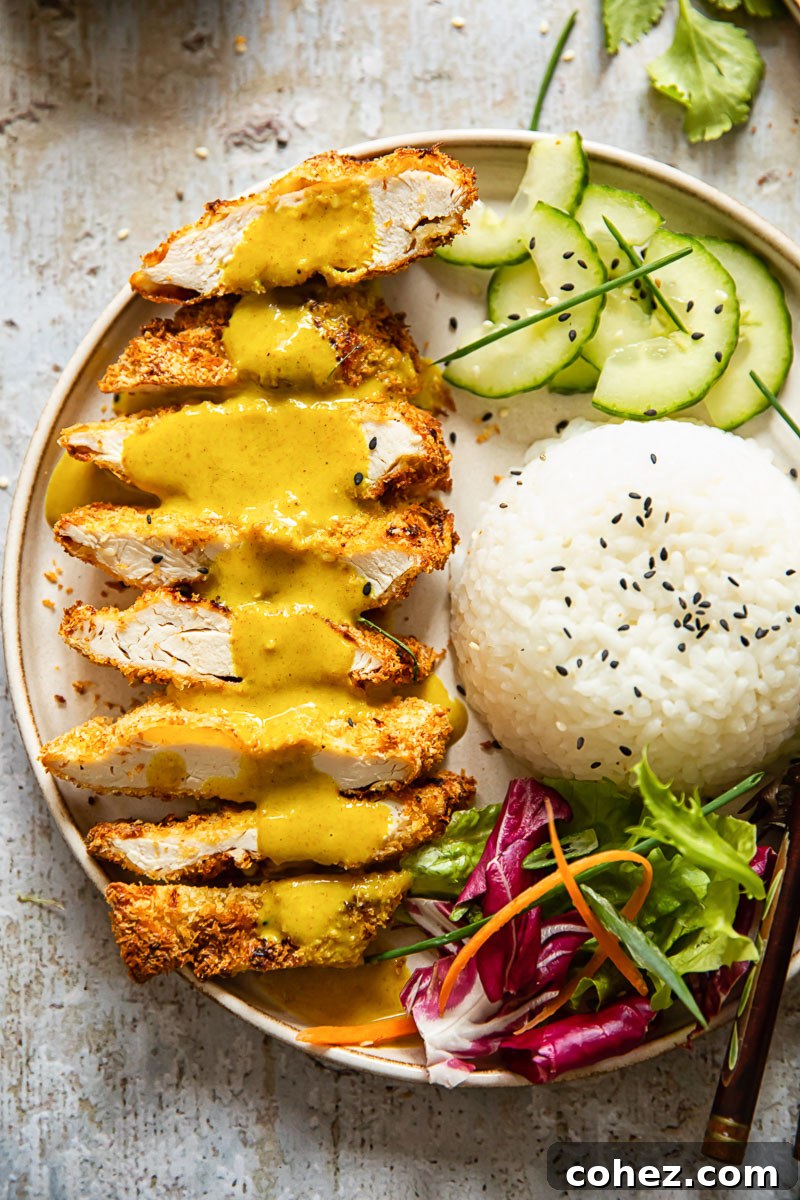
Imagine sinking your teeth into perfectly golden, unbelievably crispy chicken, succulent and juicy on the inside, all smothered in a rich, creamy, and subtly sweet Japanese curry sauce. That’s the magic of Chicken Katsu Curry, a restaurant favorite that, until now, might have seemed too daunting to recreate at home. But what if we told you it’s not only easy but also healthier thanks to a clever cooking method? Get ready to bring this beloved Japanese treat straight to your kitchen table.
Craving more exquisite Japanese flavors? Don’t miss our incredibly simple Udon Noodle Soup, perfect for a quick and comforting meal.
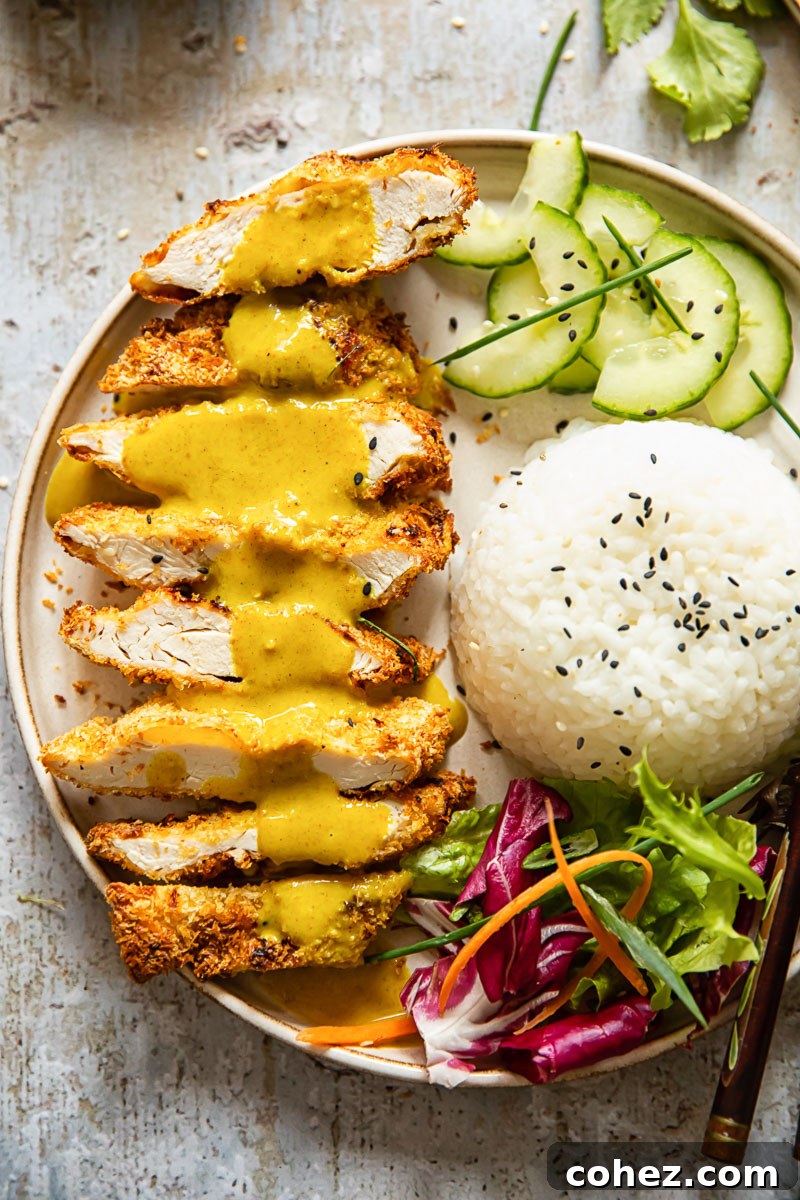
In our household, Chicken Katsu holds an almost legendary status. It’s consistently the top choice whenever we decide to order takeout, a dish that instantly brings smiles to everyone’s faces. The allure of its crispy coating and tender meat, paired with that distinctive savory-sweet curry, is simply irresistible.
I’m no stranger to the challenge of transforming cherished takeout dishes into equally delicious homemade versions. My Butter Chicken recipe, for instance, has been a resounding success. However, for a long time, the prospect of recreating Chicken Katsu at home felt intimidating. The thought of achieving that signature crispy, deep-fried exterior without the hassle and mess of actual deep-frying was a major hurdle. Let’s be honest, deep-frying is often a messy and oil-intensive endeavor that many of us prefer to avoid.
My hesitation persisted until a brilliant realization struck me: I could achieve that coveted crispiness with my Air Fryer! After a series of enthusiastic experiments and a few tweaks, I perfected a recipe that I am immensely proud to share. The results were truly astounding – a Chicken Katsu that tasted every bit as authentic and satisfying as its deep-fried counterpart, yet with a fraction of the oil and calories.
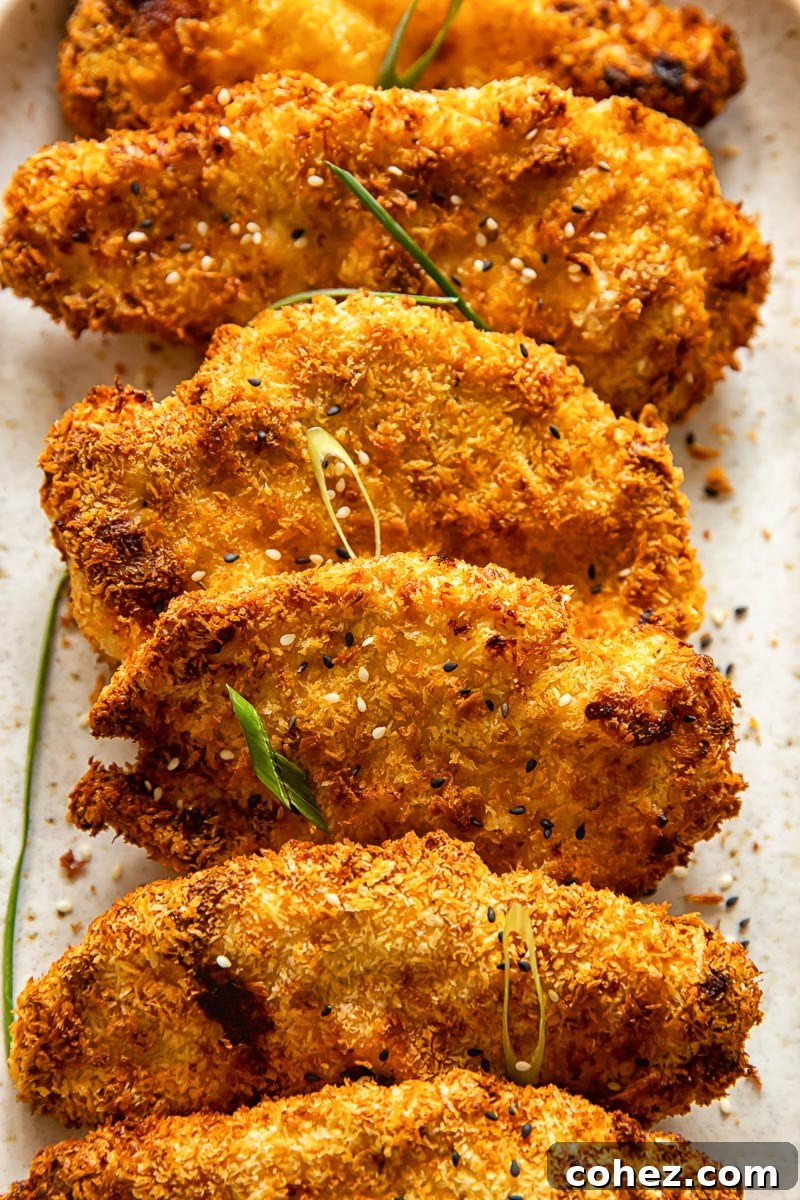
Honestly, you won’t believe this air-fried chicken is significantly lighter. It offers all the deliciousness of traditional fried and breaded chicken but comes with remarkable health benefits. Just one look at its beautiful, golden-brown crust, and you’ll be convinced! For another fantastic example of how an air fryer delivers stellar results while keeping things low-calorie, check out my Chicken Tenders with Honey Mustard Sauce.
What is Chicken Katsu Curry?
At its heart, “Katsu” in Japanese translates to “cutlet,” which immediately offers insight into this popular dish. Chicken Katsu specifically refers to tender chicken breasts, pounded thin into cutlets, then meticulously coated in a seasoned flour mixture, dipped in egg, and finally breaded with light, airy Panko breadcrumbs before being cooked to crispy perfection. Traditionally, this breaded cutlet is deep-fried, resulting in an incredibly satisfying crunch. It’s most commonly served alongside a generous portion of steamed rice and a mild, fragrant, and slightly sweet Japanese curry sauce, creating a harmonious balance of flavors and textures.
If you’re wondering how curry, often associated with Indian or Thai cuisine, became such a staple in Japan, you’re not alone. The journey of curry to Japan is quite fascinating. It was introduced to Japan during the Meiji era (late 19th century) by the British, who themselves had adopted and adapted curry from India. This “crazy journey,” as some might call it, ultimately led to the development of Japanese curry, which has evolved into a unique and beloved culinary tradition. Japanese curry stands apart with its thicker consistency, milder spice profile, and often sweeter notes, distinguishing it from its Indian and Southeast Asian counterparts. The combination of crispy Chicken Katsu with this distinct Japanese curry sauce is a true culinary masterpiece, a testament to how global flavors can beautifully converge.
Mastering the Katsu Curry Sauce
First and foremost, please don’t let the idea of making homemade curry intimidate you. This particular Katsu curry sauce recipe is one of the simplest you’ll encounter and requires only a handful of readily available ingredients. Its rich flavor belies its straightforward preparation.
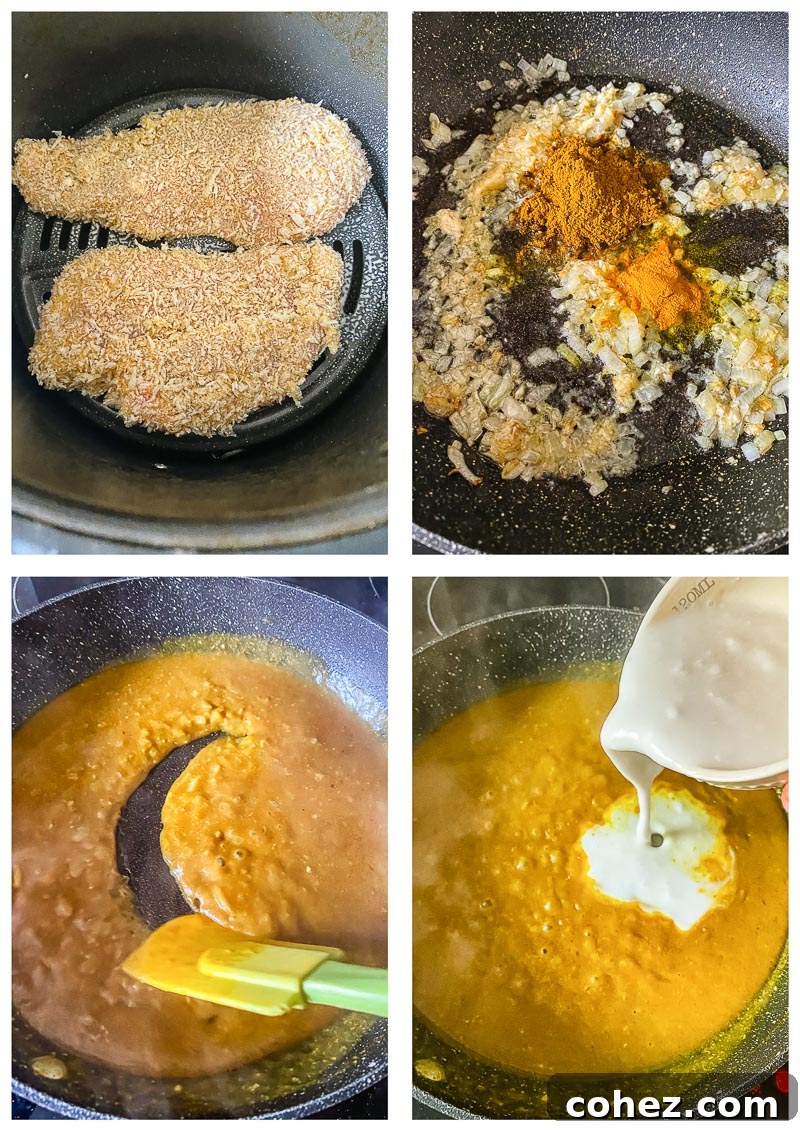
You’ll begin by creating a foundational savory base: sautéing chopped onion, minced garlic, and grated ginger in a touch of oil until they’re softened and aromatic. This trio provides a depth of flavor that is essential to any good curry. To achieve the classic thickness and velvety texture characteristic of Japanese curry, we then incorporate flour to create a quick roux. This simple step is key to preventing a watery sauce. Following the roux, a blend of mild curry powder and a hint of turmeric is added. The curry powder provides the primary flavor profile, while turmeric contributes a beautiful golden hue and subtle earthy notes.
For the liquid component, I’ve opted for a balanced combination of chicken stock and creamy coconut milk. The chicken stock adds a savory depth, while the coconut milk lends a luxurious creaminess and a delicate sweetness that perfectly complements the curry spices. If you prefer an even richer, sweeter, and more profoundly creamy curry, feel free to skip the chicken stock entirely and increase the amount of coconut milk. This flexibility allows you to tailor the sauce to your exact preference.
No Japanese curry would be complete without a splash of soy sauce, which introduces a crucial umami depth, tying all the flavors together beautifully. Astonishingly, this entire sauce comes together in less than 10 minutes from start to finish. While I often process my curry in a blender to achieve the silky-smooth texture we’ve come to expect from restaurant-quality Katsu Curry, this step is entirely optional. If you prefer a more rustic sauce with discernible bits of onion and garlic, you can certainly skip the blending and enjoy it as is.
Expert Recipe Tips for Perfect Air Fryer Katsu
- As previously mentioned, our secret to healthier, crispy chicken Katsu lies in air frying, making the choice of breadcrumbs paramount. Panko breadcrumbs are absolutely the gold standard for achieving that desirable light, airy, and incredibly crispy coating. Unlike regular breadcrumbs, Panko has a coarser, flakier texture and absorbs less oil, ensuring your chicken stays wonderfully crisp without becoming greasy. This difference in texture is key to the air fryer’s success.
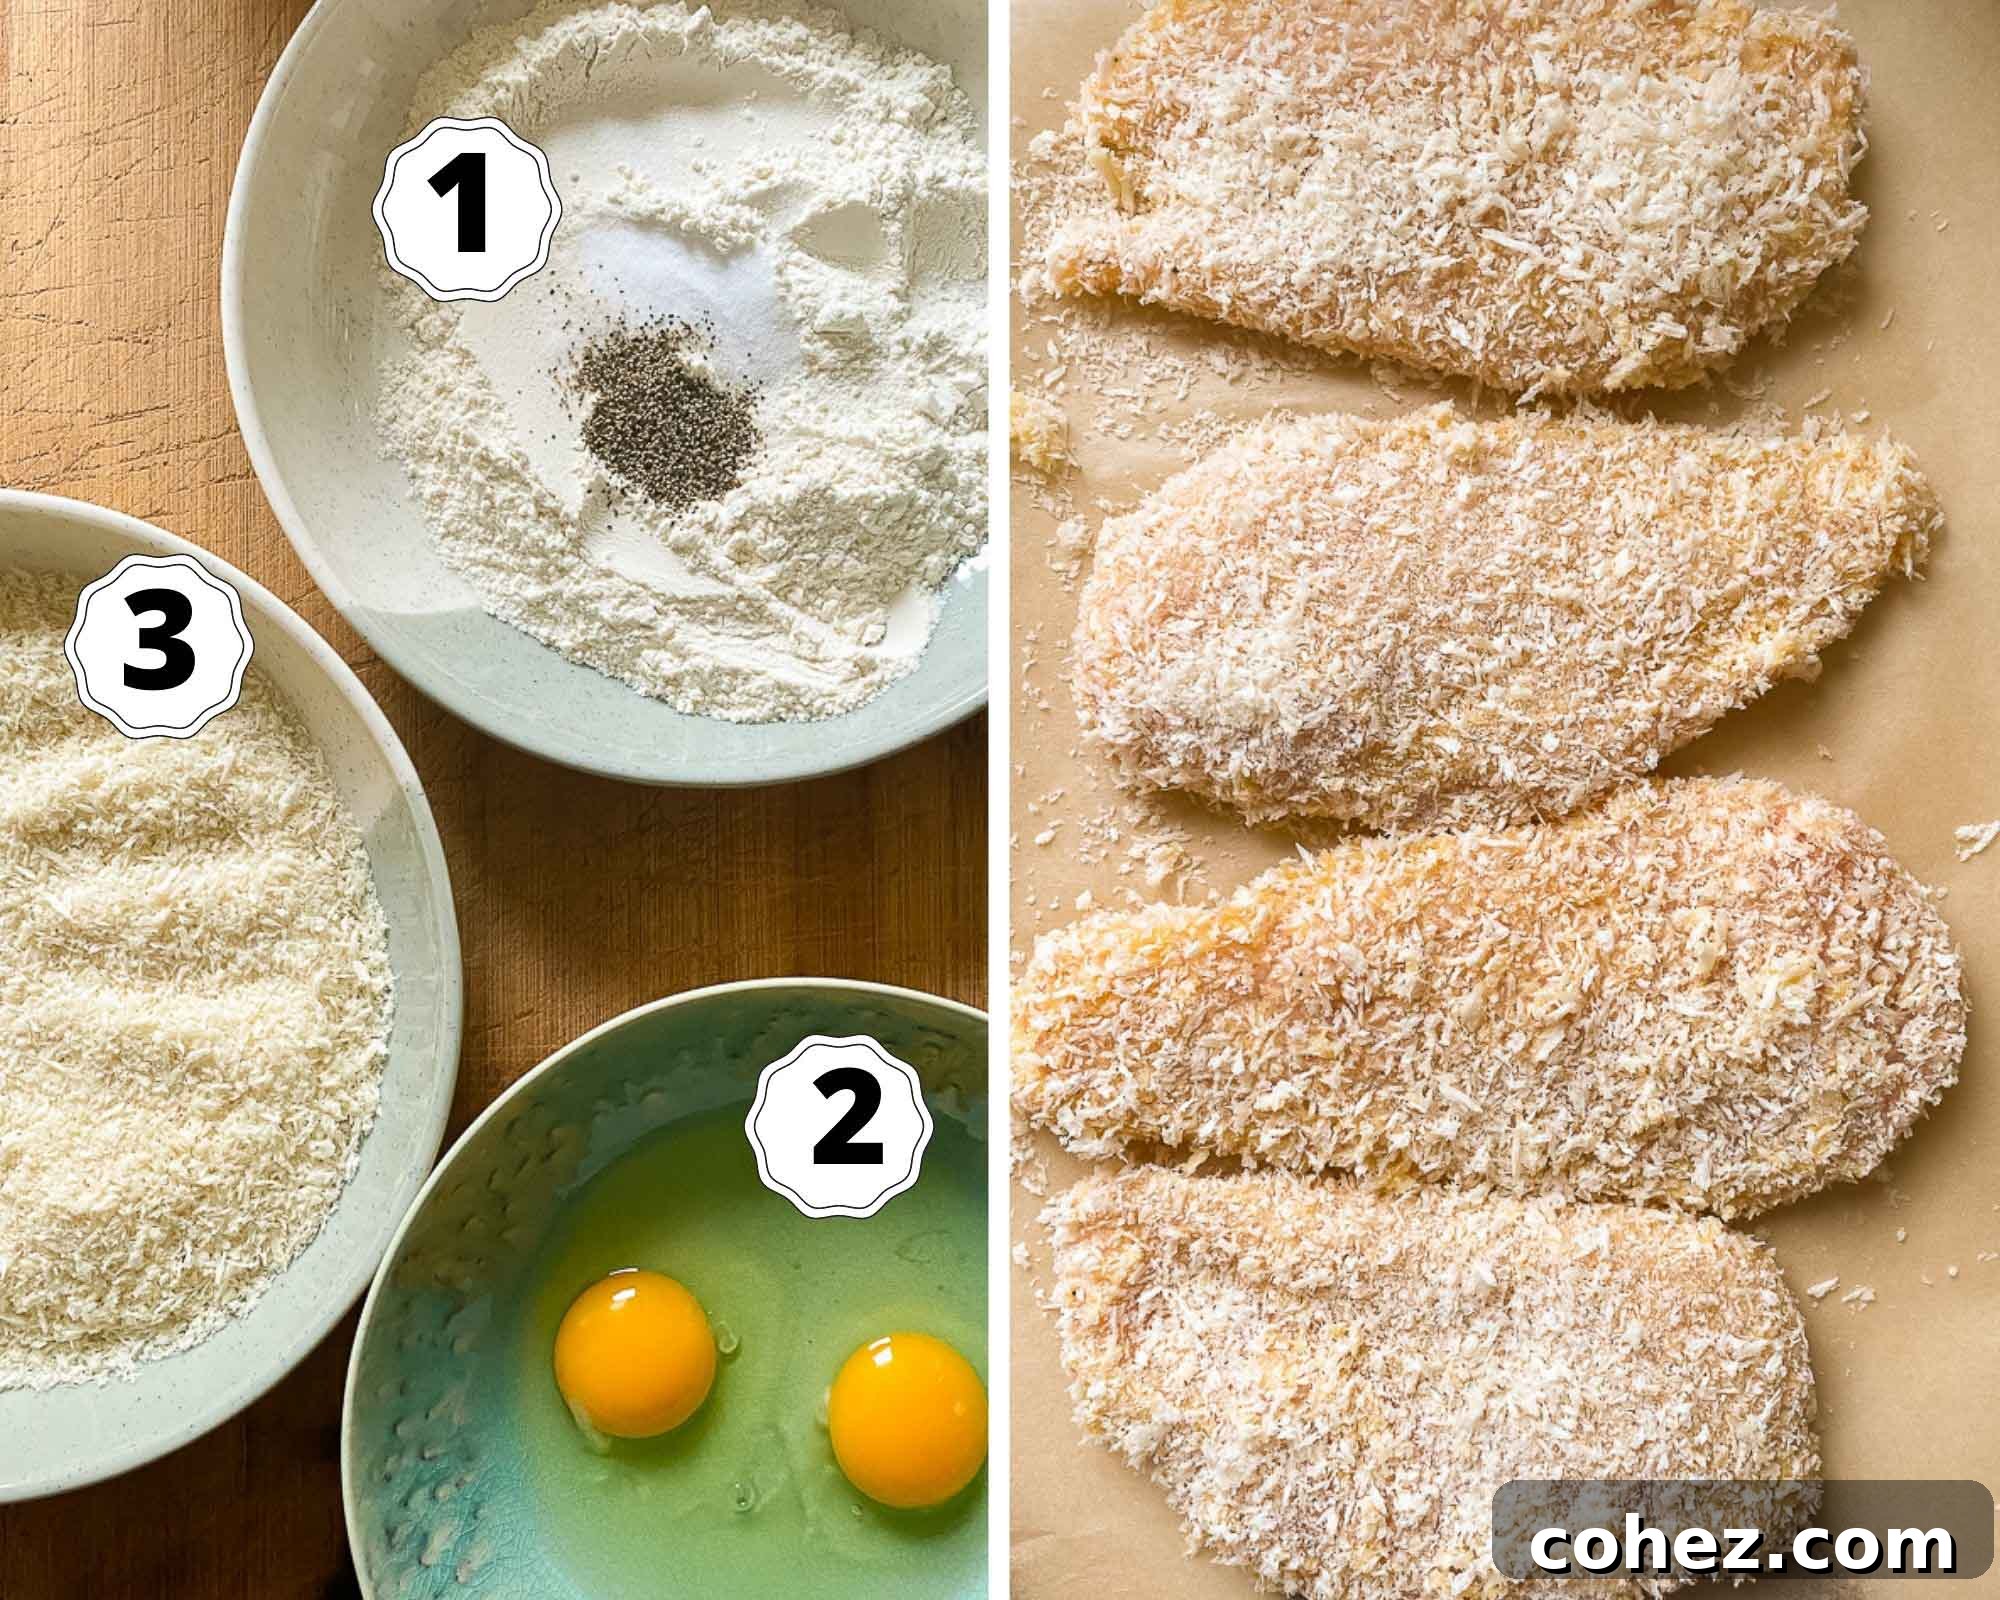
- The breading process is a simple assembly line. Your chicken cutlets should be systematically dunked first in seasoned flour, then in beaten egg, and finally, generously coated in Panko breadcrumbs. This order is crucial for ensuring a strong adhesion of the breading to the chicken, creating that perfect outer shell. Refer to the accompanying photos for a visual guide to this process.
- A seemingly small but incredibly impactful detail is the seasoning of your flour. I highly recommend incorporating salt and black pepper directly into the flour mixture. While it might not seem like a game-changer, this step is absolutely essential for infusing flavor into the chicken itself, preventing a bland crust. Don’t underestimate its importance – it truly elevates the final taste of your Katsu.
- **Don’t Overcrowd the Air Fryer Basket:** For optimal crispiness, ensure the chicken cutlets are placed in a single layer with some space between them. Overcrowding will steam the chicken instead of crisping it, resulting in a soggy coating. Cook in batches if necessary.
- **Preheat Your Air Fryer:** Just like a conventional oven, preheating your air fryer ensures a consistent cooking temperature from the moment the food enters. This helps achieve that initial crispness quickly.
- **Light Oil Spray is Your Friend:** Although air frying uses minimal oil, a light spray of oil spray on both sides of the breaded chicken before and during cooking (when flipping) helps achieve that beautiful golden-brown color and extra crunch.
Elevate Your Chicken Katsu Curry Serving
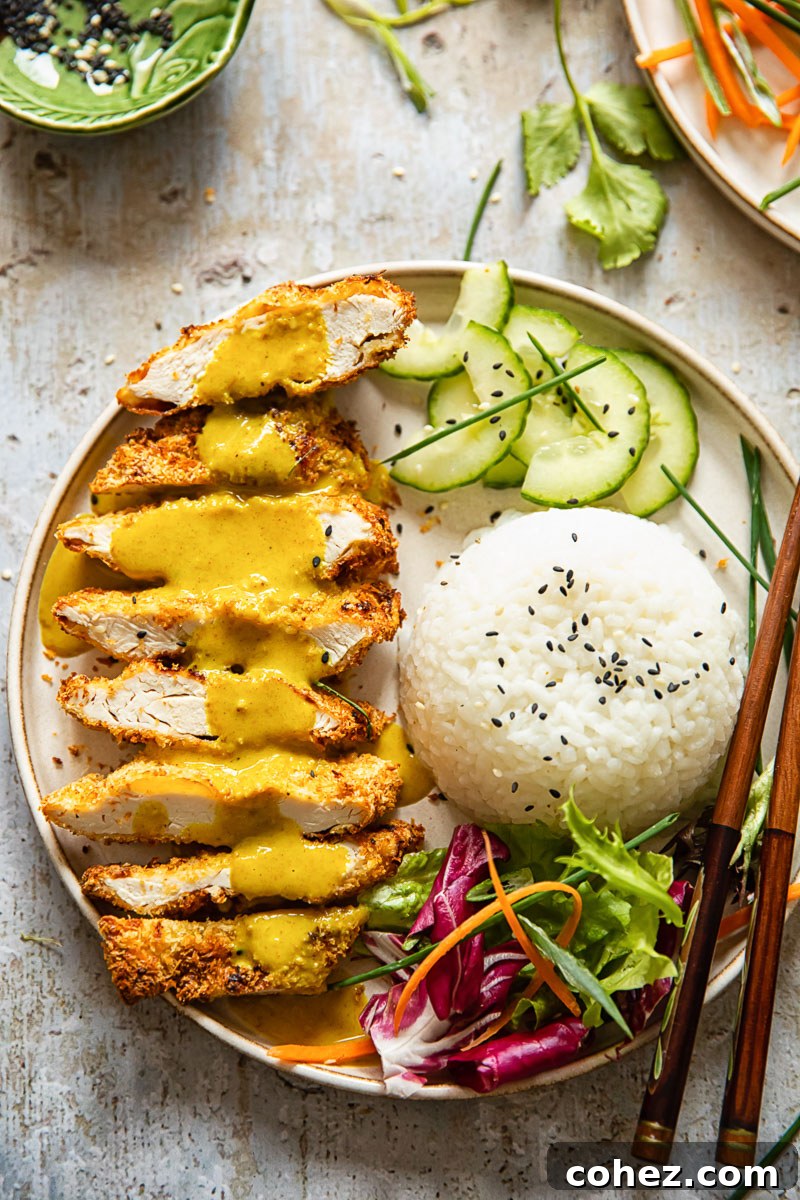
While classic Chicken Katsu Curry is traditionally served simply with plain steamed rice and a fresh, crisp salad, there are numerous ways to enhance your presentation and flavor profile. My go-to accompaniments are always fluffy white rice and a simple green salad, often dressed with a light vinaigrette to cut through the richness of the curry. To add an extra layer of texture and a nutty aroma, a sprinkling of black or white sesame seeds on top of the Katsu and rice is highly recommended. This small addition provides a delightful crunch and a subtle flavor boost that truly elevates the dish.
Consider adding thinly sliced cucumbers, pickled ginger (gari), or even a handful of chopped scallions for a vibrant garnish and an additional layer of freshness. For those who enjoy a bit more heat, a drizzle of chili oil or a sprinkle of Togarashi (Japanese seven-spice blend) can introduce an exciting kick. Shredded cabbage is another common and refreshing side that offers a pleasant contrast to the warm, rich curry. Don’t be afraid to experiment and find your perfect combination!
Storage, Reheating, and Make-Ahead Tips
One of the best qualities of this Air Fryer Chicken Katsu is how well it holds up, even as leftovers. It would be a true shame to lose the lovely, characteristic crispiness of the chicken. Fortunately, your air fryer is your best friend when it comes to reviving it. Simply place the cooked Katsu back in the air fryer and cook for no longer than 5 minutes at around 350°F (175°C), or until heated through and crisp again. This method efficiently brings back that fresh-out-of-the-fryer texture, allowing you to enjoy it all over again as if it were freshly made.
For storage, ensure the chicken and curry sauce are cooled completely before transferring them to separate airtight containers. Refrigerated, leftovers will keep beautifully for 3-4 days. For longer storage, both the cooked chicken Katsu (without sauce) and the curry sauce can be frozen. The chicken can be frozen on a baking sheet first until solid, then transferred to a freezer bag to prevent sticking, keeping it for up to 6 months. The curry sauce also freezes well and can be stored for a similar duration. When reheating from frozen, thaw the sauce in the refrigerator overnight and gently warm on the stovetop. Reheat the frozen Katsu directly in the air fryer for a slightly longer period (around 10-15 minutes), flipping halfway, until piping hot and crispy.
You can also prepare the breaded chicken cutlets ahead of time. After coating, place them on a baking sheet lined with parchment paper and refrigerate for up to 24 hours. Just before cooking, spray with oil and air fry as directed, making weeknight dinners even easier.
More Delicious Japanese-Inspired Recipes
- Teriyaki Salmon with Bok Choy
- Shoyu Chicken Recipe
- Teriyaki Chicken Stir Fry
- Quick Beef Yakisoba
Chicken Katsu Curry
Equipment
-
Air Fryer
Ingredients
For the Curry
- 2 tbsp vegetable oil
- 1 onion, chopped
- 2 cloves garlic, minced
- 1 tbsp grated ginger or ginger paste
- 1 tsp turmeric
- 2 tbsp curry powder
- 1 tbsp flour
- 250ml/ 1 cup chicken stock
- 125ml/1/2 cup coconut milk
- 1 tsp soy sauce
- 2 tsp white sugar
For the Chicken Katsu
- 4 skinless, boneless chicken breasts
- 100g/3/4 cup plain flour
- 3 tsp salt
- 1 1/2 tsp black pepper
- 2 eggs, beaten
- 150g/1 1/3 cup Panko breadcrumbs
- oil spray
Instructions
-
Heat the oil in a frying pan and sauté chopped onion over low heat until softened for about 7 minutes, then add the minced garlic and grated ginger and continue cooking for about a minute while stirring.
-
Add the turmeric, curry powder and flour and cook for 1 minute until the mixture is fragrant and looks like a paste. Gradually pour in the chicken stock and stir to combine, then add the coconut milk and soy sauce, simmer until the curry is thickened. Taste and add 1-2 teaspoons of sugar to your preference. Cool the curry slightly, then process in a blender until smooth or leave it as it is.
-
Slice the chicken breasts in half lengthwise to create thinner cutlets. In separate bowls, prepare your breading station: one bowl with plain flour mixed with salt and pepper, a second bowl with beaten eggs, and a third bowl with Panko breadcrumbs. Arrange them in front of you for easy access.
-
Dip each chicken cutlet first into the seasoned flour, ensuring it’s fully coated, then into the beaten egg, letting any excess drip off. Finally, press it firmly into the Panko breadcrumbs until thoroughly covered. Place the breaded cutlet on a clean cutting board. Repeat this process for all chicken cutlets until you have 8 beautifully coated pieces.
-
Lightly spray each breaded chicken breast on both sides with oil spray. Carefully place them in your air fryer basket in a single layer, ensuring not to overcrowd the basket (you may need to cook in batches; my air fryer typically fits 2 chicken breasts at a time). Air fry at 375°F (190°C) for 8 minutes on one side, then flip the cutlets, spray again with oil, and air fry for an additional 7 minutes, or until golden brown and cooked through (internal temperature should reach 165°F/74°C). Keep any remaining raw chicken refrigerated until ready to air fry. Once cooked, transfer the chicken to a warm oven to keep warm until serving. Do not cover with foil, as this can make the breading soggy.
-
Gently warm up the curry sauce. Serve the crispy chicken Katsu immediately with the warm curry sauce poured generously over or alongside, accompanied by fluffy plain rice and your choice of fresh salad or other suggested accompaniments.
Nutrition
Nutrition information is automatically calculated, so should only be used as an approximation.
Tried this recipe?Let us know how it was!