
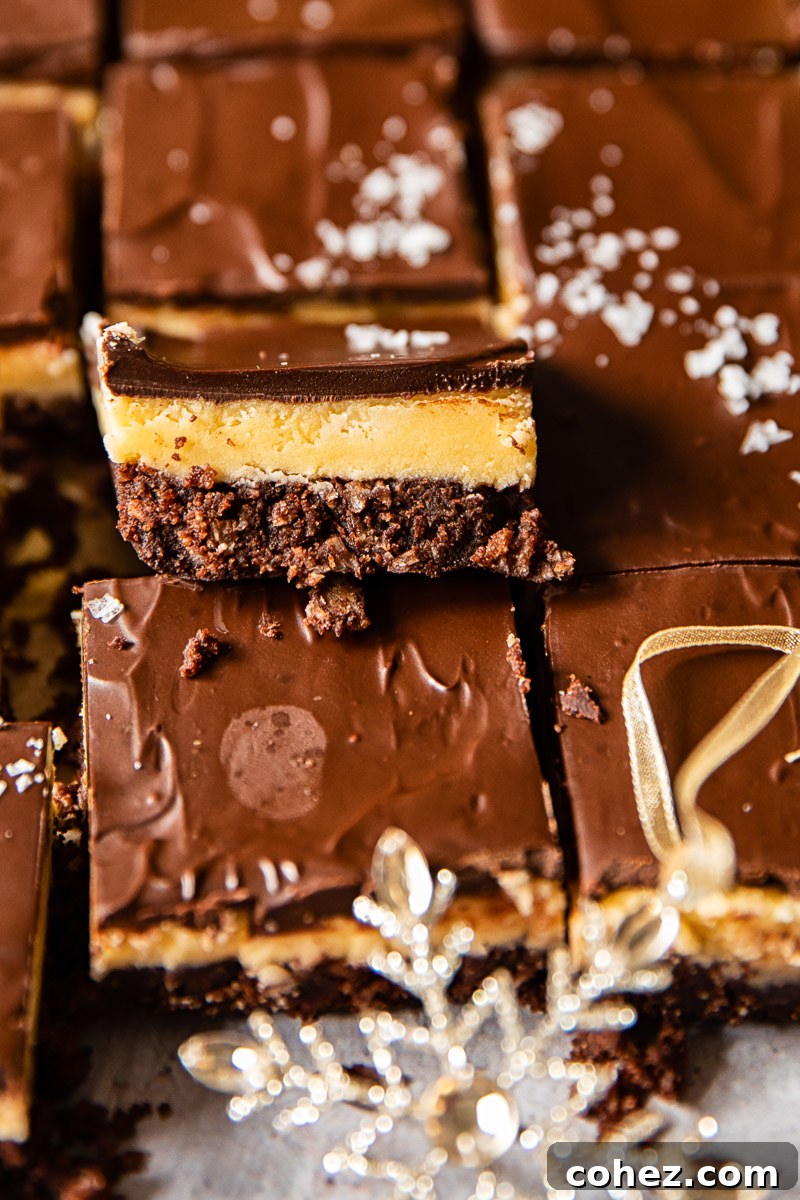
Nanaimo Bars are a quintessential Canadian no-bake dessert, a decadent three-layered confection that has charmed its way into the hearts of many, both in its homeland and across the globe. These delightful bars feature a rich, crumbly chocolate coconut base, crowned with a smooth, creamy custard filling, and finished with a glossy layer of chocolate ganache. Perfect for holidays, special occasions, or simply a comforting treat, Nanaimo Bars offer an unparalleled blend of textures and flavors that will undoubtedly make them a new favorite in your recipe collection.
Craving more classic Canadian sweets? Explore our delicious Maple Butter Tarts or delve into our extensive Holiday Dessert Collection for other festive inspirations.
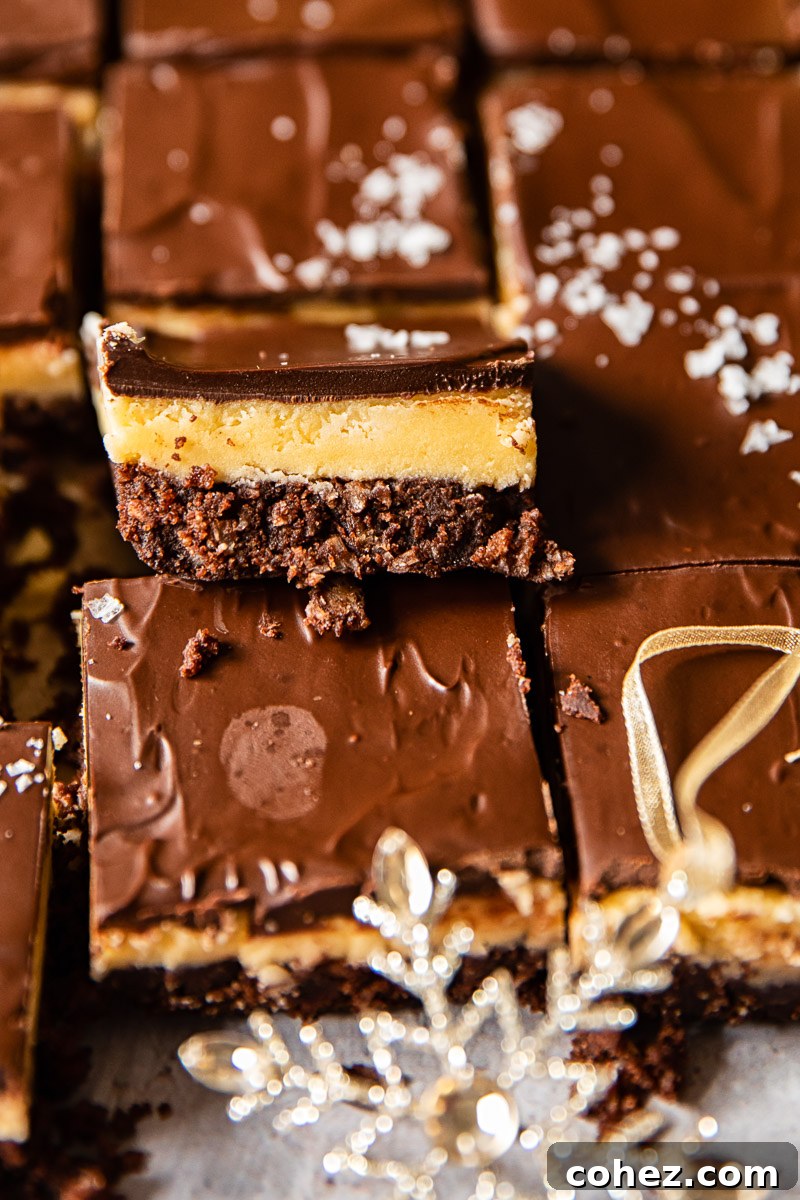
If you’re wondering what these irresistible treats are, or even if you just know you want one, you’re in for a delightful journey. Nanaimo Bars, much like Butter Tarts, hold a special place in Canadian culinary heritage. For those living away from home, these bars evoke a profound sense of nostalgia and comfort, serving as a delicious reminder of cherished family holidays and traditions.
What Exactly Are Nanaimo Bars?
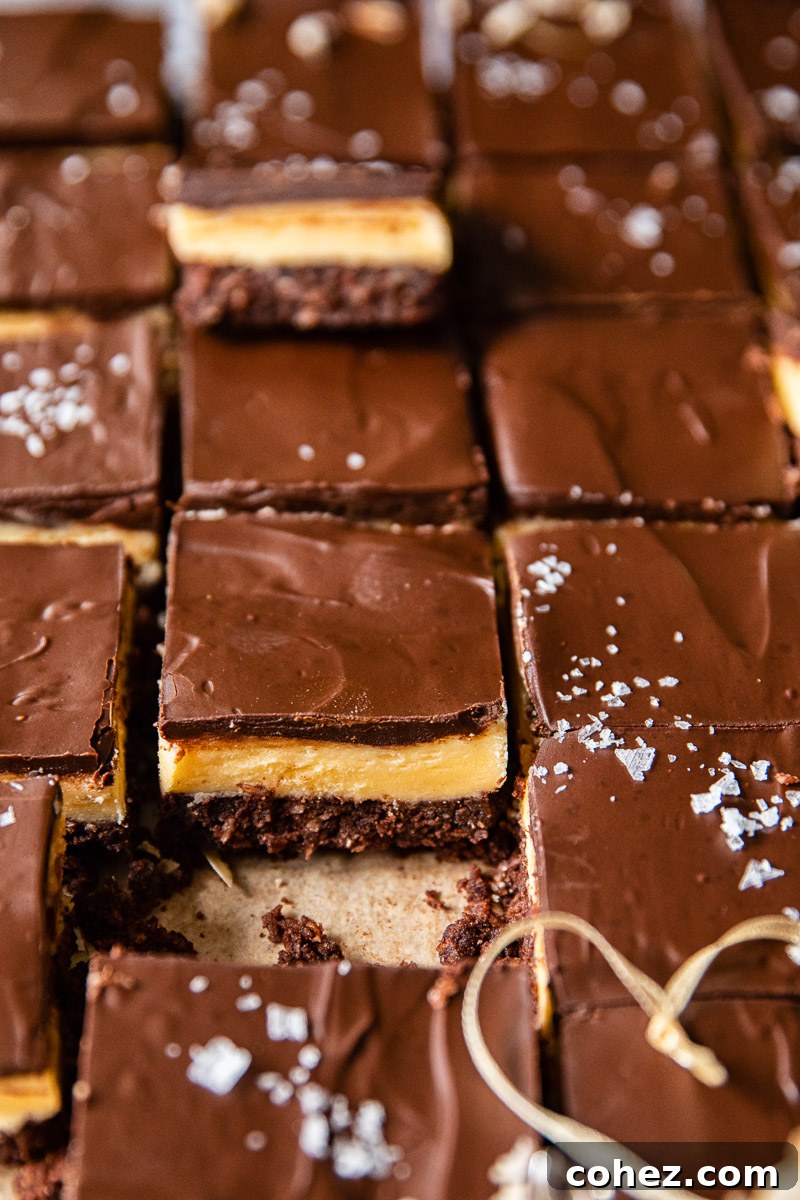
At their core, Nanaimo Bars are a divine symphony of three distinct layers, each contributing to a harmonious taste and texture experience. The foundation is a rich, chewy, and slightly crumbly base made from chocolate, coconut, and graham cracker crumbs. This provides a satisfying textural contrast to the silky-smooth, vibrant yellow custard cream that forms the middle layer. Finally, the entire confection is enveloped in a thin, crisp layer of dark or milk chocolate, which shatters delightfully with each bite. This combination creates a truly unique dessert that is both indulgent and incredibly satisfying.
The origins of Nanaimo Bars are steeped in a delightful culinary mystery. While widely considered a traditional Canadian dessert, their exact invention remains somewhat debated. The popular theory credits their creation to bakers in the city of Nanaimo, a charming West Coast town in British Columbia. Indeed, the city itself proudly embraces its namesake treat, with many bakeries and cafes offering their own versions. Despite numerous claims and extensive research, no definitive inventor has been officially identified. However, culinary historians agree that Nanaimo Bars gained significant popularity and widespread recognition across Canada in the 1950s.
The rise of such a rich and sweet dessert during this era wasn’t coincidental. The 1950s marked a post-war period where rationing and shortages were finally a thing of the past. Butter, sugar, and chocolate, once scarce luxuries, became readily available, and home cooks were eager to embrace these ingredients in lavish and comforting ways. The Nanaimo Bar, with its generous use of butter and sugar, perfectly captured the celebratory spirit of abundance and indulgence, quickly becoming a staple in Canadian households and at festive gatherings.
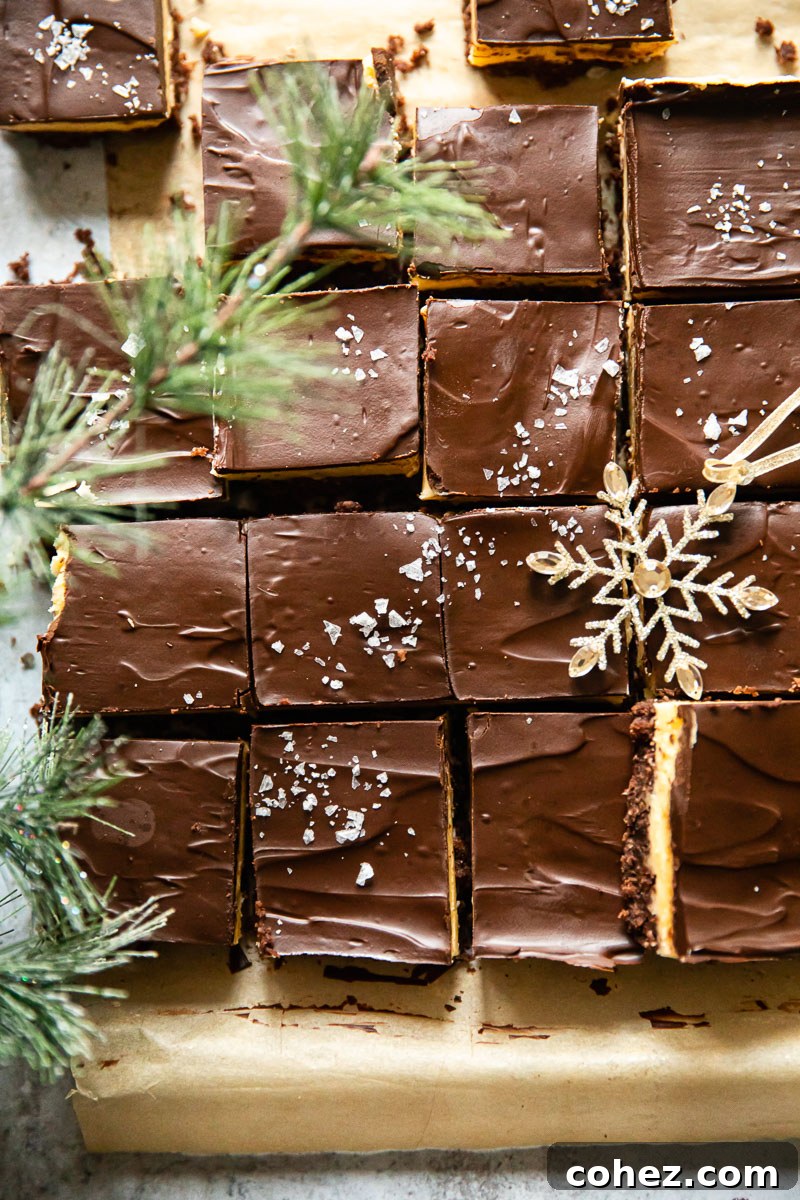
Once you experience the decadent layers of a Nanaimo Bar, you’ll understand its fervent following in Canada. The harmonious blend of chocolate, coconut, and creamy custard creates an unforgettable flavor profile that keeps people coming back for more. During my time living in Canada, these bars were an omnipresent fixture during the Christmas season; it was rare to visit a friend’s or family member’s home without being offered a generous slice. They symbolize warmth, hospitality, and the festive spirit of Canadian winters.
Now, living abroad in England, the desire for these taste memories is even stronger. Making Nanaimo Bars at home has become a cherished ritual, a way to connect with Canadian roots and bring a much-needed sense of comfort and familiarity to our kitchen. It’s more than just a dessert; it’s a piece of home, baked with love.
How to Make Nanaimo Bars: A Simple No-Bake Guide
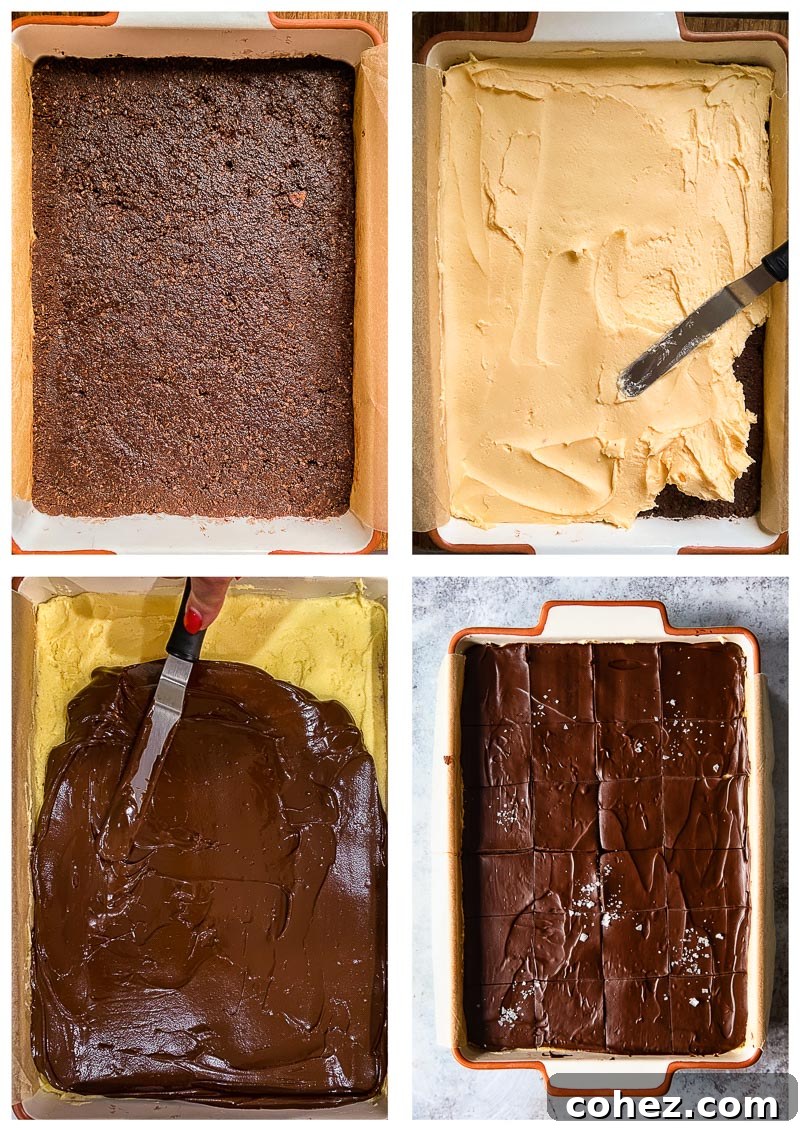
One of the many charms of Nanaimo Bars is their relative ease of preparation. Despite their impressive appearance, these treats are largely no-bake, making them a fantastic recipe for bakers of all skill levels, and even a fun project to involve children in the kitchen. The most challenging aspect is often the patience required to allow each layer to properly set before adding the next! Think of it as a simplified cheesecake assembly, but without the oven time for the top layers.
The process begins with preparing the crunchy base. This involves a simple mixture of crushed graham cracker crumbs, rich cocoa powder, melted butter, sugar, dried coconut, and one egg. For those in regions where graham crackers are hard to find, such as the UK, digestive biscuits prove to be an excellent and equally delicious substitute. Once mixed, this flavorful crumb mixture is pressed firmly into a lined baking pan and briefly baked for just 10 minutes to set. After cooling, it’s topped with a rich, no-bake custard cream layer, and then finished with a beautifully melted chocolate glaze. Simple, elegant, and utterly delicious!
Expert Tips for Nanaimo Bar Success
- The Essential Custard Powder: For an authentic Canadian Nanaimo Bar experience, custard powder is absolutely crucial for the middle layer. It not only provides the distinctive yellow hue but also the specific flavor and setting properties that define this classic treat. While vanilla pudding mix can be used in a pinch, it won’t yield the exact traditional taste or texture. If local supermarkets don’t stock it, you can often find Bird’s custard powder online.
- Graham Crackers vs. Digestive Biscuits: The traditional base calls for crushed graham crackers. However, if you’re outside North America, like in the UK, digestive biscuits are a fantastic and highly recommended alternative. They provide a similar crumbly texture and mild flavor that complements the other layers beautifully.
- Layer Setting is Key: Patience is a virtue when making Nanaimo Bars. To ensure clean, distinct layers and a professional finish, it’s best to allow each layer to chill and set completely before applying the next. This typically doesn’t take an excessively long time for each stage, but it’s a vital step for structural integrity.
- Pre-Cutting Prevents Cracking: This is a golden rule for the top chocolate layer! Approximately 30-40 minutes after you’ve spread the melted chocolate, when it’s partially set but still yielding, use a sharp knife to gently score or pre-cut your bars. This prevents the chocolate from cracking and shattering once it has fully hardened in the refrigerator, ensuring neat and beautiful slices.
- A Touch of Sea Salt (Optional but Recommended): Although not part of the original recipe, a light sprinkling of flaked sea salt over the finished chocolate layer adds a wonderfully sophisticated touch. The salt perfectly balances the bars’ inherent sweetness, creating a more complex flavor profile. Plus, the delicate flakes resemble a dusting of snow, adding an elegant visual appeal.
- Lining the Pan: Always line your baking pan with parchment paper, leaving an overhang on two sides. This creates “handles” that make it incredibly easy to lift the entire chilled slab of Nanaimo Bars out of the pan before cutting, minimizing mess and damage.
- Pressing the Base: Ensure the base mixture is firmly and evenly pressed into the pan. This compacted layer provides a sturdy foundation for the softer layers above and helps prevent crumbling when cut. Use the back of a spoon or a flat-bottomed glass for best results.
Serving Suggestions for Nanaimo Bars
Nanaimo Bars are notoriously sweet, which is part of their charm! This richness means that a little goes a long way. For optimal enjoyment and to prevent them from being overwhelmingly sweet, it’s best to cut them into relatively small, manageable serving sizes. I recommend squares no larger than 5 cm (2 inches). Smaller portions are perfectly acceptable and often preferred.
For those, like myself, who don’t have an extreme sweet tooth, pairing a Nanaimo Bar with a contrasting beverage can elevate the experience. A hot cup of robust coffee provides a delightful bitterness that cuts through the sweetness, while a calming cup of hot tea offers a lighter, complementary balance. Even a glass of cold milk can be a wonderful accompaniment, making these bars an ideal afternoon treat or a satisfying dessert after a meal.
Storage and Freezing Nanaimo Bars
One of the best qualities of Nanaimo Bars is how well they store and freeze, making them an excellent make-ahead dessert for entertaining or for simply having a delicious treat on hand. In Canada, freezing these bars is a common practice.
To store, place the cut bars in an airtight container, layering them with parchment paper or wax paper between each row to prevent sticking. They will keep beautifully in the refrigerator for up to a week. For longer storage, freeze them in the same manner. Nanaimo Bars can be frozen for up to 2-3 months without compromising their quality.
When you’re ready to enjoy a frozen Nanaimo Bar, simply remove it from the freezer and allow it to thaw at room temperature for approximately 30-40 minutes. They are best served slightly chilled or at room temperature, allowing the flavors to fully develop and the creamy texture to soften perfectly.
More Delicious Bar Recipes to Try
- English Fridge Cake Bars
- Raspberry Cheesecake Bars
- Blackberry Crumble Bars
- Slow Cooker Chocolate Butterscotch Cookie Bars
Nanaimo Bars
Pin
Equipment
-
Mixing bowl
-
9×13 baking pan
Ingredients
Base
- 190g / 3/4 cup butter, melted
- 50g / 1/4 cup sugar
- 6 tbsp cocoa powder
- 1 egg, large
- 1 tsp vanilla
- 220g / 2 cups graham cracker crumbs, I used Digestive biscuits in the UK
- 100g / 1 cup dried coconut
Middle Layer
- 125g / 1/2 cup butter, softened
- 6 tbsp milk
- 4 tbsp custard powder, I used Bird’s Custard powder
- 520g / 4 cups icing sugar
Top Layer
- 250g / 8 oz dark or milk chocolate, chopped
- 2 tbsp butter
Instructions
-
Preheat your oven to 350F/180C. In a large bowl, combine all ingredients for the base until well mixed. Line your 9 inch X 13 inch baking pan with parchment paper, leaving an overhang on the longer sides. Firmly press the crumb mixture into the prepared pan, ensuring an even layer. Bake for 10 minutes to set the base. Remove from the oven and set aside to cool completely in the pan.
-
While the base is cooling, prepare the middle layer. In a separate bowl, beat the softened butter, milk, custard powder, and icing sugar until the mixture is smooth and creamy. Spread this custard cream evenly over the cooled chocolate coconut base. Place the pan in the refrigerator and chill for at least 60 minutes, or until the custard layer is firm.
-
For the top layer, melt the chopped dark or milk chocolate with a tablespoon of butter. You can do this using a double boiler: place a heatproof bowl with the chocolate and butter over a pot of simmering water, stirring until smooth. Alternatively, microwave the chocolate and butter in 30-second intervals, stirring between each, until fully melted and glossy.
-
Carefully pour the melted chocolate mixture over the chilled custard layer, spreading it evenly to cover the entire surface. Allow the chocolate to set at room temperature for about 30-40 minutes, or until it’s partially firm but still soft enough to cut through. Using a sharp knife, gently score or pre-cut the bars into your desired sizes. This crucial step prevents the chocolate from cracking once it fully hardens. Chill the bars in the refrigerator for several hours, or preferably overnight, until completely firm before separating and serving.
Nutrition
Nutrition information is automatically calculated, so should only be used as an approximation.
Tried this recipe?Let us know how it was!