
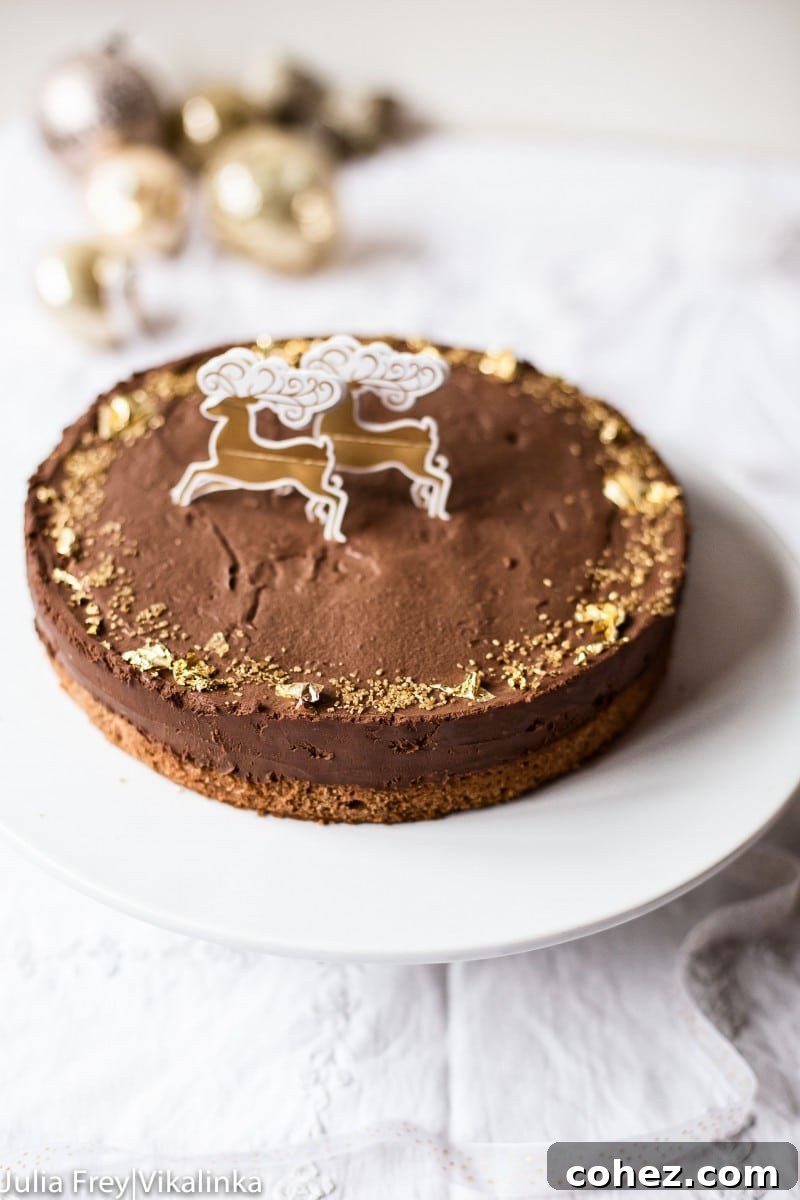
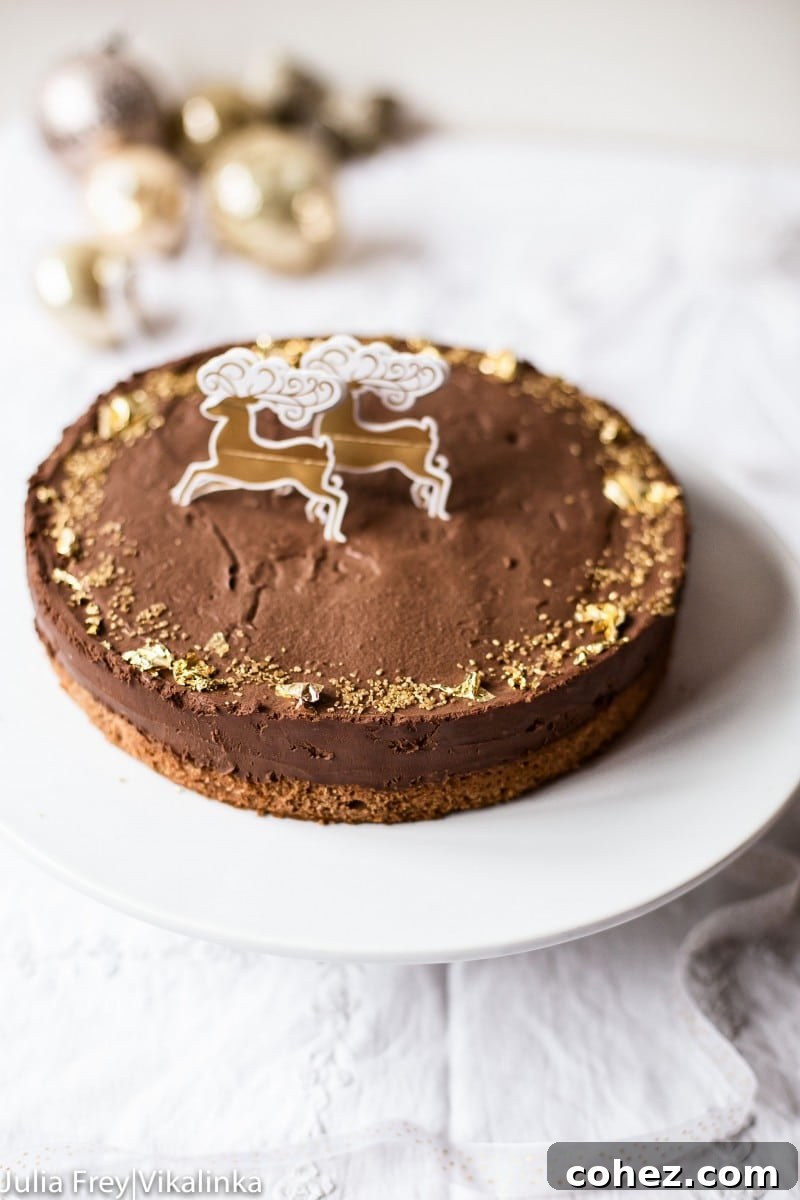
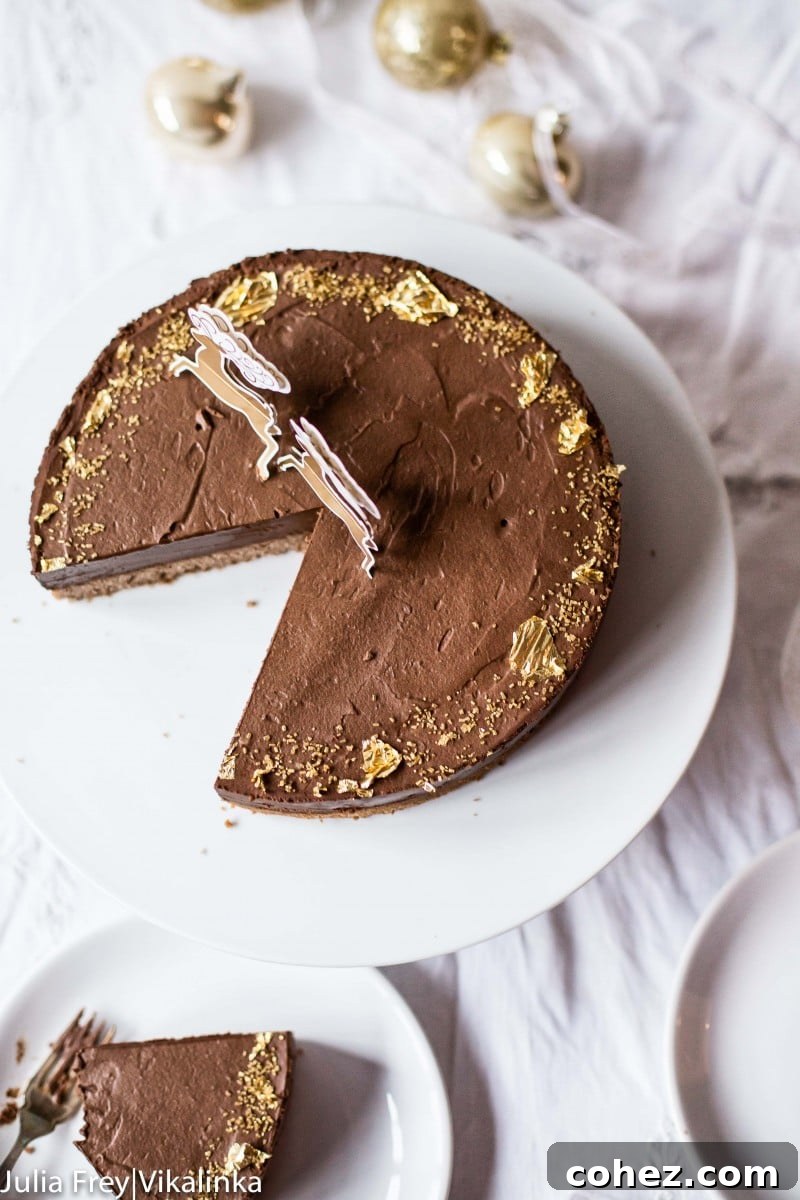
Prepare to impress with this spectacular Chocolate Truffle Cake, the quintessential dessert for any grand occasion! A decadent, silky-smooth truffle layer rests luxuriously atop a rich, moist chocolate cake base, creating an irresistible treat. Every small slice promises to be a lavish indulgence, perfectly satisfying even the most intense chocolate cravings. For an extra touch of glamour and sophistication, consider adorning it with delicate edible gold leaves.
As the festive season approaches, the quest for that perfect show-stopping dessert intensifies. While you might recall the exquisite Honeycomb Crunch Chocolate Cake, this year, we’re diving into a different realm of chocolatey bliss.
With holidays and special celebrations perpetually on the horizon, the pressure to craft truly magnificent desserts can be considerable. But fear not, for this recipe is designed to elevate your baking prowess and deliver a masterpiece that looks as incredible as it tastes, making it a priority on any celebratory menu.
The inspiration for this particular creation sprang to life shortly after the immense popularity of my White Christmas Truffle Cake last year. Its resounding success sparked a desire to explore the darker, richer side of the truffle cake spectrum. And thus, this reverse, yet equally enchanting, version was born. This is not just any chocolate cake; it is a Dark Chocolate Truffle Cake, and it is undeniably glorious!
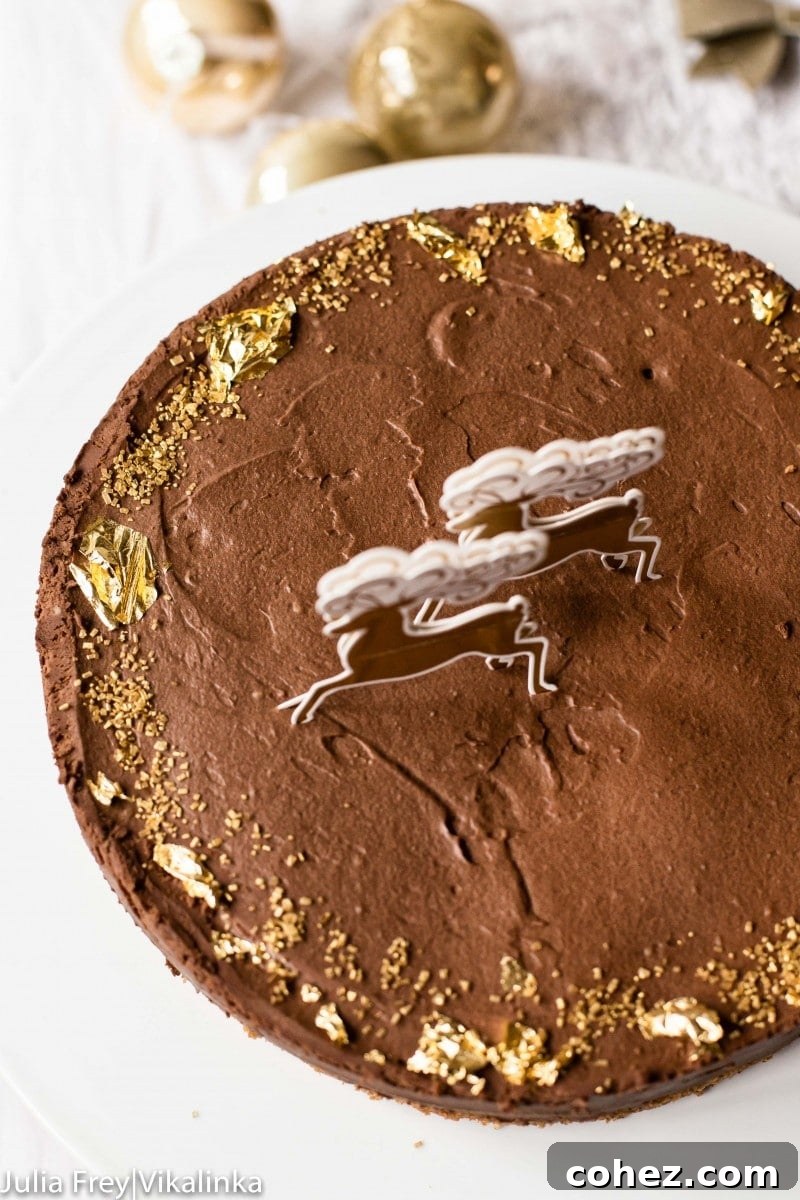
To truly embrace the spirit of celebration, I enhanced this chocolate truffle cake with a splash of fine brandy for an added layer of flavor complexity and adorned it with glimmering edible gold leaves. After all, special occasions call for a touch of glitz, glamour, and an extra measure of indulgence.
Mastering Edible Gold Leaves for a Touch of Luxury
Adding edible gold leaves to your desserts transforms them from delicious treats into dazzling works of art. While the idea of working with such delicate material might seem daunting at first, a few simple tips can help you achieve a stunning, professional finish. During my initial attempts to delicately place these thin, ethereal sheets onto this chocolate truffle cake with tweezers, I quickly realized the intricate nature of the task. However, with a bit of practice and the right approach, anyone can master this luxurious decoration.
Essential Tools and Techniques
The primary challenge with edible gold leaves is their extreme fragility. They tear with ease and tend to cling to fingertips, making direct handling nearly impossible. This is why a good pair of fine-tipped tweezers is not just helpful but absolutely essential. You’ll also find that working in a draft-free environment prevents the lightweight leaves from floating away or crumpling unexpectedly.
Edible gold is available in various forms: sheets, flakes, and even dust. For this particular recipe, gold flakes are often the easiest to manage, allowing for a rustic yet elegant sprinkle with minimal fuss. If you opt for sheets, they typically come layered between tissue paper. To apply, gently press the sheet against the cake surface (which should be slightly tacky or frosted), then carefully peel away the tissue paper, leaving the gold behind. For smaller, more precise applications, you can use a dry, soft brush to pick up pieces of the gold leaf and transfer them. Some bakers even use a cotton swab lightly dampened with a spirit like vodka to pick up and place gold leaves precisely, though this requires extra care.
Tips for Success
- Keep Hands Dry: Moisture and oils from your hands are the enemy of edible gold. Ensure your hands are impeccably clean and dry, or consider wearing food-safe gloves for an even more controlled application.
- Use Tweezers or Brushes: Never attempt to handle edible gold directly with your fingers. Fine-tipped tweezers or a very soft, clean artist’s brush are your best friends for picking up and positioning the gold.
- Work in Sections: Instead of trying to cover a large area at once, work in smaller sections. This gives you more control and minimizes waste.
- Secure Placement: For optimal adherence, apply gold leaves to a surface that is slightly moist or sticky, such as freshly frosted cake, ganache, or a thin layer of edible glue.
- Practice Makes Perfect: Don’t be discouraged if your first few attempts aren’t flawless. Edible gold has a learning curve. Start with less prominent areas of your dessert to get a feel for it. The more you practice, the more confident you’ll become in adding this glamorous touch to all your baking creations.
Crafting the Perfect Chocolate Truffle Cake: Step-by-Step Indulgence
Making this Chocolate Truffle Cake is a journey that culminates in a truly spectacular dessert. While the overall process is manageable, understanding each component and paying attention to detail will ensure a flawless result. The recipe is primarily divided into two main parts: baking the rich chocolate sponge and preparing the luxurious chocolate truffle layer.
Baking the Decadent Chocolate Sponge
The foundation of this cake is a moist and flavorful chocolate sponge. The process for creating this layer is quite straightforward, making it accessible even for novice bakers. Simply follow the instructions carefully, and you’ll ace it every time. The inclusion of stout and strong coffee isn’t just for moisture; they deepen the chocolate flavor, adding a subtle complexity without overpowering the cake.
- Precision is Key: Ensure accurate measurements of all ingredients. Baking is a science, and exact quantities contribute to the perfect texture and rise.
- Temperature Matters: Preheat your oven correctly and ensure your ingredients (especially eggs and dairy) are at room temperature unless otherwise specified. This helps them combine smoothly and ensures even baking.
- Don’t Overmix: After adding the flour, mix just until combined. Overmixing develops gluten, leading to a tougher cake.
- Cooling Process: Allow the cake to cool in the pan for the recommended time before transferring it to a wire rack. This prevents it from breaking and ensures it sets properly. A completely cooled cake is crucial before adding the truffle layer.
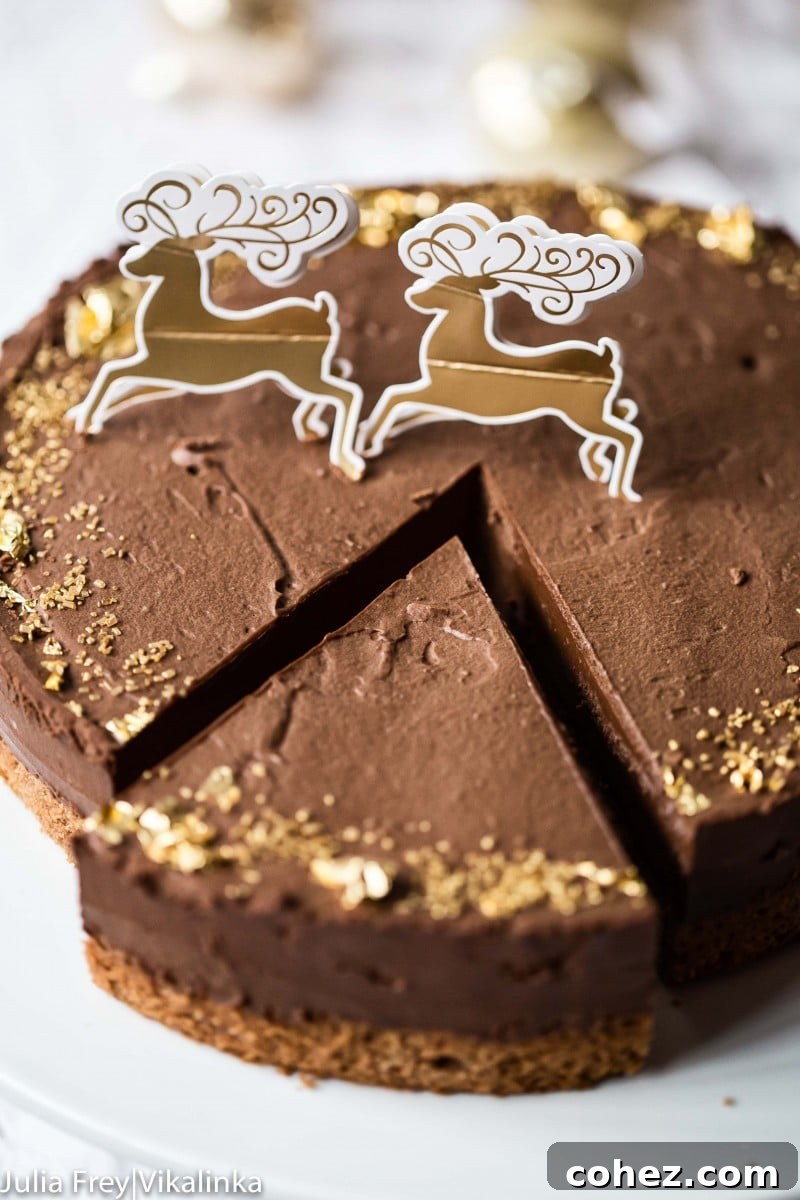
Crafting the Silky Chocolate Truffle Layer
While the cake layer is simple, the truffle topping is often considered the trickiest part of this recipe, yet it’s entirely achievable with careful execution. Through extensive baking, I’ve observed that a dark chocolate truffle layer tends to set firmer than its white chocolate counterpart, likely due to differences in fat content and ingredients, making it slightly more robust once chilled.
- The Crucial Cooling Step: This is arguably the most critical step for a flawlessly smooth and firm truffle layer. After melting the chocolate into the hot cream and stirring until smooth, it is imperative to allow this mixture to cool completely to room temperature. Introducing mascarpone or cream cheese to a warm chocolate mixture will almost certainly cause it to split or become grainy, resulting in a less desirable texture. Patience here truly pays off.
- Whipping the Truffle Mixture: Once the chocolate-cream mixture is entirely cool, add the mascarpone. Begin whipping with an electric mixer on low speed, gradually increasing to medium. The goal is to achieve a mixture that is quite thick and still, not runny. It should hold soft peaks and have a luscious, smooth consistency. Be extremely vigilant to avoid overbeating! Overbeating mascarpone or cream cheese can cause it to split, separating into a curd-like texture and liquid. If using cream cheese, whip it until light and fluffy *before* incorporating the cooled chocolate-cream mixture to ensure maximum creaminess.
- The Role of Quality Ingredients: Use high-quality dark chocolate (60-70% cacao is ideal) for the best flavor. Similarly, ensure your mascarpone or cream cheese is full-fat. These ingredients are foundational to the rich, creamy texture and deep chocolate taste of the truffle layer.
- Optional Brandy: If you choose to add brandy, mix it into the cooled chocolate-cream mixture before adding the mascarpone. It infuses the truffle layer with a sophisticated, warm note, enhancing the overall indulgence.
Assembly and Chilling
Once your cake sponge is cool and the truffle mixture is perfectly whipped, assembly is straightforward. Place the cooled cake layer back into the springform pan. Pour the prepared truffle mixture evenly over the cake. The magic happens during the chilling phase: refrigerate the cake for at least 2 hours, or ideally, overnight. This allows the truffle layer to set completely, becoming firm and sliceable, and gives the flavors time to meld beautifully.
For a clean presentation when unmolding, a simple trick is invaluable. Hold a sharp knife under hot running water for about a minute, then wipe it completely dry. Run the hot knife carefully along the sides of the cake pan to gently release the truffle layer from the edges. Repeat as needed, wiping and reheating the knife between passes, then carefully open the springform and move the cake to a serving stand. This technique ensures smooth, neat edges.
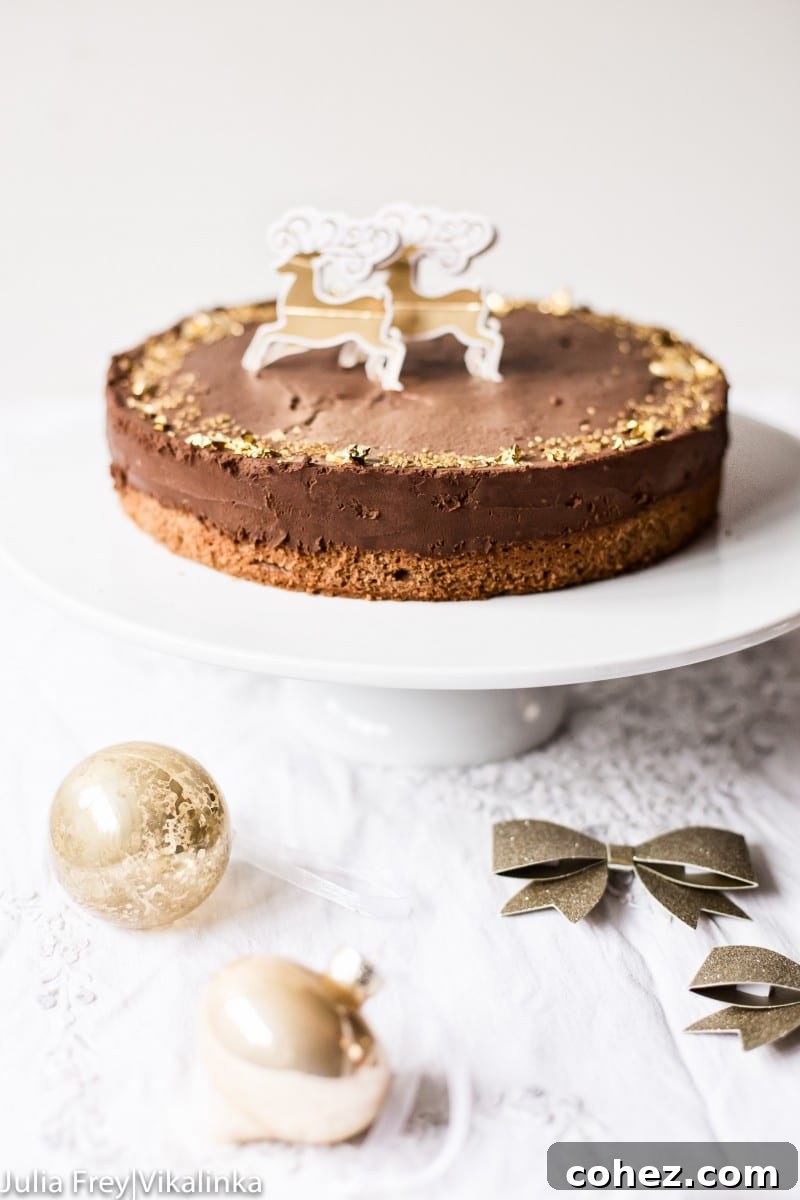
Finally, decorate with edible gold flakes, gold sanding sugar, or any other desired toppings to add that final, captivating flourish. This chocolate truffle cake is not just a dessert; it’s an experience, a celebration in every bite!
Explore More Favorite Chocolate Cake Recipes
If you’ve fallen in love with the rich flavors of this chocolate truffle cake, you’ll be delighted to explore other beloved chocolate creations that promise to satisfy your sweet tooth and impress your guests. Here are some more of my favorite recipes:
- Christmas Chocolate Cake with Cranberries: A festive delight bursting with seasonal flavors.
- Black and White Chocolate Cake with Blackberry Compote: A stunning contrast of flavors and textures.
- Chocolate Cake Truffles: Bite-sized bursts of chocolatey goodness, perfect for sharing.
- Black Forest Cake: A classic, timeless treat with cherries and cream.
Chocolate Truffle Cake
Ingredients
For the Cake Layer
- ⅓ cup/ 85 ml Guinness or other stout
- 2 tbsp strong black coffee
- ½ cups/ 115 gr unsalted butter
- ⅓ cup/ 4 1/2 tbsp unsweetened cocoa powder
- 1 cup/ 150g all purpose flour
- 1 cup/225 g sugar
- 2/3 tsp baking soda
- ½ teaspoons salt
- 1 large egg
- 1½ tsp pure vanilla extract
- ½ cup/125 ml creme fraiche/sour cream
For the Chocolate Truffle Layer
- 1¼ cups/ 300 g double cream/heavy cream, I used 48% fat double cream
- 12 oz/350 g dark chocolate, chopped (measured by weight)
- 9 oz/250 g mascarpone or cream cheese, full fat only
- 2 tbsp brandy, optional
- Edible gold flakes and gold sanding sugar for decoration
Instructions
For the cake layer
-
Preheat the oven to 325F/160C.
-
Grease a 9″ round cake pan and line the bottoms with greased parchment paper. Set aside.
-
In a saucepan, gently heat stout, coffee, and butter until the mixture just begins to simmer. Add cocoa powder while continuously whisking to ensure a smooth consistency without lumps. Remove from heat and set aside to cool completely.
-
In a separate large bowl, blend together the dry ingredients: flour, sugar, baking soda, and salt. In a third bowl, use an electric mixer to combine eggs, vanilla, and creme fraiche (or sour cream).
-
Before proceeding, ensure your chocolate-stout mixture is completely cool to the touch. This prevents the eggs from cooking when combined.
-
Pour the cooled chocolate mixture into the egg and creme fraiche mixture and blend them thoroughly with the electric mixer until smooth. Gradually add the dry flour mixture, a little at a time, beating on low speed until just combined. Be careful not to overmix. Pour the batter evenly into the prepared cake pan and level the surface.
-
Bake in the preheated oven for 25-30 minutes. Always test the cake for doneness by inserting a toothpick or cake tester into the center; it should come out clean. Allow the cake to cool in the pan for 10 minutes before carefully transferring it to a wire rack to cool completely.
For the Truffle Layer
-
In a saucepan, bring the double cream (or heavy cream) to a gentle boil. Remove it immediately from the heat. Add the finely chopped dark chocolate and stir with a whisk until the chocolate is fully melted and completely incorporated into the cream, forming a smooth ganache. Allow this mixture to cool completely to room temperature. If using, stir in the brandy at this stage.
-
Once the chocolate-cream mixture is entirely cool, add the mascarpone. Whip with a hand mixer on medium speed until the mixture is smooth, thick, and holds its shape. It should not be runny. If you are using cream cheese instead of mascarpone, first whip the cream cheese until it is light and fluffy before adding the cooled chocolate-cream mixture and blending until everything is smoothly combined. Avoid overbeating, as this can cause the mascarpone or cream cheese to split and become grainy.
-
Place the cooled cake sponge back into the springform pan. Pour the prepared truffle mixture evenly over the top of the cake. Chill the entire cake in the refrigerator for at least 2 hours, or for best results, preferably overnight. This chilling period is crucial for the truffle layer to set firmly.
-
To unmold the cake cleanly, heat a sharp knife under hot water for about a minute, then wipe it thoroughly dry with a clean towel. Carefully run the hot knife along the inner sides of the cake pan to release the cake. Repeat this process, reheating and wiping the knife as needed, until the cake is fully detached. Then, carefully unlatch the springform pan and transfer the cake to a serving stand.
-
Decorate your finished chocolate truffle cake with edible gold flakes and gold sanding sugar if desired, adding a touch of elegance and sparkle.
Nutrition information is automatically calculated, so should only be used as an approximation.