
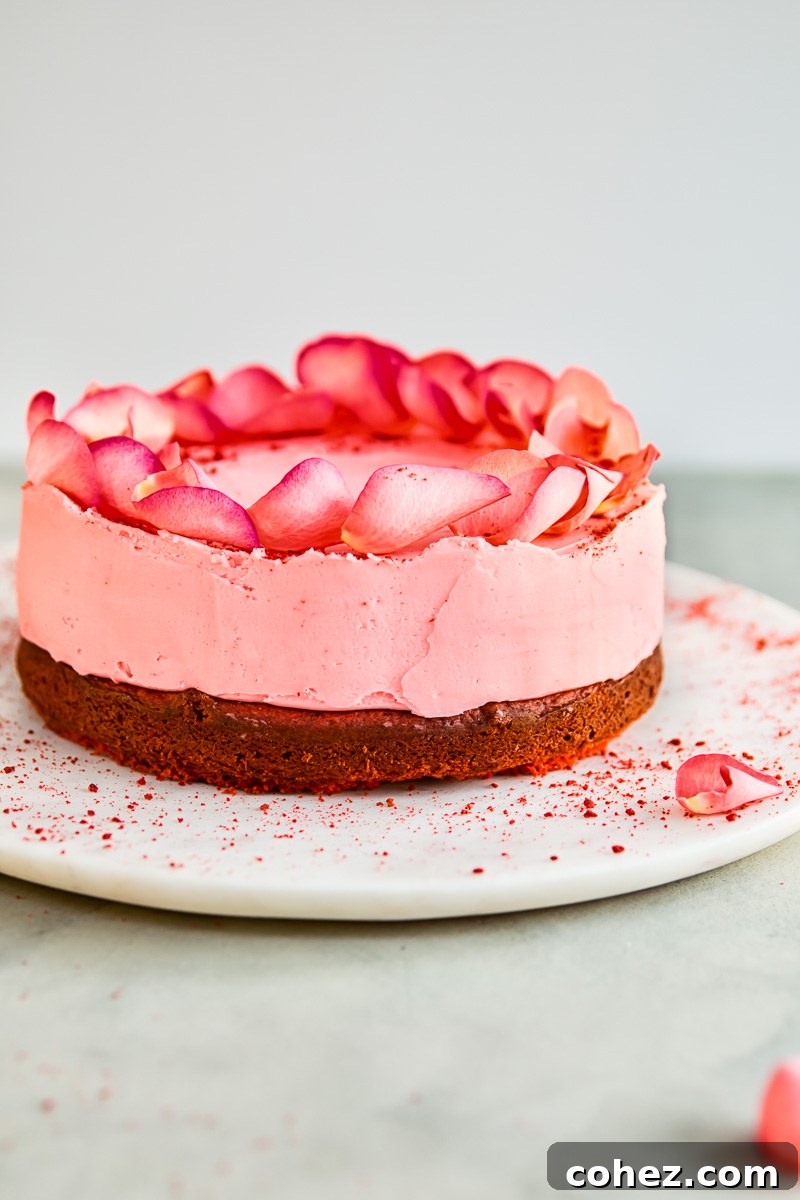
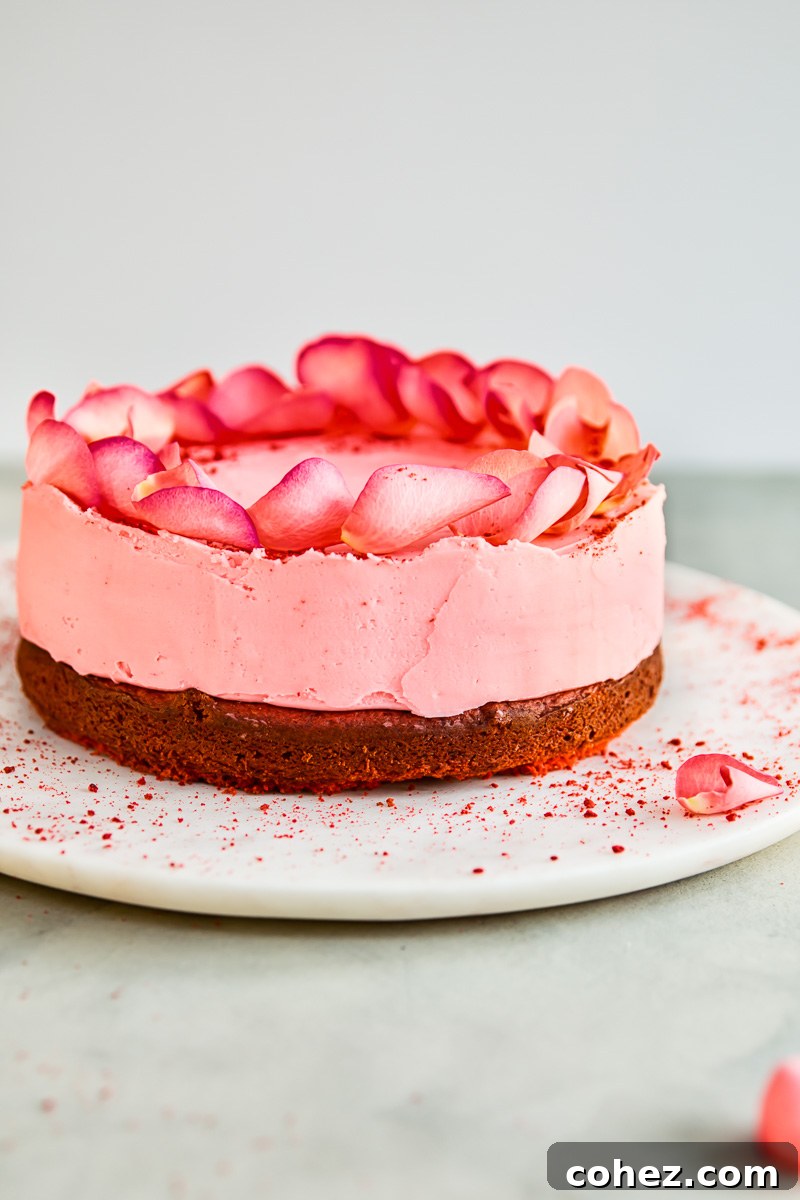
This February, prepare to truly wow your Valentine with this absolutely stunning Red Velvet Truffle Cake! Imagine a rich, moist red velvet cake, perfectly crowned with a luxurious layer of creamy white chocolate truffle, subtly tinted a beautiful blush pink. The vibrant colors and exquisite taste make this dessert an unforgettable centerpiece for any very special occasion, especially Valentine’s Day.
To complement your celebratory dinner, consider pairing this magnificent cake with a delicious cocktail. Our Blackberry Peach Daiquiri, for instance, is as visually appealing as it is flavorful, adding an extra touch of elegance to your romantic evening.
The Art of Love: Cooking for Valentine’s Day
For me, cooking is undeniably a profound love language. There’s an unparalleled joy in crafting a magnificent meal and presenting it to my cherished loved ones. Valentine’s Day, with its inherent celebration of love and affection, is naturally no exception to this tradition.
My passion for food blogging means I often begin planning special recipes like this Salmon en Croute well in advance of February 14th. This foresight isn’t just about meeting deadlines; it’s fueled by genuine excitement to share a beautifully prepared meal with my soulmate, right here at home. The act of creating something delicious, from scratch, infuses the entire day with an extra layer of meaning and warmth.
Another beloved dish that frequently graces our table for this romantic holiday is a luxurious pasta, such as our Creamy Tagliatelle with Bacon, Mushrooms, and Truffle Oil. It’s a perfect, indulgent dinner for two, rich in flavor and wonderfully comforting. But while main courses are essential, let’s not for a moment forget the grand finale: dessert!
The Allure of Red Velvet and White Chocolate Truffle
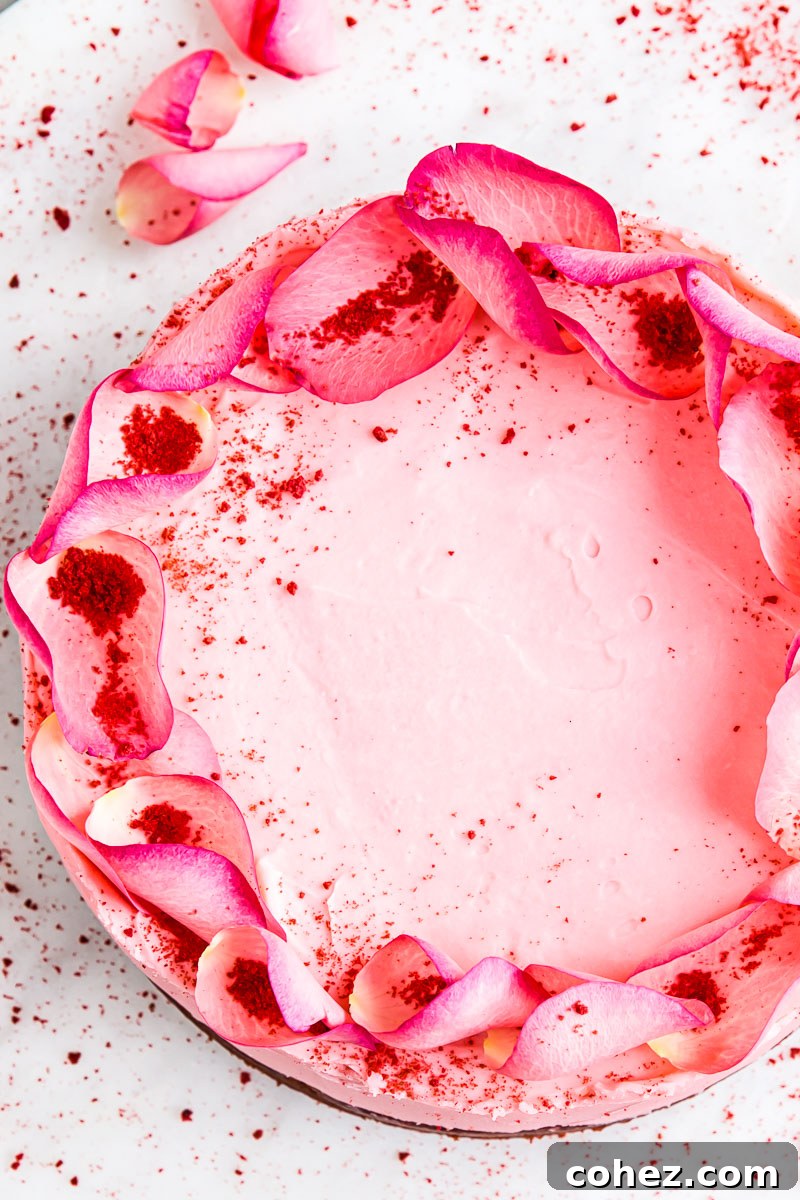
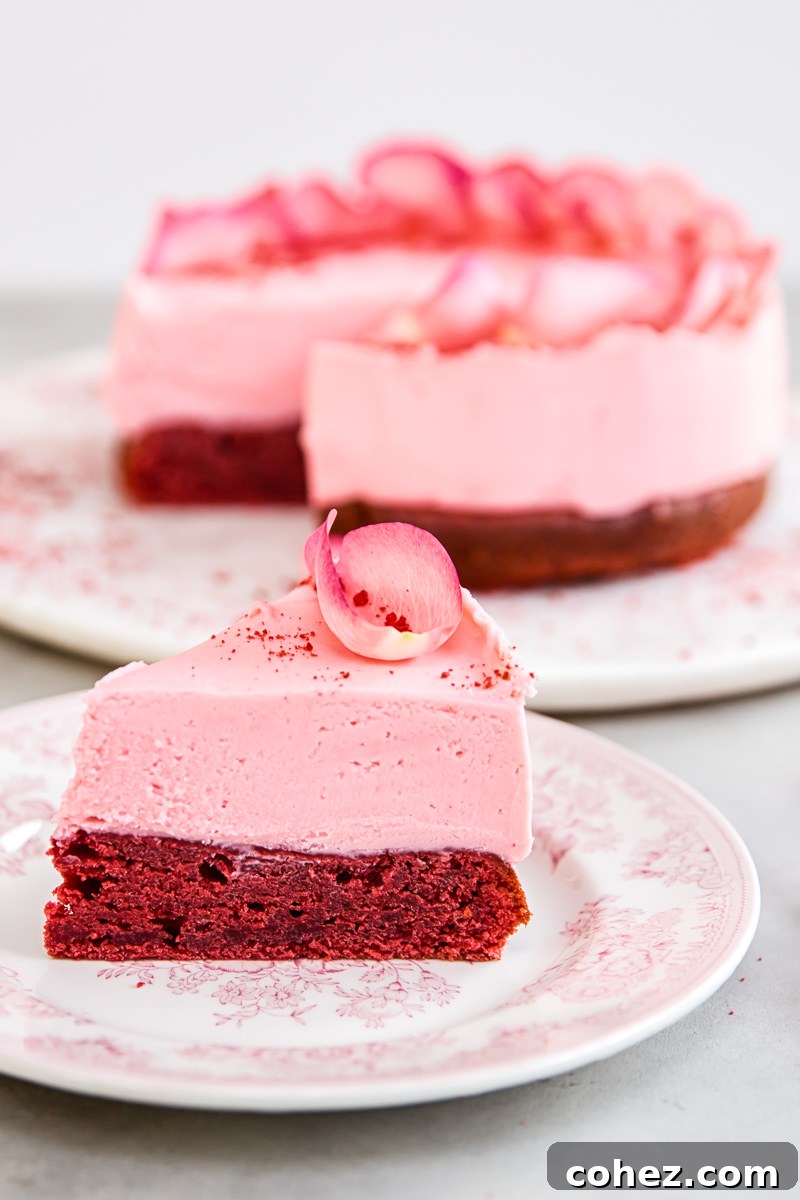
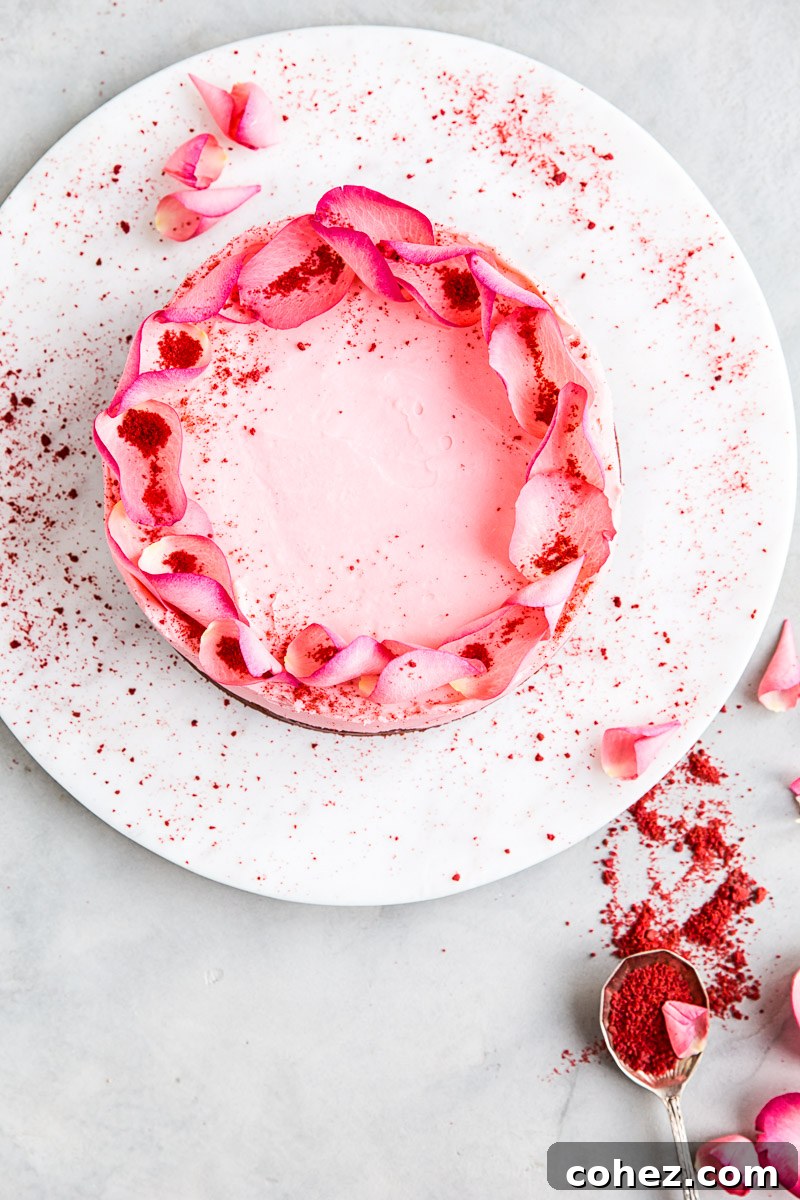
And what could possibly embody romance more perfectly than a classic Red Velvet Cake? Well, I would argue that a Red Velvet Cake, taken to the next level with a decadent layer of pink white chocolate truffle and delicately adorned with edible rose petals, truly elevates the experience. The deep, rich crimson of the cake juxtaposed with the soft, inviting blush of the truffle layer creates a visual symphony that perfectly captures the spirit of love.
Despite its undeniably impressive appearance, this cake is surprisingly straightforward to create at home. To guide you through each step and ensure your baking process is smooth and enjoyable, I’ve also prepared a helpful video. Watching the process unfold visually can make all the difference, especially when mastering the perfect consistency for the truffle layer.
This exquisite cake is my personal spin on another wildly popular creation from my blog: the White Christmas Truffle Cake. For this Valentine’s rendition, I’ve transformed the original white sponge into a deeply flavored, vibrant red velvet cake base. Then, I gently colored the rich white chocolate and mascarpone truffle layer a delicate blush pink, enhancing its romantic appeal. And just like that, the “Be My Valentine Red Velvet Truffle Cake” was born!
Expert Tips for a Flawless Red Velvet Truffle Cake
- **Plan Ahead for Perfection:** This cake requires time to set properly. For the best texture and structure, make it at least one full day in advance. This allows the truffle layer to firm up beautifully, ensuring clean slices and a delightful eating experience.
- **Temperature is Key for Cake:** Before you even think about adding the luscious truffle layer, ensure your red velvet cake base is completely at room temperature, without even the slightest hint of warmth. Any residual heat can melt the truffle, preventing it from setting correctly and leading to a messy outcome.
- **Chill for Truffle Success:** Mascarpone cheese and heavy whipping cream should be used straight from the refrigerator. Cold ingredients are essential for creating a stable and airy truffle layer. Using warm or even room-temperature dairy products can cause the truffle mixture to split or become grainy, ruining its smooth consistency.
- **Precision in Measuring White Chocolate:** When it comes to the truffle layer, accurate measurements are paramount. Always measure white chocolate by weight, not volume, using a kitchen scale. This precision ensures the correct ratio of chocolate to cream, which is crucial for the truffle to set with the perfect firmness and creamy texture.
- **High-Fat Cream for Richness:** Opt for heavy cream with a fat content of 36% or higher. In many regions, this is labeled as “double cream” (often around 48% fat, like in the UK) and is ideal for achieving a truly rich, stable, and luxurious truffle. Lower fat creams may not yield the desired consistency.
- **Choose Quality White Chocolate:** For an unparalleled flavor and setting ability, always use real white chocolate. Avoid “white chocolate chips” or baking “wafers” that are often made with vegetable fats instead of cocoa butter. Quality white chocolate melts smoothly and contributes significantly to the truffle’s exquisite taste and texture.
A Small Cake, Big Impact for Your Romantic Celebration
This recipe is designed to create a smaller Red Velvet Cake, making it absolutely perfect for an intimate Valentine’s Day dinner for two. It offers a wonderfully delicious treat without being overly ambitious in size, and the best part? It leaves you with tasty leftovers to savor the following day, extending the romantic indulgence!
I had the pleasure of developing the video for this cake in collaboration with my dear friend Lucy Parissi, who is also a brilliant blogger behind Supergolden Bakes. It was fascinating because Lucy and I both used the same foundational recipe for the red velvet layer, yet our final cakes turned out delightfully different! I highly recommend checking out her stunning Red Velvet Layer Cake with Vanilla and Strawberry Frosting – it’s truly a showstopper!
I am particularly pleased to offer a video tutorial for this specific cake because the truffle layer can be a bit challenging, as some of my readers noted after attempting the White Christmas Truffle Cake. Seeing the ideal texture and consistency demonstrated visually in the video should make preparing this delicate layer an absolute breeze, ensuring your cake turns out perfectly every time.
Happy Valentine’s Day, lovers! May your celebrations be filled with joy, connection, and, of course, delicious desserts.
Be My Valentine Red Velvet Truffle Cake
By Julia Frey of Vikalinka
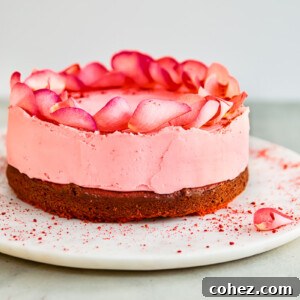
This February, wow your Valentine with this stunning Red Velvet Truffle Cake. Its vibrant red base and creamy pink truffle topping are perfect for a romantic celebration.
Prep Time: 30 minutes | Cook Time: 30 minutes | Total Time: 1 hour | Servings: 10
Ingredients
For the Red Velvet Cake Layer
- 140 g / 1 cup all-purpose flour
- 1 tbsp cocoa powder
- 120 g / 1/2 cup buttermilk
- 1-2 g / 1/4 tsp paste red food coloring (ensure it’s not gel for best results)
- 60 g / 1/4 cup unsalted butter, softened
- 160 g / 3/4 cup caster/superfine sugar
- 1/4 tsp salt
- 1 1/2 tsp vanilla extract
- 1 large egg
- 1 tsp white vinegar
- 1/2 tsp baking soda
For the Truffle Layer
- 300 g / 1 1/4 cup double cream/heavy cream (use the highest fat content available, preferably 36% or higher, like 48% fat double cream)
- 350 g / 12 oz white chocolate, chopped (measured precisely by weight, avoid chocolate chips)
- 250 g / 9 oz mascarpone cheese, full fat only
- 1-2 drops pink food coloring (adjust to achieve desired blush shade)
- Organic rose petals for decoration (optional)
- Red velvet cake crumbs for decoration (optional)
Instructions
For the Red Velvet Cake Layer
- Preheat your oven to 180°C (350°F). Prepare an 8-inch springform pan by generously greasing it with butter, then cut out a circle of parchment paper to fit the bottom and line the pan with it.
- In a medium-sized bowl, carefully sift together the all-purpose flour and cocoa powder to remove any lumps and ensure a smooth mixture. Set this dry mixture aside.
- In the bowl of a stand mixer fitted with the paddle attachment, cream together the softened unsalted butter and caster/superfine sugar until the mixture becomes visibly pale, light, and fluffy.
- In a small separate bowl, lightly whisk the large egg with the vanilla extract. With the stand mixer still running on low speed, gradually add this egg and vanilla mixture to the butter and sugar. If you notice the mixture appears to separate or curdle, simply add a tablespoon from your reserved flour and cocoa mix to help emulsify it.
- In another small bowl, mix the red food coloring paste with 2 tablespoons of buttermilk until the color is thoroughly dissolved and vibrant. Then, add this concentrated color to the remaining buttermilk and stir until well combined, creating an evenly colored liquid.
- Now, incorporate the dry and wet ingredients into the creamed mixture. Begin by adding about one-third of the flour and cocoa mixture, mixing until just combined. Then, add about half of the colored buttermilk, mixing gently. Alternate between the dry and wet mixtures, always starting and ending with the flour mixture. Stop the mixer periodically to scrape down the sides and bottom of the bowl with a spatula, ensuring all ingredients are fully incorporated and your cake batter has a light, evenly blended consistency, resembling a smooth frosting.
- In a very small bowl, combine the white vinegar and baking soda. This combination will immediately fizz and froth up. Quickly pour this effervescent mixture into your cake batter and mix gently until it is just combined. Do not overmix after adding the vinegar and baking soda.
- Pour the prepared red velvet batter into the lined springform cake pan. Bake for approximately 25 minutes, or until a wooden toothpick inserted into the center of the cake comes out clean, indicating it is fully cooked. Allow the cake to cool in the pan for 10 minutes before carefully removing it and transferring it to a wire rack to cool completely.
- Once the cake is completely cool, if it has formed a domed top, use a sharp, serrated knife to carefully level it, creating a flat surface. Reserve any trimmed cake crumbs, as these can be used for decoration later.
For the Truffle Layer
- In a saucepan, bring the heavy cream (or double cream) to a gentle boil over medium heat. As soon as it boils, immediately remove it from the heat and pour the hot cream over the finely chopped white chocolate in a heatproof bowl. Let it sit undisturbed for 1 minute to allow the chocolate to melt. Then, gently stir the mixture with a whisk until the white chocolate is completely melted and the ganache is smooth and glossy. Stir in the pink food coloring, a drop at a time, until you achieve your desired blush pink shade. Allow this truffle base to cool completely to room temperature.
- In a medium bowl, combine the cooled chocolate cream mixture with the full-fat mascarpone cheese. Using a hand mixer (or stand mixer with a whisk attachment), whip the mixture on medium speed until the truffle layer becomes thick, airy, and holds its shape beautifully when mounded on a spoon. This firm consistency is critical for the truffle layer to set properly on the cake.
To Assemble the Cake
- Line the inside sides of the same 8-inch springform pan with fresh strips of parchment paper, extending above the height of the cake. Carefully place the completely cooled red velvet cake base back into the pan. If your cake has slightly shrunk during baking and doesn’t fit snugly, insert a folded layer of paper towel or extra parchment paper between the pan walls and the lining. This ensures a tight fit and prevents the truffle layer from seeping underneath the cake.
- Evenly pour the prepared pink truffle layer over the top of the red velvet cake. Use an offset spatula or the back of a spoon to gently smooth the top surface, creating an even layer.
- Cover the entire pan tightly with plastic cling wrap to prevent any odors from the refrigerator affecting the cake. Refrigerate the cake for at least 3 hours, but ideally overnight, to allow the white chocolate truffle layer to set completely and firm up.
- Once the truffle layer is fully set, carefully unclip and remove the sides of the springform pan. Gently peel off the parchment paper lining from the sides of the cake in one smooth, confident movement. For a polished, professional finish, use a warm offset spatula to gently smooth any imperfections on the sides of the truffle layer.
- For a final touch of elegance and romance, decorate your stunning Red Velvet Truffle Cake with fresh, organic rose petals. If you reserved the red velvet cake crumbs from leveling, you can also sprinkle these around the edges or center for an added textural and visual element.
Nutrition Information
- Calories: 578 kcal
- Carbohydrates: 50g
- Protein: 7g
- Fat: 40g
- Saturated Fat: 24g
- Cholesterol: 104mg
- Sodium: 240mg
- Potassium: 168mg
- Fiber: 1g
- Sugar: 37g
- Vitamin A: 995 IU
- Vitamin C: 1mg
- Calcium: 144mg
- Iron: 1mg
Nutrition information is automatically calculated, so should only be used as an approximation.
More Romantic Recipe Inspiration for Valentine’s Day
Looking for more ways to celebrate love through food? Here are some other delightful recipes perfect for a romantic occasion:
- Frozen Blood Orange Pina Colada – A refreshing, vibrant cocktail (can be made virgin!).
- Chocolate Cake Truffles – Bite-sized indulgence, perfect for sharing.
- Honey Cake Medovik – A layered Russian honey and cream cake, rich and comforting.
- Raspberry Cheesecake Bars – Fruity and creamy, a delightful treat for any time.
We hope this Red Velvet Truffle Cake brings immense joy and deliciousness to your Valentine’s Day celebration. We’d love to hear how it turned out for you!