
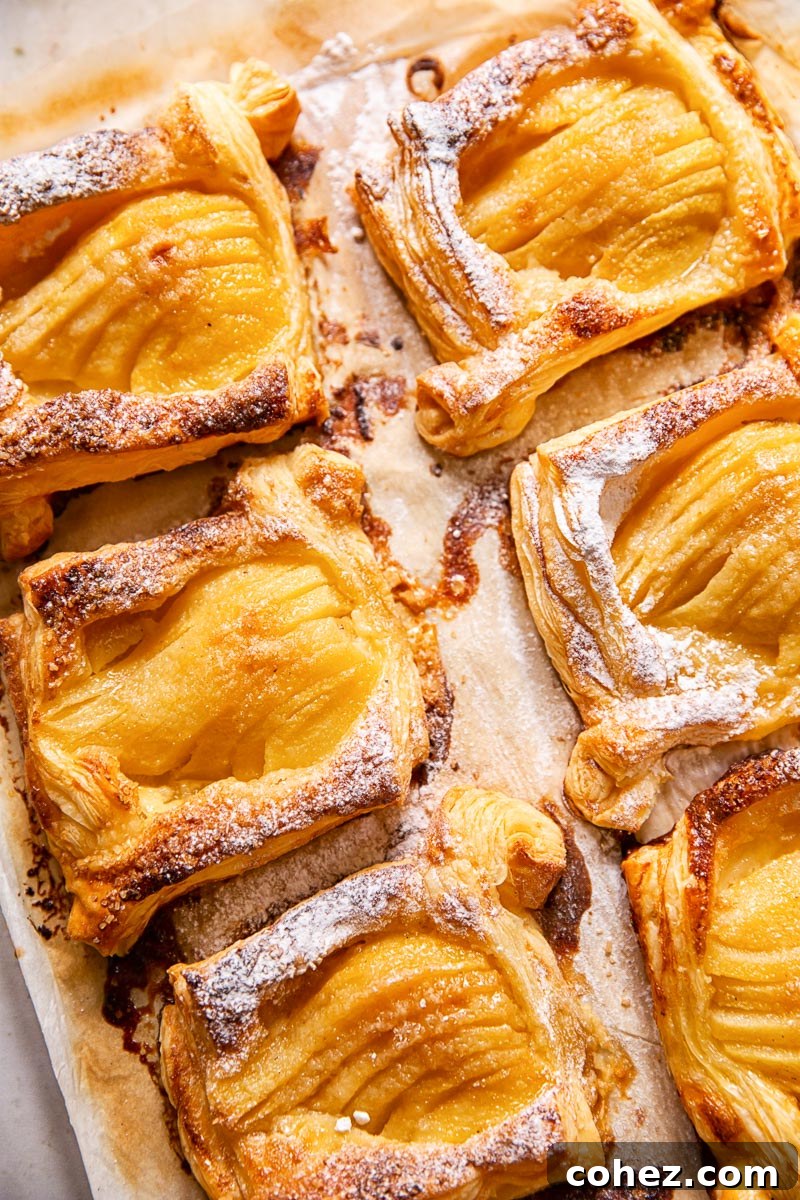
These exquisite puff pastry pear tarts, shimmering with a luscious salted caramel glaze, are a triumph of simplicity and elegance. In less than an hour, you can create a dessert that rivals any patisserie masterpiece, perfect for dazzling friends and family, especially as an irresistible autumnal treat.
If the delightful combination of fruit baked into flaky puff pastry captivates your palate, you might also enjoy our equally popular seasonal favorite: Classic Apple Turnovers.
Embrace the Elegance of Patisserie-Style Desserts at Home
There’s an undeniable allure to European-style bakeries – the elegant pastries, the decadent cakes, each a testament to meticulous craftsmanship and culinary artistry. The sheer skill and creativity involved in producing such beautiful and delicious creations often leave me in awe, sparking dreams of bringing that same magic into my own kitchen.
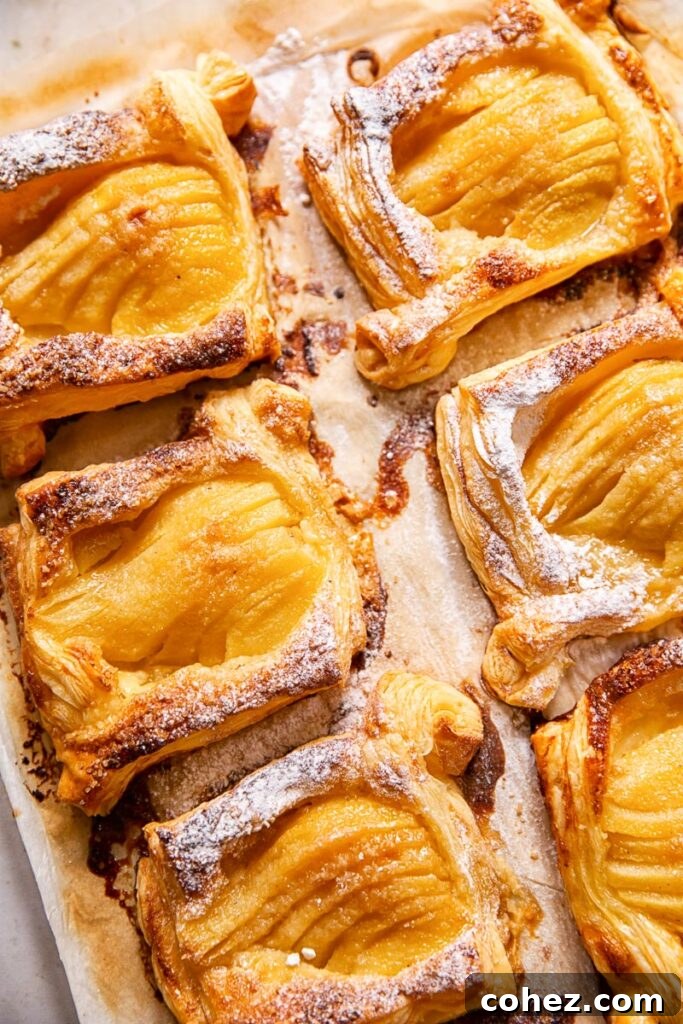
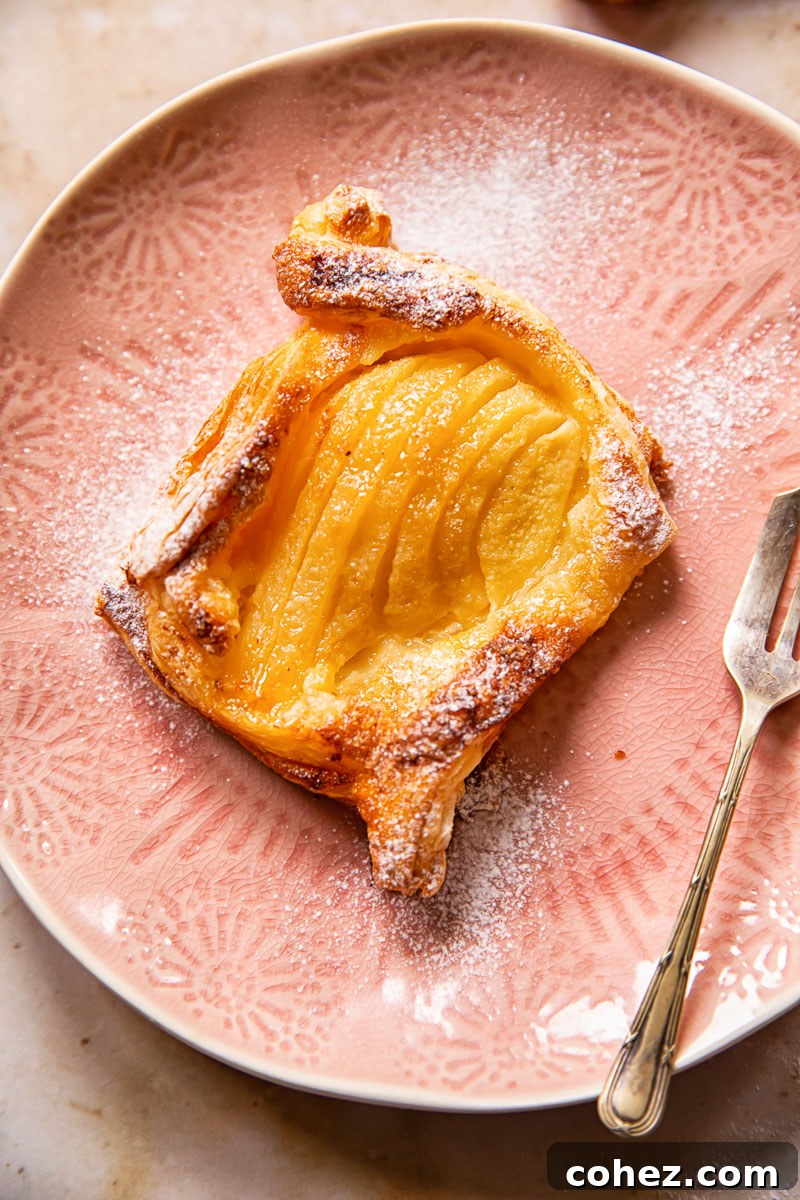
And with these elegant Salted Caramel Pear Tarts, that dream becomes a delectable reality. Featuring delicate, flaky pastry cradling tender, sweet pears and coated in a rich, salty-sweet caramel, they possess all the charm and sophistication of treats found in the finest bakeries. Yet, despite their gourmet appearance and exquisite taste, these tarts are astonishingly simple to prepare. You don’t need to be a seasoned pastry chef, nor do you need to wake up before dawn to achieve this level of culinary excellence. They are designed for joyful, stress-free baking that delivers impressive results every time.
Mastering the Easy Salted Caramel Pear Tart Recipe
This pear tart recipe is a testament to how extraordinary flavors can emerge from simple preparation. I whipped up these delectable tarts in a mere 40 minutes, with only about 10 minutes of active, hands-on time. Imagine surprising your Thanksgiving guests or simply treating your loved ones to these stunning beauties!
What makes this puff pastry dessert so remarkable is its blend of beauty and flavor, achieved with surprising ease. It transforms an humble, everyday fruit like the pear into an absolute culinary star. Pears, especially when in season, are a favorite in my baking repertoire. If you enjoy them as much as I do, you might also like my Spiced Pear Baked Oatmeal – an excellent way to kickstart your day.
The secret to the speed and enjoyment of this recipe lies in using prepared, pre-rolled puff pastry. This clever shortcut turns the entire process into a delightful assembly task, almost like a creative craft project. You get to focus on shaping and filling, rather than the labor-intensive process of making pastry from scratch.
Effortless Elegance: Crafting Your Pear Tarts
This dessert truly stands out for its minimal fuss yet divine taste. Once you master the simple folding technique, the quality of your ingredients takes center stage in making these tarts utterly irresistible. The key ingredient, as mentioned, is high-quality store-bought puff pastry. This not only dramatically reduces your preparation time and effort but also guarantees consistent pastry thickness, ensuring each tart bakes evenly to golden perfection.
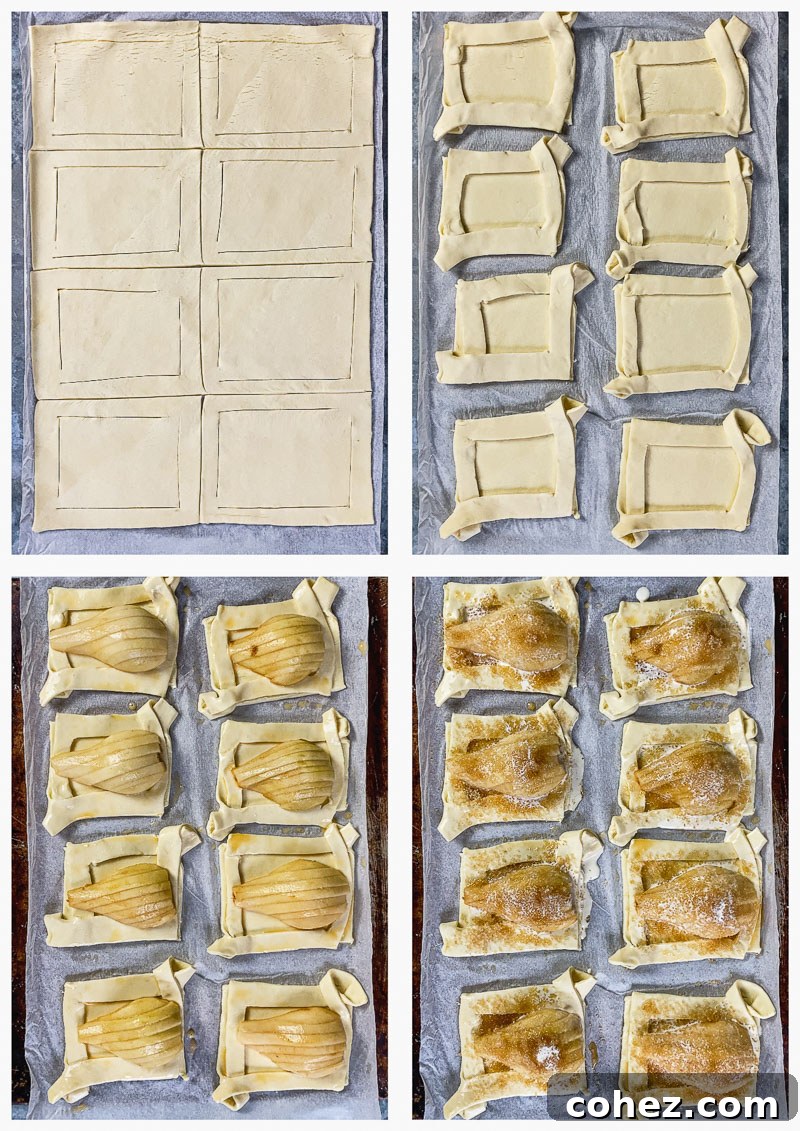
Achieving the tarts’ elegant, bakery-worthy appearance requires no advanced culinary skills. It’s a straightforward process that begins with two L-shaped slits cut into opposing corners of your pastry square. Then, simply fold these cut corners over, crossing one over the other, and gently press them down onto the opposite sides. If you’re unsure, a quick glance at the accompanying video tutorial or process photos will guide you through this simple yet effective shaping method.
Before baking, you’ll brush the pastry with an egg wash, which is crucial for developing that beautiful golden-brown color and a wonderfully crisp finish. Once the pastry shells are prepared, you’ll arrange your sliced pears, sprinkle them with sugar, drizzle with cream, and then they’re ready for the oven. This simple combination of steps yields a sophisticated dessert that looks far more complicated than it actually is.
Choosing the Perfect Pears for Your Tarts
When it comes to selecting pears for these tarts, I find that flexibility is key. You don’t need to hunt for an exotic variety; whatever ripe pears are readily available in your fruit basket or local supermarket will work beautifully. For instance, I often use Conference pears because of their convenient small size and easy accessibility in my area. Other excellent choices for baking include Bosc, Anjou, or even ripe Bartlett pears, each offering a slightly different texture and sweetness profile.
The most important consideration, however, is ripeness. Since these tarts bake for only about 30 minutes, firm, unripe pears simply won’t have enough time to soften properly in the oven. Look for pears that yield slightly to gentle pressure at the neck. They should also ideally be on the smaller side, as this allows them to fit neatly within the pastry shells and cook through uniformly. If your pears are larger, you might consider cutting them into smaller, more manageable pieces before arranging them on the pastry.
The Magic of Sea Salt Caramel: A Simple Yet Sophisticated Topping
Now, let’s talk about the star topping: the salted caramel. The term “salted caramel” often sounds intimidating, conjuring images of complex sugar work and precise temperatures. However, for this particular recipe, its creation is surprisingly straightforward and entirely fuss-free. There’s no need for a candy thermometer or elaborate saucepan techniques.
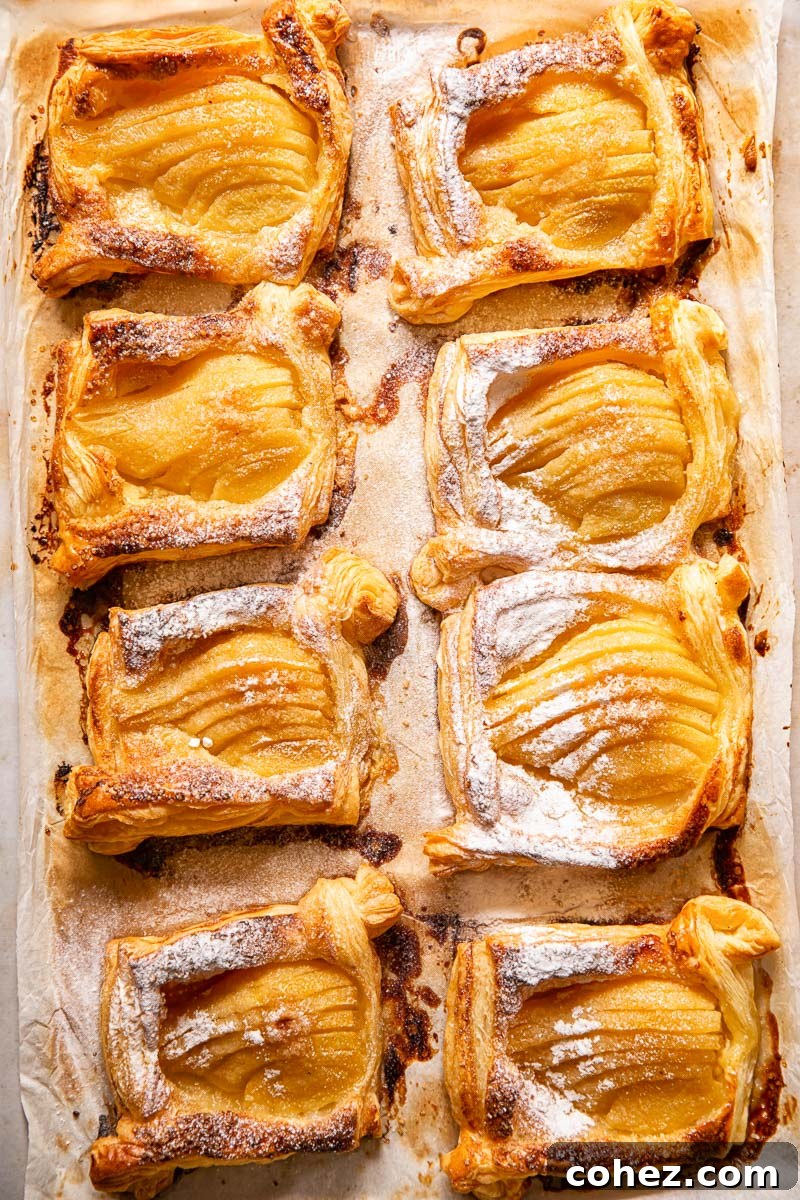
The genius of this method lies in its simplicity: you merely sprinkle brown sugar, a generous drizzle of heavy cream, and a pinch of coarse sea salt over the sliced pears before they go into the oven. As the tarts bake, the heat transforms these ingredients into a rich, bubbling salted caramel right on top of the pears, without you having to lift a finger during the cooking process. It’s an effortless culinary trick that yields incredibly delicious results.
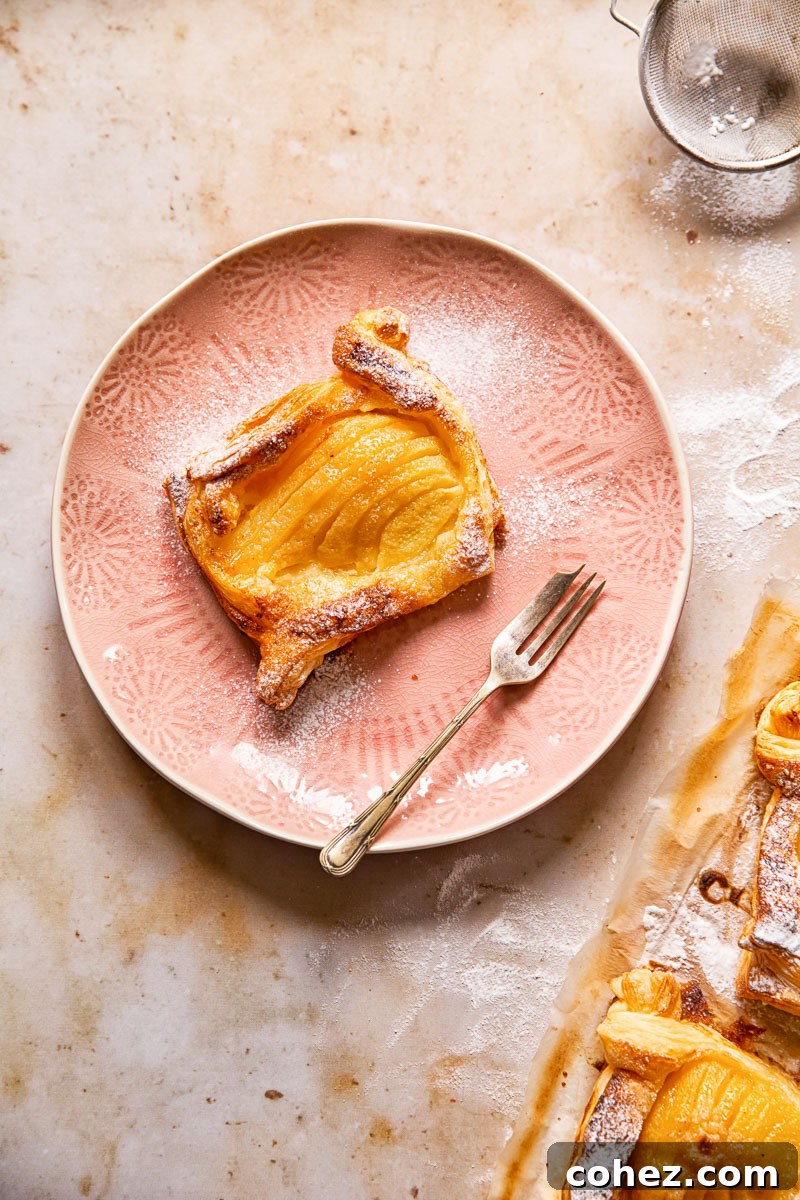
The addition of salt to caramel serves the same purpose here as it does in many other dishes – it’s a flavor enhancer. The sea salt doesn’t just add a contrasting note; it brightens and deepens the sweetness of the caramel, bringing out subtle nuances that might otherwise go unnoticed. This intriguing balance of sweet and salty adds an extra dimension of flavor, making the entire tart “pop” and leaving a memorable impression on your palate. The result is a simple pear tart with a delicate taste, perfectly balanced and not overly sweet. I love to serve mine simply dusted with a light layer of powdered sugar, allowing the caramel and pear flavors to shine.
Expert Recipe Tips for Perfect Pear Tarts
- **Opt for All-Butter Puff Pastry:** For the flakiest texture and richest flavor, always choose an all-butter puff pastry. The higher fat content contributes significantly to the delicate layers and golden crust that define a truly excellent tart.
- **Ensure Pears are Ripe:** As the tarts have a relatively short baking time (around 30 minutes), it’s crucial to use ripe pears. Firm, unripe pears won’t soften sufficiently in the oven, resulting in a less enjoyable texture. A ripe pear will give slightly when pressed gently.
- **Mind the Pastry Temperature:** Take your puff pastry out of the refrigerator approximately 15-20 minutes before you plan to roll it out or work with it. If it’s too cold, it will crack as you unroll it. However, avoid letting it sit out for too long, especially in a warm kitchen, as the butter can start to melt into the other layers. This can prevent the pastry from achieving its signature flaky rise and make it difficult to handle. If you find your pastry has become too warm and soft, simply pop it back into the fridge for 20-30 minutes to firm up slightly before continuing.
- **Don’t Overfill:** While tempting to pile on the pear slices, avoid overfilling the center of your tarts. Too much filling can make the pastry soggy and prevent it from baking evenly. A single half-pear, thinly sliced, is usually sufficient.
- **Parchment Paper is Your Friend:** Always line your baking sheet with parchment paper. This prevents the tarts from sticking, especially if any caramel spills over, and makes for effortless cleanup.
- **Allow for Air Circulation:** If baking multiple batches, ensure there’s enough space between each tart on the baking sheet to allow for proper air circulation, which promotes even baking and browning.
Storage, Serving, and Leftover Enjoyment
These Salted Caramel Pear Tarts are truly at their peak when served warm, shortly after emerging from the oven. The puff pastry will be wonderfully crisp and golden, and the caramel warm and gooey. The contrast of the flaky pastry with the tender, caramelized pears is simply divine at this stage.
That being said, they still remain delightful for a day or two after baking. So, if you’re planning ahead for a dinner party or special occasion, making them the day before is absolutely fine. However, beyond 2-3 days, the puff pastry will gradually begin to lose its crispness and may become noticeably soft or soggy, especially if stored improperly. While still edible, the texture will not be as ideal.
For optimal storage, avoid wrapping the tarts tightly in plastic wrap. This can trap moisture, leading to a softer pastry. A much better solution is to store them in an airtight container at room temperature. For added protection and to prevent them from sticking together, you can place a piece of parchment paper loosely between individual tarts.
If you have leftovers and wish to revive their warmth and crispness, a quick re-heat in a preheated oven (around 300°F/150°C) for 5-10 minutes can work wonders. This will help to crisp up the pastry again, though it may not return to its initial freshly baked state. Alternatively, they are still lovely served at room temperature.
More Easy Puff Pastry Dessert Recipes
- Puff Pastry Cinnamon Rolls
- Plum Tarte Tatin
- Apple Turnovers
★
★
★
★
Salted Caramel Pear Tarts
Julia Frey of Vikalinka
10 mins
30 mins
40 mins
8
Equipment
- Knife
- Baking sheet
Ingredients
- 375g / 13oz all-butter puff pastry
- 1 egg, beaten
- 4 ripe pears, small or medium
- 8 tsp Demerara (brown) sugar
- 8 tsp double/heavy cream (no half and half)
- 1 tsp coarse sea salt
Instructions
-
Preheat your oven to 375°F/190°C. Line a baking sheet with parchment paper. Roll out your puff pastry. If using a block, dust your work surface with flour and roll out a rectangle approximately 1/4″ thick. Divide your rectangular puff pastry into 8 smaller rectangles. With a sharp knife, cut an “L” into two opposing corners of each rectangle, leaving about a ½-inch uncut in the two other corners. Brush the entire pastry surface with the beaten egg. Pick up the cut corners of the pastry, cross them over each other (one over, one under) and lay them flat (now on opposite sides), creating a small raised border. Brush the tops of the pastry with more egg wash and place the prepared pastries in the refrigerator to chill for 10 minutes.
-
While the pastry chills, prepare the pear filling. Peel the pears, split them in half lengthwise, core them, and then slice each half into 1/4″ thick slices.
-
Take the chilled pastry shells out of the fridge and arrange them on your prepared baking sheet. Place one pear half (fanned out slices) in the center of each tart. Then, evenly sprinkle each tart with a teaspoon of brown sugar and a teaspoon (5ml) of double cream. Finish by adding a small pinch of coarse sea salt on top of each. Bake in the preheated oven for 30 minutes, or until the pears are soft and the pastry is golden brown and puffed.
Video
Nutrition
Carbohydrates: 39g |
Protein: 5g |
Fat: 20g |
Saturated Fat: 6g |
Cholesterol: 27mg |
Sodium: 418mg |
Potassium: 139mg |
Fiber: 3g |
Sugar: 13g |
Vitamin A: 125IU |
Vitamin C: 4mg |
Calcium: 19mg |
Iron: 1mg
Nutrition information is automatically calculated, so should only be used as an approximation.